

5 Best Cuts Of Beef For Home Cooks Learning To Grill
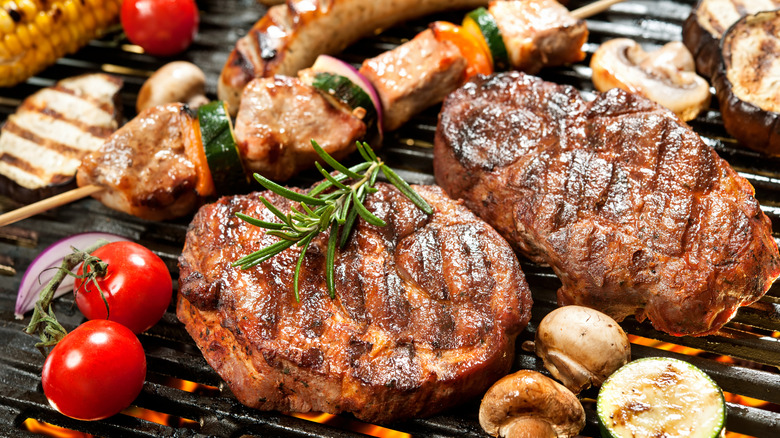
People have been preparing meat over open flames ever since humans could make fire, but cooking steak still sometimes intimidates folks new to grilling. Given how expensive they can be compared to other types of meat, it's no wonder some might opt to play it safe during a cookout and simply cook burgers on the grill rather than sacrifice a precious piece of beef just for educational purposes. But like many other things in life, practice makes perfect, and starting with cuts of meat that are easier to manage than others is the best way to ensure buying steaks at the grocery store doesn't amount to harvesting wisdom from ruined beef.
The problem is that many people who are just learning the ropes often might come home from the supermarket with something that looked appetizing but is actually a beef cut that should be kept far away from the grill, like brisket. Fortunately for all the grilling newbies out there, The Takeout reached out to an expert to get a general idea about what to seek out. Jenk McBrain, the owner of JD Meats & Seafood, shared a few examples that are more forgiving than others, so folks can get some practice in and also enjoy a terrific meal. Here are the five best cuts of meat beginners should keep an eye out for when sourcing their heroes of the grill.
T-bone steaks are easier to grill than they appear
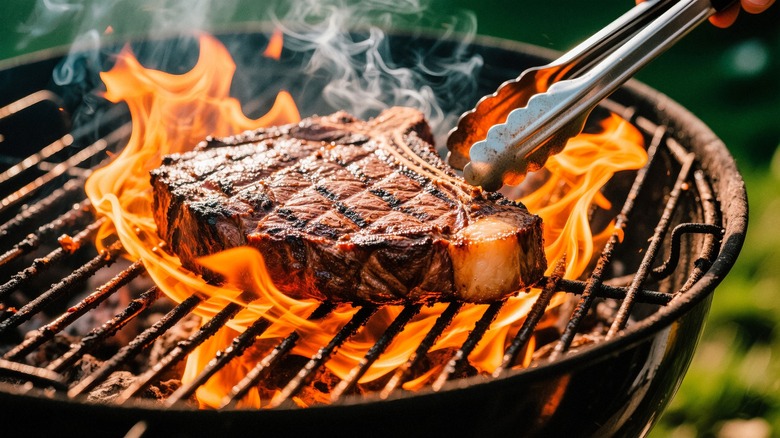
Arguably the most picturesque steak available, the T-bone might seem difficult to grill at first glance, but it is actually a cinch when using the right technique. In fact, Jenk McBrain considers it a fantastic option for people just beginning to understand the nuances of cooking over flame. "T-bones are the easiest for somebody learning how to grill because they're flat and not thick," he said. "It only takes a few flips and is fairly quick to grill."
Still, like any thin steak, they can overcook before you know it if not handled properly (which is why some people skip the grill and avoid overcooking T-bones by using the sous vide method). While it's tempting to try to get those gorgeous crosshatch marks on any grilled cut of meat, the primary goal with a T-bone is achieving the temperature you want. This is best done by flipping the steak quickly and often.
Once a T-bone hits the grill, it should only sit for about 40 seconds over direct heat before flipping. Flip it again after another 40 seconds and continue doing so until it develops a crusty exterior. The goal is to get the side over the flames hot enough to retain some thermal energy that continues to cook the interior after it's flipped and exposed to the open air. After the outside begins to get some color, start checking the temperature. "I recommend beginners use a meat thermometer," McBrain said. "For a medium steak, you want the temperature to be around 140 degrees Fahrenheit."
Use a ribeye's meat-to-fat ratio to your advantage
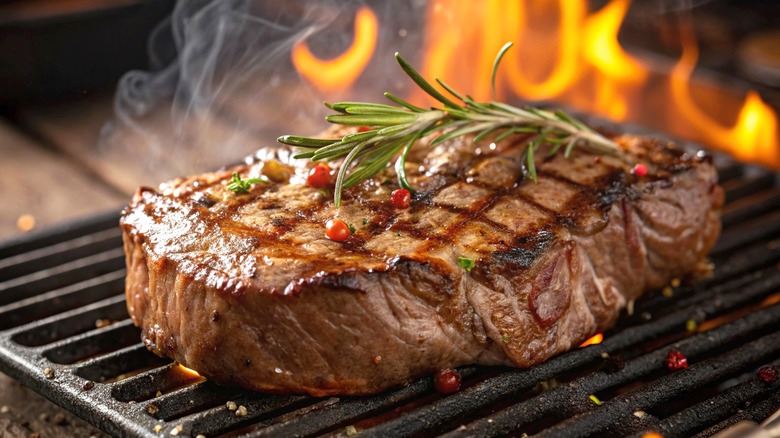
One cut of meat beginners definitely shouldn't be sleeping on is a ribeye. Whether you're using bone-in or boneless ribeye steaks, Jenk McBrain noted it's a remarkably flavorful cut that isn't very challenging to cook even if you're new to grilling, thanks to their size and abundant marbling. "Ribeyes are great because the cut is only about an inch thick," he said. "The fat melts and keeps the steak soft and juicy when it cooks. It creates a smoky, rich flavor."
However, while that luscious fat is advantageous for flavor and achieving the perfect sear, it can also create problems. Ribeyes can cause a dangerous grilling mistake that can end your cookout; as the fat melts away, it can spark flare-ups that can quickly get out of hand.
One way to avoid jumping flames is by setting your grill up to cook two ways. "Don't cook it all over one big flame," McBrain said. "Have a high heat zone for searing the outside and making the crust, and have a cool zone with no direct flame to cook the inside without burning it." On a gas grill, creating a two-zone heat system is as simple as turning burners on one side up high and setting the burners on the other side to low, if not completely off. With charcoal grills, carefully arrange the hot coals on one side of the basin to create hot and cool areas.
Grill New York strip using various techniques
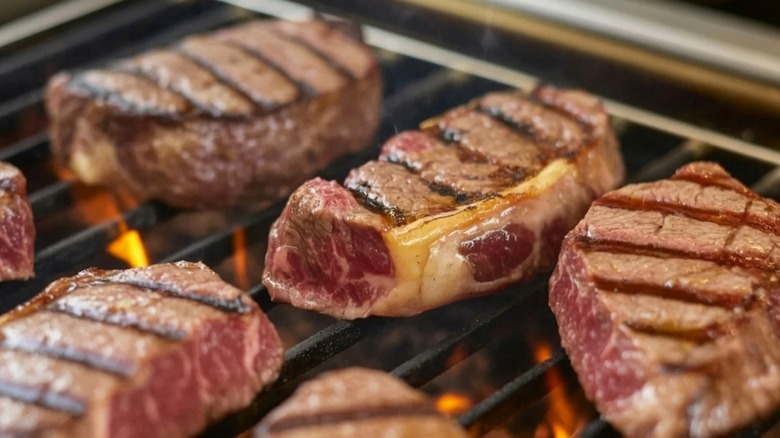
Whether you know it as a Kansas City steak, a striploin, or its most recognized name, the New York strip, Jenk McBrain highlighted this flavorful cut as one newbies shouldn't overlook. "New York strips are great for learning how to grill," he said. "They're thicker, so you'll have to flip it a few more times than other cuts." If done carefully, flipping it repeatedly will let the steak reach the correct temperature without overcharring the outside.
This is another instance where creating a two-zone heat system will work to your advantage. If you're happy with the sear you've got but notice the temperature indicates the steak is still mooing, moving it off the high heat will allow it to slowly come up to your desired temperature without obliterating the outside.
A two-zone grill also facilitates a different searing method. The reverse sear is a helpful technique for grilling thicker cuts of meat. Instead of starting it on high heat, the steak is placed on the cooler side. When the grill lid is closed, you're creating an oven effect that will gradually raise the internal temperature of the beef. Once the strip is about 10 degrees Fahrenheit below the desired temperature, move it over to the high heat for roughly two to three minutes per side. That's just enough time to achieve a mouthwatering sear while the internal temperature climbs to where you want it.
Grilling flat iron steak takes just a few minutes
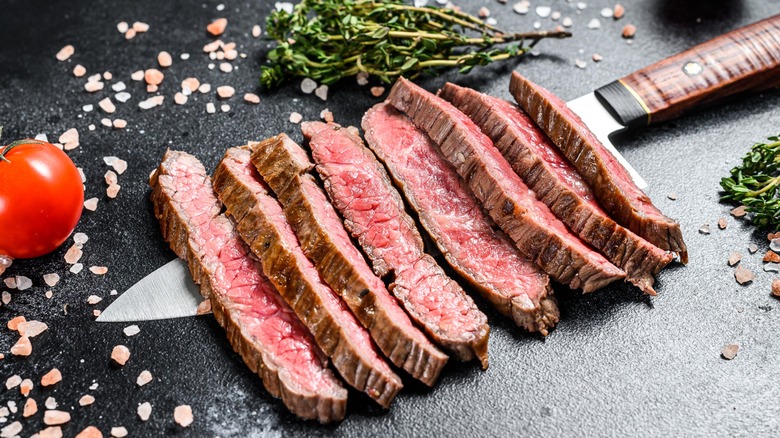
Jenk McBrain's next recommendation is a cut of meat that even some grilling veterans may be somewhat unfamiliar with, but its uniform structure makes it a terrific candidate for folks who are just starting out. "Flat iron steaks are the best for beginners because of how evenly they cook," McBrain said. "They're flat, rectangular cuts that cook easily on the grill."
This is one of those cuts of steak you should always marinate before grilling for upgraded flavor. As a typically thinner cut, it can overcook if you're not on top of your game. When cooking flat iron steak for maximum tenderness, it's best to utilize high heat for a short time. Grill it on both sides just long enough to achieve a medium-rare temperature.
Whereas most of the other steaks on this list can simply be served on a plate as is when they're done, flat iron is best served pre-sliced. Whether eaten as is or used to top a salad, cutting against the grain is key. Identify the direction the meat fibers run down the beef, and cut perpendicular to that. You can make those slices look even more appealing by angling your knife to cut at a 45-degree bias, which will produce larger, more appetizing pieces.
Skirt steak is simple to grill and versatile
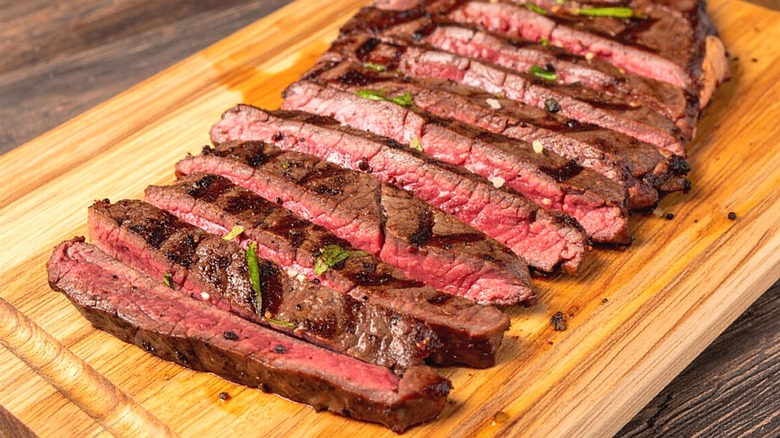
Although Jenk McBrain didn't include it in his recommendations, I think there's one more underrated cut of meat that deserves a spot on this list. It's the affordable steak that Bobby Flay loves to grill: skirt steak. Not only is skirt a beginner-friendly cut to grill, but it's about as versatile as steak gets. Fajitas, gyros, stir-fry, or a Korean steak and rice bowl — the ways to incorporate skirt steak into a dish are virtually endless.
The grilling method is similar to flat iron steak because skirt is generally thin. Once it's seasoned with your favorite dry rub, it goes directly onto searing hot grill grates. It should be repeatedly flipped so the interior cooks uniformly, preferably to a medium-rare temperature for ultimate beefy flavor.
Just as with a flat iron, it's critical that skirt steak be sliced against the grain so every bite is tender. Because the meat fibers typically run across the width of the beef, it's best to make one cut widthwise so you get two halves to start. Then rotate those two pieces so you can cut manageable slices across the grain.
With any of the cuts of meat on this list, McBrain noted that it's important not to slice into them as soon as they come off the grill — otherwise, you lose all the tasty juices that keep them moist and flavorful. He said, "Remember to let the meat rest. Letting it rest for three minutes lets the juices spread out so your meat is tender and juicy."