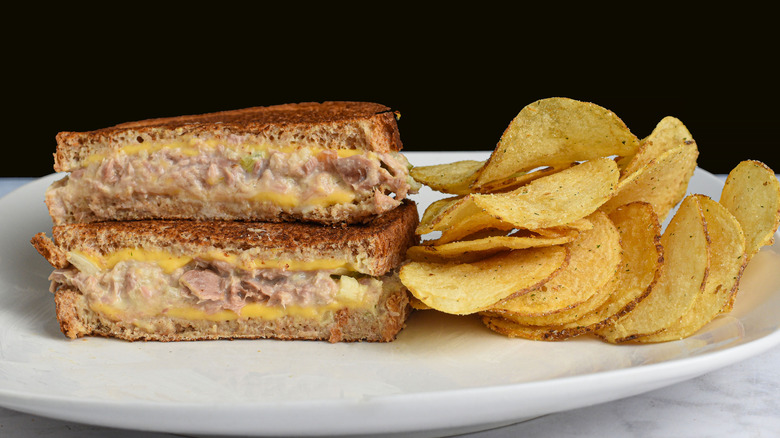
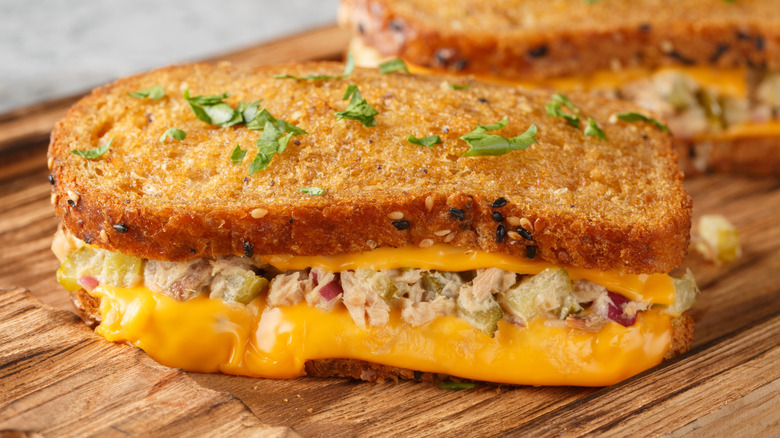
11 Mistakes You're Making With Your Tuna Melt
We may receive a commission on purchases made from links.
Unless you have particularly strong, negative feelings about tuna (in which case, how dare you?), chances are likely that you've enjoyed the occasional tuna melt throughout your life. This is a classic comfort food that's so good, so perfectly homey, that even the Barefoot Contessa herself, Ina Garten, calls it a go-to sandwich.
It's not always easy to find a tuna melt, though. While this is a diner-style sandwich with big Americana flair, it's not as popular as it maybe deserves to be. You might be able to snag it at your local greasy spoon, but otherwise you could be stuck making your tuna melt at home when the cravings hit. Luckily, making a pretty solid tuna melt from-scratch requires minimal ingredients and time, and is overall easy — so long as you avoid the most common pitfalls, of which, it turns out, there are plenty.
Don't worry, though. We're going to break down how you can avoid the most common tuna melt mistakes so that you and your tasty sandwich make it out of the kitchen unscathed. We spoke to a handful of certified experts to get their takes and tips. From picking the wrong ingredients to assembling your sandwich incorrectly, here's what you may be doing wrong and how to get it right.
Not draining the tuna well enough
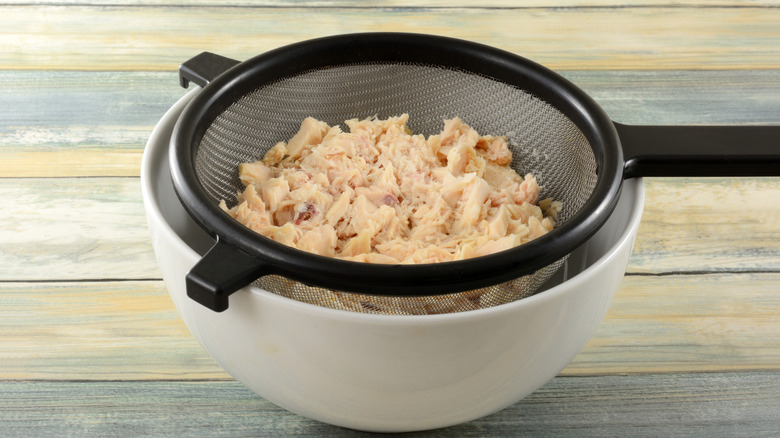
If you're not draining your canned tuna before using it, then you're probably having issues in all your tuna-based recipes across the board, not just your melts. Tuna salad, tuna casserole, tuna tetrazzini, you name it — they can all suffer if you're not draining that tuna before mixing it in with the rest of the ingredients. The added liquid can severely and negatively impact your dish's texture.
As Ashley Schuering of Confessions of a Grocery Addict shared, "Excess liquid will thin out the tuna salad and make the bread soggy. I always recommend pressing the tuna gently against the lid of the can or letting it sit in a fine-mesh strainer for a minute to remove as much moisture as possible."
Scott Brenneman, senior director of culinary training at Friendly's concurred, adding that you shouldn't rush this process. Let that tuna drain in a colander, naturally and slowly, avoiding the temptation to speed the process along by pressing or rinsing the tuna. "You never want to press or rinse canned albacore — that strips away the briny, salty flavor," he said.
The only instance when not rinsing might be considered a big tuna mistake? If you're trying to avoid fat, calories, and sodium. Then go ahead and rinse, as rinsing the tuna can help wash away some of the oil and salt. However, if you're worried about oil and salt, chances are you're not making a tuna melt anyway.
Adding too many wet ingredients
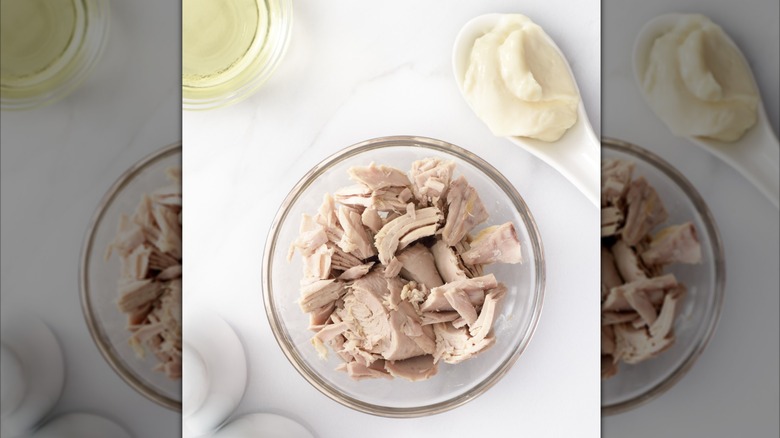
Continuing along the line of ensuring you don't accidentally destroy your tuna melt's texture, Ashley Schuering also told us that another big, yet common, mistake that home cooks make with their tuna melts is adding too many wet ingredients to the tuna salad. "Ingredients like pickles, relish, or too much mayonnaise can quickly overwhelm the mixture," she said. "The goal is a creamy but scoopable filling that holds together rather than something loose and watery."
Don't just pick any ol' mayonnaise for your tuna salad, either. Scott Brenneman clarified that you should pick a high-quality, extra-heavy mayonnaise, such as one that includes extra egg yolks, for greater tuna salad stability, sans wateriness. (Not sure how you're going to get your hands on some extra-heavy, extra-eggy mayo, without making it yourself? Look out for authentic Japanese Kewpie mayonnaise, which contains extra egg yolks and is generally thought to be the best mayo to use in tuna salad.)
At the same time, though, don't overdo it on the mayonnaise, either. Jessica Randhawa, creative director at The Forked Spoon, said, "Too much mayo can make your tuna melt soggy or too heavy. You only want to use enough mayonnaise to bind everything together, and no more."
Not blanching your celery
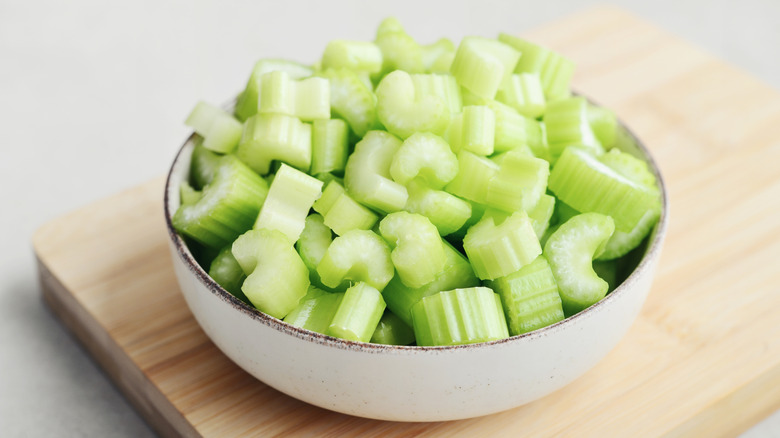
If you put celery in your tuna salad, avoid merely grabbing a few stalks from the fridge, chopping them up, and tossing them into the bowl alongside your tuna and mayo. No, you're going to want to go the extra mile and actually blanch your celery first. This, Scott Brenneman said, will add "a little extra crunch and color" to your tuna salad (and it's how the Friendly's crew does it, so you know it can't be too bad of an idea). Just make sure to thoroughly drain the celery afterward (because, again, texture).
If you're unfamiliar with the blanching process, it's none too difficult. If you can boil, you can blanch. All you need to do is chop your celery like normal. Set some water on the stove to begin boiling as you do. You'll also want to separately pre-prep a large bowl of ice water. Once the celery is chopped and the water is boiling, let the celery boil for literally just a few minutes. You don't want fully cooked, soggy celery. It should still have crunch. When the celery's green hue begins to light up, you're there. Then, use a slotted spoon to scoop your celery from the boiling water, immediately dropping it into the ice water. Let the celery completely chill and then drain and dry it.
Not picking the right cheese
When it's time to add some cheese to your tuna melt, you might automatically reach for a good ol', single-wrapped slice of Kraft — and while that's certainly a good option, consider your alternatives, too. You can easily opt for a cheese upgrade, just so long as you pick the right type of cheese for a tuna melt (because, while all cheese is good, not all cheese is good for this specific purpose).
"Cheese choice matters more than people think," said Ashley Schuering. "Skimping on the cheese — or using the wrong kind — can prevent that signature gooey texture. A tuna melt needs a generous layer of a good melting cheese like cheddar, Swiss, or provolone so it fully melts into the tuna mixture."
In a separate Takeout article, Owen Han, author of the cookbook "Stacked," and a sandwich expert in his own right, likewise told us that he prefers fontina or havarti, both of which melt well, as opposed to cheeses like feta or blue cheese. And, if the cheese is your favorite part of the entire equation? Well then you might just want to give your tuna melt a party-ready twist, by ditching the bread and making tuna melt nachos.
Using the wrong bread
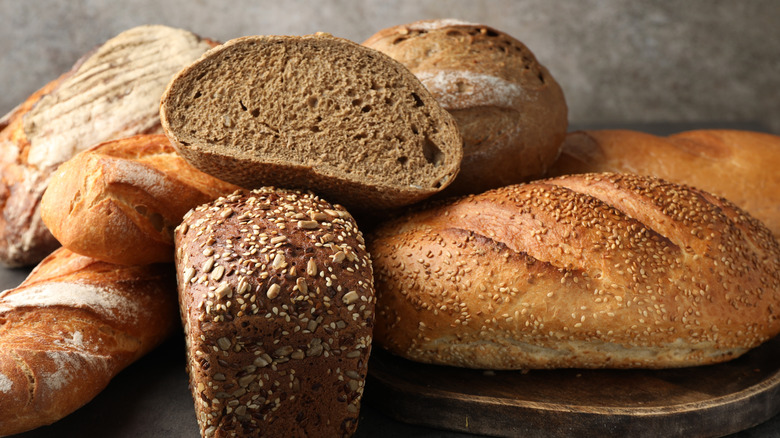
For those of us who would like to stick with the bread, though, that's yet another area where we could potentially run into some trouble. As Jessica Randhawa said, "Choosing the wrong type of bread for tuna melts can be problematic for home cooks. You don't want bread that is too soft, as it can fall apart too easily once you load it up and start heating it up. A denser sandwich bread or a hearty sourdough is my go-to bread for tuna melts, as it holds up much better during the making and melting process."
Rye is also a popular pick for many home cooks, as is — somewhat surprisingly — the humble English muffin. It makes sense when you think about it, though. An English muffin provides structure and support; it's not so soft that it's going to fall apart on you, like standard white bread might, as soon as you begin piling on spoonfuls of your mayo-laden tuna.
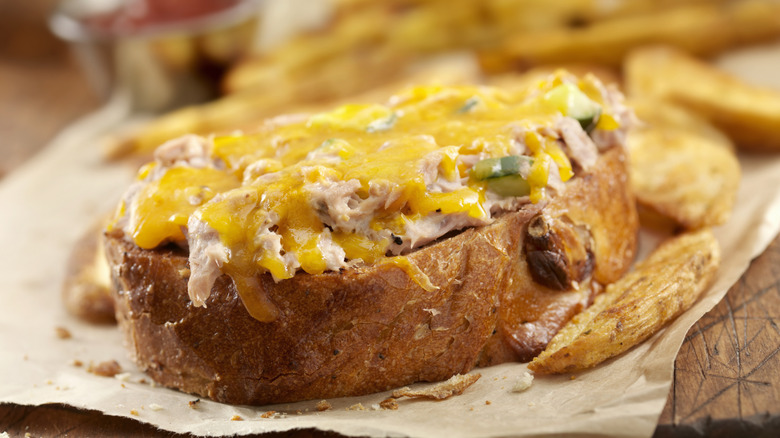
You may also want to consider the size of the bread, beyond just the type of bread. If you're making an open-faced tuna melt, thicker bread provides a sturdier base and a better bread-to-tuna-melt ratio, while thinner bread may be ideal for closed tuna melts, as you don't want the bread to overpower the melt.
Incorrect assembly
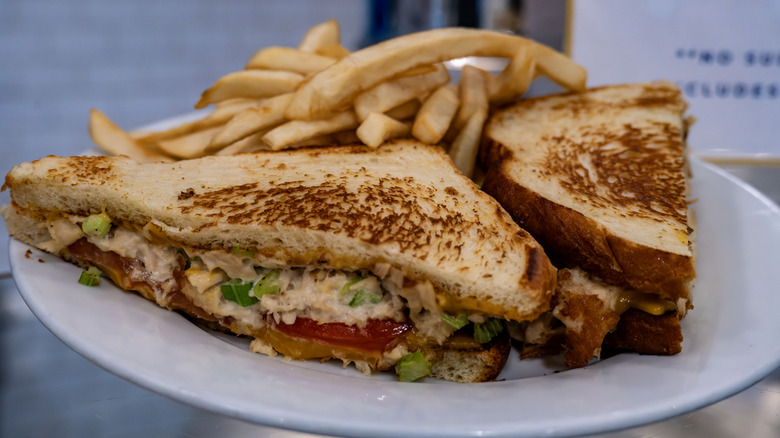
Still dealing with soggy bread? Bread that just falls apart? Or are your textures just off in a way that you can't really put your finger on? It could be the case that you're assembling your tuna melt all wrong. There's an art to layering your tuna melt ingredients.
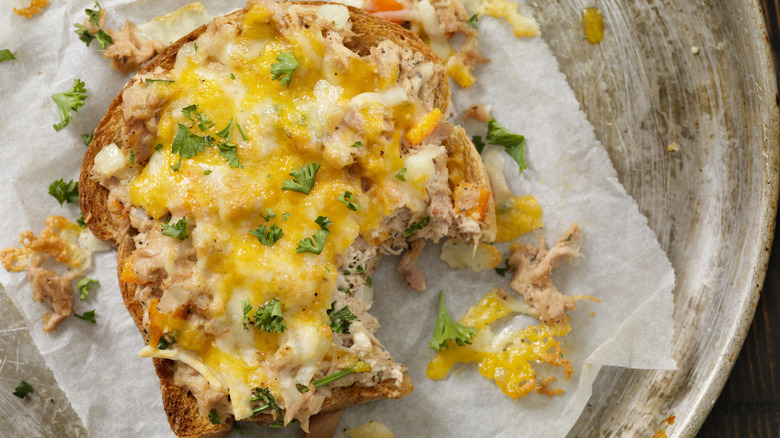
Ashley Schuering advised, "Assemble the layers thoughtfully. I like to do a layer of cheese, a slice of tomato (in the summer only!), then tuna salad, and another layer of cheese on top. This helps hold everything together and prevents the bread from getting soggy or the tuna salad from getting too hot."
Of course, if you really want to absolutely throw the idea of proper assembly out the window (and maybe make some people mad in the process), you can always craft an upside-down tuna melt. It's a process that dominthekitchen shared on Instagram, as part of the short-lived, upside-down-puff-pastry cooking trend. Basically, he makes his tuna salad, places scoops of it on a baking sheet, covers the scoops with slices of puff pastry, and bakes it. Close enough?
Improperly toasting or grilling your bread
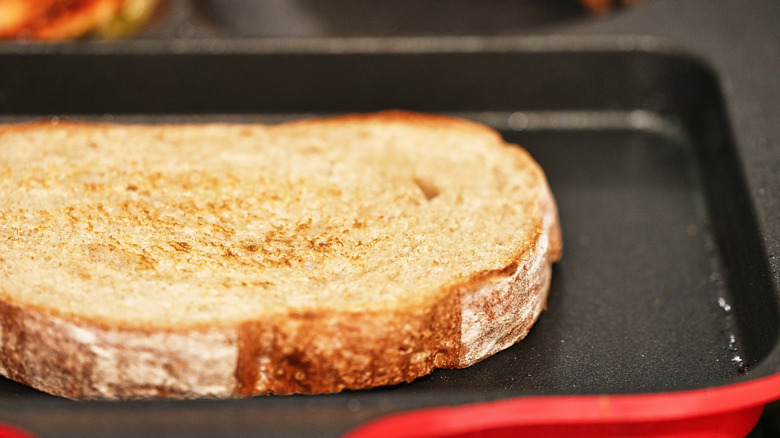
But hold up right there — before you even assemble your tuna melt, you have to do something else first: Toast or grill your bread. If you overlook this step, said Ashley Schuering, the tuna melt's filling can make the bread soft and soggy before the cheese even has a chance to melt.
"Crisp, golden bread creates the contrast that makes a tuna melt so satisfying," she noted. "I personally recommend using a thin swipe of mayonnaise on the outsides of the bread, then griddling it in a skillet over medium heat. (Butter works too, but I find mayo gives the closest-to-diner texture.)"
Using mayo as a replacement for butter when toasting bread (like when you're making another comfort food favorite, a grilled cheese) is one of the best overlooked uses for mayonnaise (right alongside using it in your scrambled eggs and putting it in a meat marinade). As Schuering notes, the mayonnaise gives the bread a better texture. This is true for multiple reasons, including the fact that mayonnaise stands up to heat a little better than butter, which has a lower smoke point. You can cook the bread hotter, longer, without burning.
If you toast your mayo-slathered bread in a skillet, consider toasting your cheese at the same time, too (and adding the tuna salad after the fact). Place the bread mayo-side down, cheese on top, before covering the pan with a lid to contain the heat and melt the cheese.
Using too high heat
Of course, not everyone makes their tuna melt the same way, not even the pros, so you may end up skipping the grilling or toasting of your bread before assembling your tuna melt and popping it under the heat so the cheese can get all gooey and perfect. If this is the situation you're faced with — your tuna melt is already assembled and you need to both cook the bread and melt the cheese simultaneously — you'll want to avoid using too high heat.
Jessica Randhawa explains: "You ... don't want to rush the melting process, as rushing with too high a heat can toast [or] burn your bread before the cheese melts. I always cook my tuna melts over a medium-low heat so that the cheese melts perfectly before the bread goes past golden."
Some other tricks for ensuring the cheese has time to melt before the bread burns? If you're toasting your assembled tuna melt in a skillet, and you've buttered your bread or added butter to the skillet itself, as some recipes suggest (rather than using mayo) add some olive oil to the pan, too. It'll help prevent burning. Then, you can also help the sandwich's interior heat quickly and speed up the cheese melting process by weighing down the sandwich, using another heavy skillet to press down on the top piece of bread, or a cooking weight, if you want to get fancy and official.
Grilling the sandwich open-faced
If you're grilling or broiling a tuna melt and you're planning on using two pieces of bread, one on the top, one on the bottom, you may still grill the sandwich open-faced. If you have one piece of bread topped with your tuna and cheese on one side of the pan, and the other piece of the bread browning next to it, it's just a faster, easier way to ensure both pieces of bread are nicely toasted without worrying about flipping ... right? Well, you'd think that might be the case, but it turns out that this method is a big mistake for multiple reasons.
Scott Brenneman said, "Most people make the mistake of grilling a tuna melt open-faced, but direct heat dulls the tuna salad and causes uneven browning. At Friendly's, we butter the bread, assemble the sandwich with the tuna already inside, and apply even pressure using a panini press or a weighted tool — similar to a masonry finishing trowel — to get a uniform golden-brown exterior without crushing the bread. This method keeps the tuna salad lukewarm, the cheese perfectly melted, and preserves the bright white color of the salad, rather than letting it turn dull or beige."
Underutilizing your toaster oven or broiler

Open-faced versus closed. Rye bread versus white. Mayonnaise versus butter. When it comes to tuna melts, there are a whole lot of arguments that can be had, with everyone seeming to have their own opinion — and this is true when we get into exactly where you should cook your tuna melt, as well. While many recipes will point you toward the stovetop and a pan, Ashley Schuering cautioned that you should not overlook your toaster oven or broiler. Opting for one of these cooking methods can even help you avoid some of the other mistakes on this list.
She said, "I like to assemble the sandwich and finish it in a toaster oven or broiler. This helps the cheese melt more evenly and quickly without heating the tuna salad up. You can do this in the same skillet you toasted the bread in, but putting the lid on is the only way to really get the cheese to melt, but then you get condensation that can rain down and make it a little wonky, plus you risk burning the bottom of the bread."
Under-seasoning
Last, but certainly not least, if you're just feeling like your tuna melt is a bit ho-hum and overall boring, it's time to jazz it up a bit. "Many people under-season the tuna mixture," said Ashley Schuering. "Tuna is mild, so it benefits from a little brightness — think lemon juice, Dijon mustard, black pepper, or fresh herbs — to bring the flavor to life."
You can even take things further: Make a big batch of tuna salad to use both in your tuna melt and elsewhere in your life (eat it on white bread, serve it with crackers, stuff it into a bell pepper, toss a scoop on a green salad!) and punch up that tuna salad by adding interesting and somewhat unexpected extra ingredients. Potential options include pecans, crushed potato chips, or capers. Even just upgrading your can of budget tuna to a fancier option can work wonders. Some of the best brands of canned tuna include Ortiz, Wild Planet, Safe Catch, and Northern Catch (which is actually an Aldi brand, so it shouldn't even be too much of a splurge!).