11 Tips For Making Cheap Cuts Of Steak Taste Better
Making cheaper cuts of steak taste like a million bucks is all about the little things. Factors like timing, technique, and some professional hacks can change a simple, inexpensive cut into a surprisingly tender and flavorful dish. To help home cooks unlock these secrets, we spoke with three industry veterans whose experience spans the globe and the steakhouse world.
Andrew Hunter, Head of Culinary Development for Wolfgang Puck Worldwide and Executive Chef for Niman Ranch, brings a unique perspective that bridges fine dining, product development, and global culinary innovation. Michael Englese, Executive Chef of Voltaggio Brothers Steak House at MGM National Harbor in Oxon Hill, Maryland has years of experience turning humble cuts into signature dishes that shine in a high-end steakhouse setting. They are joined by Ken Hoffman, COO of Dividend Restaurant Group, which owns Sullivan's Steakhouse and Eddie Merlot's, bringing a practical, operational perspective from some of America's most respected steakhouse brands.
Together, these experts share the secrets that take budget-friendly cuts from chewy to crave-worthy. From understanding muscle structure to perfect marinades, precise temperature, and finishing touches, this guide will show you how to get steakhouse-quality results at home without breaking the bank.
Choose the right cut
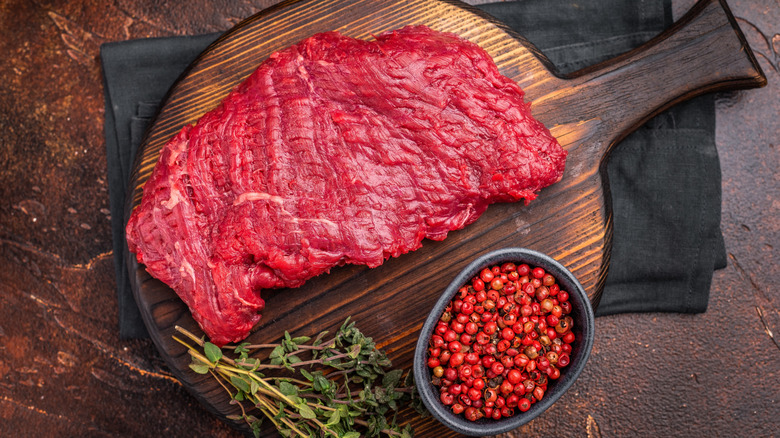
When it comes to buying beef on a budget, what's more important than finding the cheapest cut is experimenting and discovering an inexpensive cut of steak best suited to your needs. For example, if you're looking for steak that would work well in tacos or salads, the cut you choose can be less expensive than one you would need for a great home-style steak frites.
Some steak cuts simply offer more flavor and texture than others, and all our experts were unanimous about the best options. Chef Michael Englese swears by flank steak and the humble chuck eye. For him, these cuts are versatile enough to be used in several recipes from fast, high-heat dishes to meltingly tender slow roasts. Ken Hoffman leans towards hanger, flank, skirt, and flat iron. These cuts, he says, "deliver huge steakhouse flavor without the steakhouse price." They shine whether you cook them on the grill, in cast iron, or sliced into stir-fries and salads. Chef Andrew Hunter adds skirt and flap meat to the list, because of their forgiving nature and versatility.
For home cooks, these thin cuts reach a perfect medium or medium-well the moment you achieve a good sear, according to Hunter. All they need is a good knob of flavored butter, and you have a meal worthy of a steakhouse. It pays to note that budget-friendly steaks aren't a compromise but rather an opportunity to experiment with cuts and flavors, with enough versatility to keep your dinner rotation genuinely interesting.
Understanding muscle and texture
If you plan to cook steak often or simply want to uplevel your grilling skills, it's important to understand some basic anatomy. All our experts impress upon the fact that when you're working with cheaper cuts of steak, the very first thing to understand is the muscle itself.
In other words: movement equals tougher cuts. As Ken Hoffman explains, "areas of the cow that have more movement = more connective tissue = tougher raw texture." Or as chef Michael Englese elaborates, "muscles that are used more tend to have more collagen and connective tissue, and this leads to a tougher bite." But here's the part most home cooks miss — that same connective tissue is exactly what gives these steaks the kind of deep, beefy flavor you'll never get from a delicate filet.
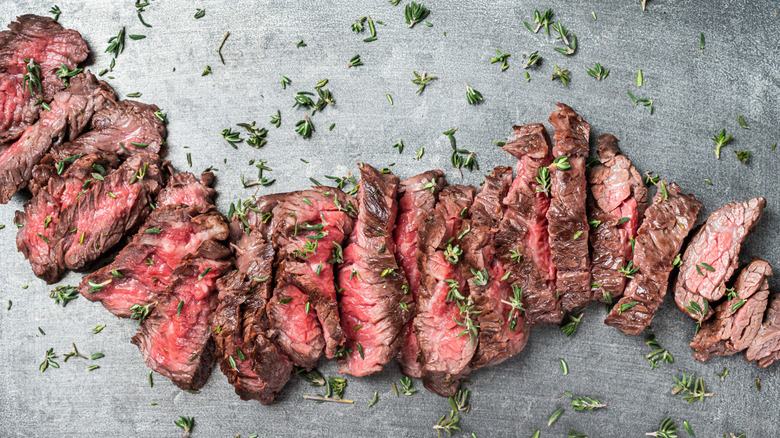
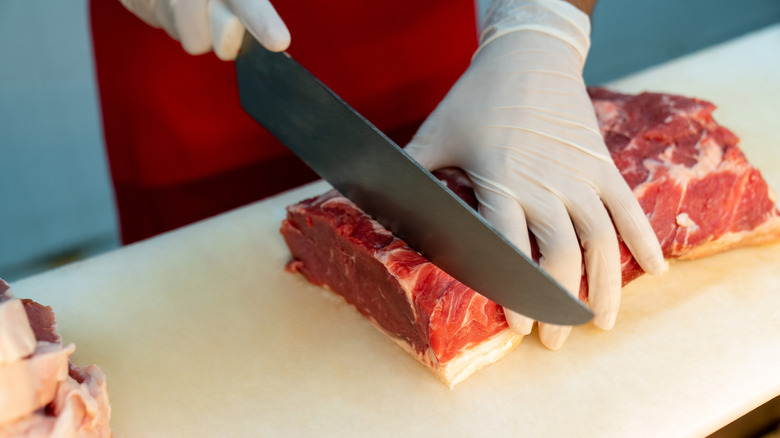
Our chefs also stress that your knife skills matter just as much as your cooking technique. You must understand the grain (or the direction in which the muscle fibers run) before cooking any cut of meat. Chef Andrew Hunter impresses on the fact: "Always cut across the grain. In other words, cut the muscle fiber crosswise so you're shortening the fibers making the meat easier to chew. If you cut it lengthwise you're essentially making a stick of gum." Once cooked, the grain can zigzag or fade, which makes things tricky, but taking a few seconds to rotate your knife will change the entire eating experience.
The power of a good marinade
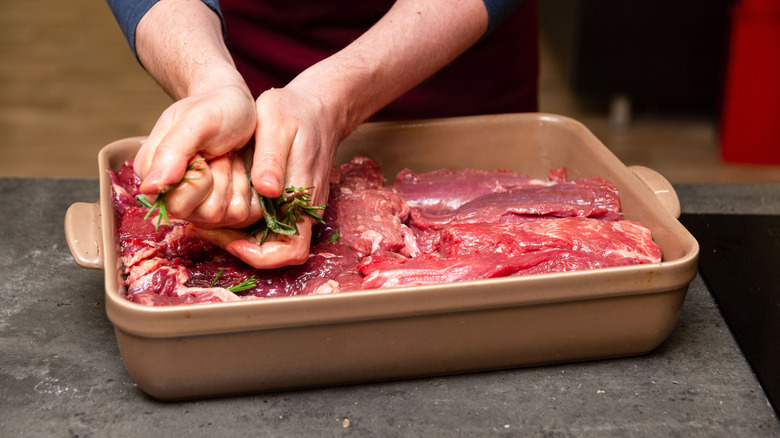
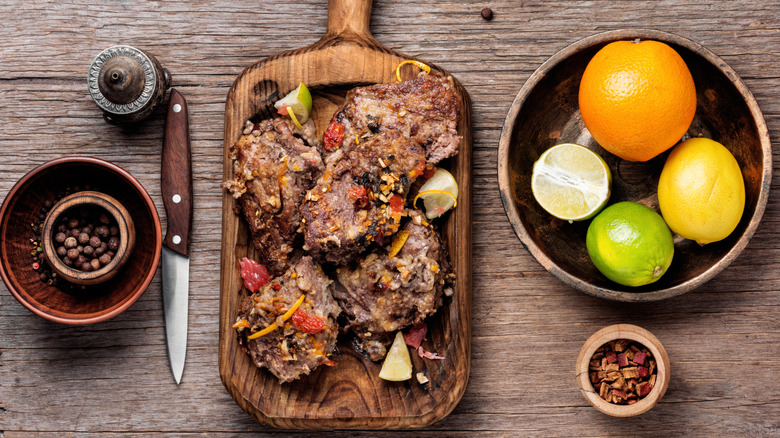
A great marinade can transform a tough, inexpensive cut of meat into something genuinely exciting, but only if you treat it as more than a bowl of random ingredients. As Ken Hoffman explains: "A marinade should do three jobs: Season below the surface, add acidity to relax the muscle structure, and bring fat and aromatics for flavor transport."
Hoffman's formula for a successful marinade is an acidic base like red wine vinegar or citrus, a reliable salt component (kosher salt being the best), umami boosters such as Worcestershire or fish sauce, classic aromatics like garlic and herbs, and a fat such as olive oil to tie it all together. He also warns not to soak the meat for longer than 10 hours. After that time, according to the chef, you're not tenderizing further but rather masking the inherent flavor of the meat itself.
In keeping with this warning, chef Andrew Hunter likens most marinades to dunking your steak into a bath. The goal of a good marinade, he says, is to coat the meat and cling to the exterior without burning. A dry rub also does the trick equally well and creates flavor faster without the risk of burning on the grill. For richer cuts, chef Michael Englese likes pairing meat with "a high-acid chimichurri" to slice through the fat and bring brightness. And across the board, all emphasized restraint: Don't drown cheap cuts in seasoning, don't over-marinate, and whatever you do, don't overcook.
Dry brining for flavor
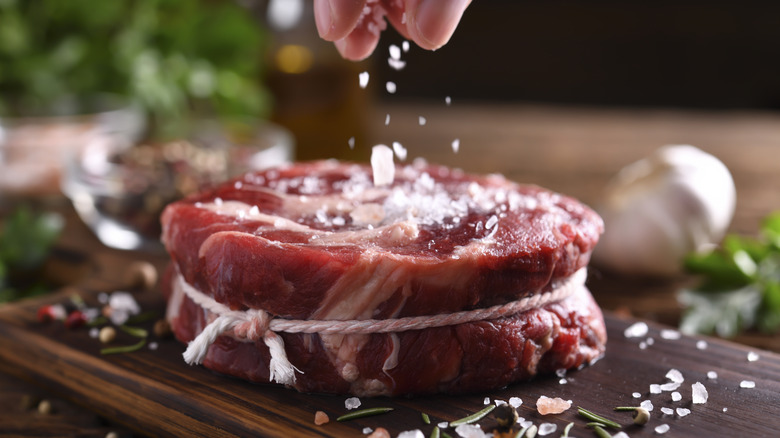
Dry brining is one of the simplest and cheapest ways to elevate inexpensive cuts of steak. Unlike wet marinades, which may lead to flavor imbalance or under-browning on a grill, dry brining when done correctly can result in a steak that is richer in taste and is seasoned more evenly. Dry brining uses salt alone to season and tenderize, allowing the meat's natural flavor to shine. The process is straightforward: Generously coat the steak with kosher salt and let it rest, uncovered, in the refrigerator. Salt initially draws out moisture, which then dissolves back into the meat, enhancing juiciness and concentrating flavor.
Depending on the cut, you need to adjust how long you brine your meat for. For thinner or quicker-cooking steaks, a short brine of 45 minutes to an hour is often enough to make a noticeable difference. Heavier cuts benefit from longer brining several hours up to overnight allowing the salt to penetrate fully and tenderize the muscle fibers. Also note that meat that has been brined tends to cook slightly faster, so care needs to be taken not to overcook the steak. Unlike wet marinades, there's no excess moisture to interfere with caramelization, so the crust develops beautifully in a hot pan or grill.
Use acids and enzymes carefully
Acid and enzymes can absolutely tenderize inexpensive steak cuts, but they can just as easily ruin them. Our experts were very vocal about using these ingredients carefully. Ken Hoffman explains that the natural enzymes found in pineapple or papaya act extremely fast, which is why they're traditionally used for large, slow-cooked roasts rather than quick-cooking steaks. According to him, a close eye needs to be kept on any meat treated with an acidic or enzyme-based marinade. Once the muscle fibers start dissolving and the steak begins to look opaque, there is no reversing from the slide into mush — or as Hoffman terms it, "ceviche territory."
The chefs also warned that it's almost impossible for home cooks to control this fine line. So, if you do choose to use an enzyme, keep exposure extremely short: around 30 to 60 minutes. Beyond that, the meat begins to break down too much.
While some acidic marinades can be gentler depending on whether they're made with vinegar, citrus, or yogurt, they still require attention. Additionally, wet marinades interfere with browning. "I don't recommend marinating any meat for grilling and searing because the wet marinade reduces your ability to get a good caramelization," explains Andrew Hunter. Many chefs prefer a dry surface that can build a tasty crust; acidic marinades don't necessarily make seared steaks better, just wetter.
Slice correctly to improve tenderness
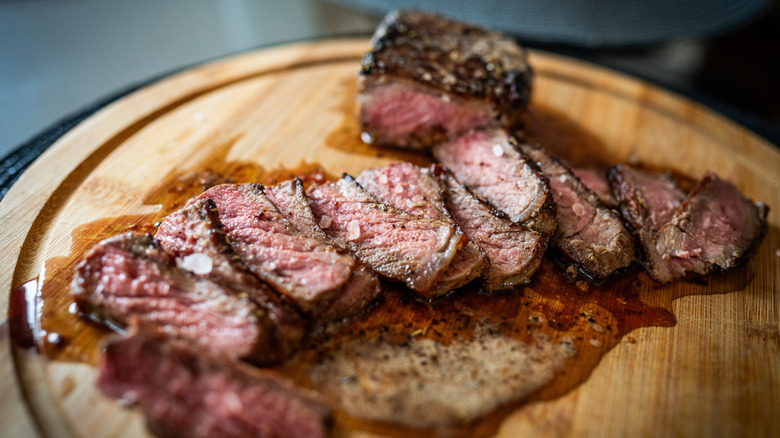
Even the best marinade or perfect sear won't fix a steak that's been cut the wrong way. Every professional chef knows the cardinal rule: Always slice steak against the grain. Ken Hoffman explains, "In plain language: If the grain of the meat runs left to right, you should slice up and down. Not in the same direction as the grain — always across it."
When you cut with the grain it leaves every long fiber intact. What this ends up doing is leaving you to chew the meat and do the work your knife didn't. You know that gummy, unpleasant bite some meats have? It's because it has been cut the wrong way and not because it was cooked or grilled wrong. Chef Andrew Hunter elaborates, "If you're cutting a large piece of meat like beef chuck or pork butt, try to cut it into chunks along the meat's natural seams. The reason is the grain direction is typically the same in each natural chunk. If you're cutting less expensive steak cuts, always go against the visible grain."
With smaller steaks like flank, skirt, flat iron, or hanger, the grain is usually easy to see when the meat is raw. After cooking, though, things get trickier. Browning can obscure the fibers, and on some cuts the grain can shift direction halfway across the steak. It's worth taking a moment before cooking to study the grain and note the correct slicing direction.
Match the cooking method to the cut
Firstly, let's get this out of the way — cheap cuts of meat are not bad, they are simply built differently. Steaks from the shoulder, legs, and other hard-working areas are packed with connective tissue. Yes, undoubtedly, they are tougher than the other more expensive cuts but given time and attention, they too can transform into something deeply flavorful. In most cases, all they need is time, moisture, and some gentle heat to "fall apart with tenderness" as chef Michael Englese promises. As Ken Hoffman points out, value cuts like chuck roast, chuck eye, top round, shanks, and short ribs are "the classic slow-and-low champs." They respond beautifully to searing first for caramelization, then moving into a long roast or braise where the collagen melts into silk.
On the other side of the spectrum, says Hoffman, are the lean, thin, or naturally tender "value steaks" such as flank, skirt, hanger, and flat iron steaks, which thrive under high heat and quick cooking. Because they're already relatively lean, slow heat can dry them out, but a blazing-hot grill or pan gives them the char they need while keeping the insides juicy. Hoffman put it simply: These cuts do best when you "get in, get the char, get out." Matching method to cut isn't just technique; once you understand what each muscle needs, even the humblest piece of beef can deliver steakhouse-level pleasure.
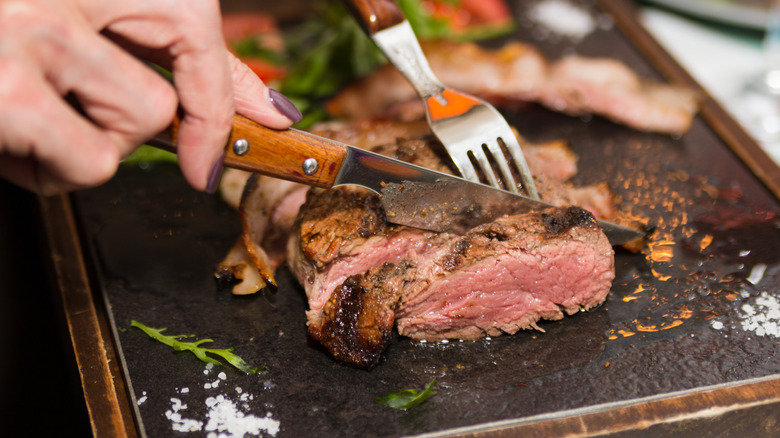
Nail the temperature and resting time
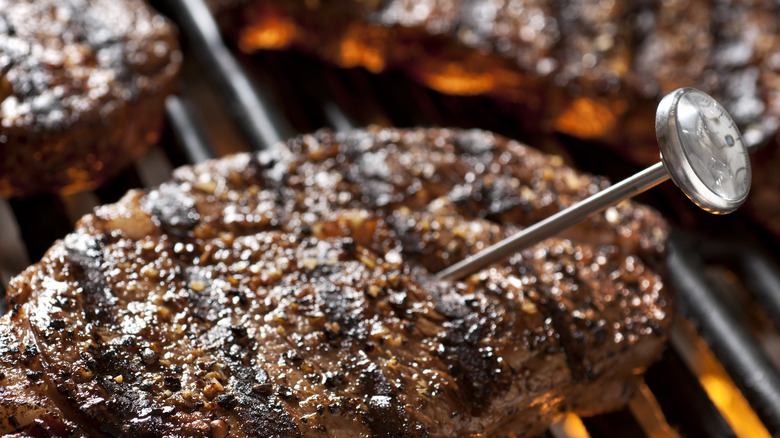
If there's one place where cheaper cuts need extra attention, it's temperature. Inexpensive meat doesn't have the built-in forgiveness of pricier, heavily marbled cuts, so how they are cooked and handled matters. Chef Michael Englese explains, "for cheaper cuts, in my opinion medium is the perfect cooking temperature 130 — 135 degrees Fahrenheit. Sometimes on the rarer side it can be tough to chew, as well as cooking too much can cause the cut to be tougher."
Overcooking is the number one mistake home cooks make with value steaks. "Remember cook fast, pull early from grill, let rest, [and] slice correctly," is the mantra Ken Hoffman swears by. Your goal in cooking all steak, whether cheap or expensive, is to melt the marbled fat which starts at around 130 degrees Fahrenheit. "Melted marbled fat improves flavor and mouthfeel," says chef Andrew Hunter.
Equally important is the resting stage. Resting allows the muscle fibers which contract under high heat to relax and reabsorb their juices. Skip this step and all that moisture spills onto the cutting board instead of staying in the steak. For thinner cuts, five to 10 minutes is ideal. Englese prefers to wrap the steak in foil to hold the heat during this window, especially when resting for the longer end of that range, although Hoffman suggests a wire rack for resting. Thicker or slow-grilled pieces might benefit from up to 15 minutes.
Boost umami
The one thing steakhouses do brilliantly is make beef taste "beefier." That deep, savory, meaty taste seems almost impossible to recreate at home. Well, our experts are here to break it down for us. You don't need elaborate sauces or complicated techniques; in fact, every chef stressed that the best flavor boosters are usually the simplest.
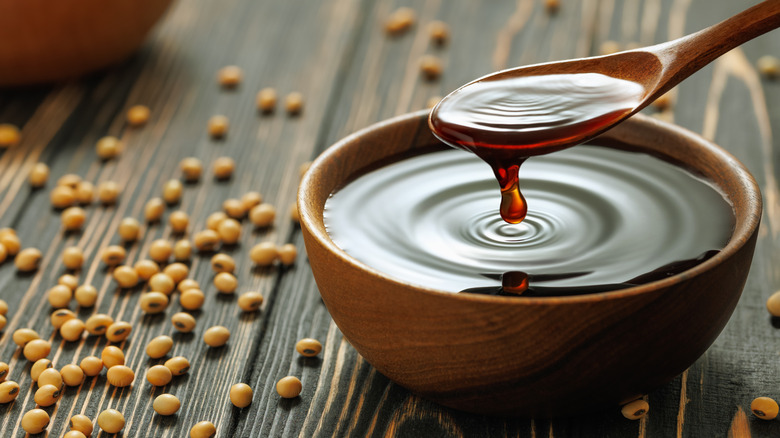
"Some of my favorites for a fine dining steakhouse taste are salted butter, or seasoned butters, mushrooms, shallots, miso, and fresh cracked black pepper," says Ken Hoffman. These ingredients naturally amplify the steak's own flavor instead of overwhelming it. Chef Andrew Hunter relies on soy sauce: "I often drizzle soy sauce on a steak after it comes off the grill while it's resting," he says. "I don't use a lot, just enough to coat it like I would use salt. It's a good idea to have a meat brush handy so you can spread it, creating an even layer." Chef Michael Englese agrees, and adds Worcestershire sauce, miso, or koji to the mix.
All the chefs warn against relying too heavily on premade seasoning blends, which tend to be mostly salt, and too much seasoning can overshadow the beef rather than enhance it. Instead, try pairing a little salt and pepper with fresh aromatics like garlic, chiles, herbs, gently cooked onions, or grilled vegetables for moisture, flavor, and a colorful presentation.
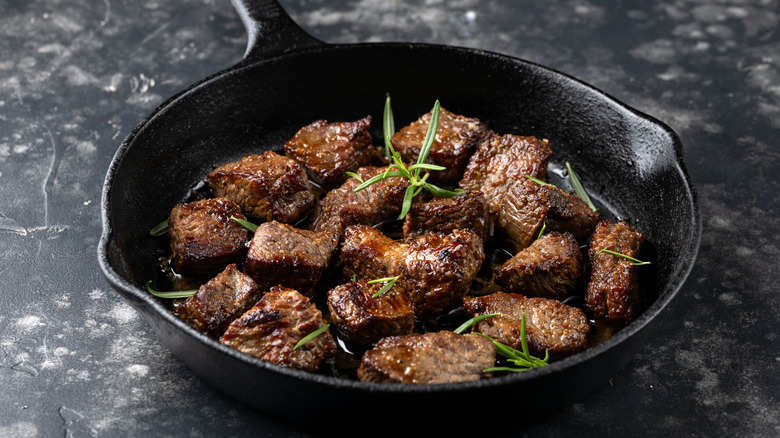
Use the right tools
Even the best cut and the perfect marinade can fall flat if you don't have the right tools. Cast iron is the undisputed hero for home cooks looking to maximize flavor on budget-friendly steaks. All the experts we spoke with recommended cast iron for its unmatchable heat retention and ability to create a deeply satisfying crust. Blue steel pans are another excellent option for stove-top cooking, offering similar heat performance and a sharp sear.
But, before you even touch the steak, preheat your cast iron pan until it's smoking hot. Chef Andrew Hunter emphasizes skipping oil or butter at this stage. "Open the windows and make the pan smoking hot [...] Sear it quickly on both sides and then turn the heat down to medium so you can cook it through without burning, especially if it's a thicker steak."
In addition to a hot pan, the right accessories matter. Using an instant-read digital meat thermometer or a wireless probe like a Meater ensures you hit the perfect doneness, and a wire rack allows the steak to rest without steaming, keeping the crust intact. Even a simple meat brush can help apply finishing sauces or a thin layer of soy or butter evenly across the surface. Investing in a few key tools makes all the difference. When paired with good technique, these tools let inexpensive steaks rival the flavor, texture, and visual appeal of the priciest cuts.
Finishing touches that elevate
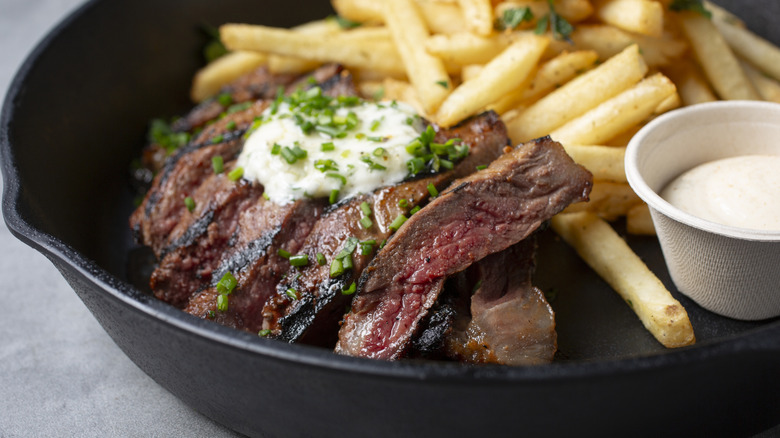
That final layer of flavor can make all the difference to even a humble cut. Finishing touches like compound butters, glazes, and sauces can turn your simple meal to a steakhouse classic. For Ken Hoffman, the best (and simplest) compound butter involves finely chopped fresh herbs or roasted chopped garlic blended into regular butter.
For chef Michael Englese, good cowboy butter is what he turns to when he wants to finish a steak. "One thing we do at Voltaggio Brothers steak house is we make a blue cheese tallow butter using the tallow from all our wagyu," he says. "We will whip it together with butter spices, herbs, and blue cheese, and it makes for a flavor bomb." For home cooks, simpler blends like a garlic-dijon-soy mixture can elevate any value cut.
Glazes and resting sauces offer a second layer of finesse. Brushing a thin coating of teriyaki, barbecue, or a simple reduction onto the steak while it rests creates a lacquered sheen and additional umami notes. The trick is to flip it gently and let the residual heat marry the flavors without burning. When it comes to butters and sauces, when they are added also matters. Some finishes go on in the pan, others after the steak comes off the heat. Compound butters should generally go on after the steak comes off the heat, whereas glazes can be applied while finishing in the pan for visual and flavor impact.