11 Ways To Make Ice Cream Without An Ice Cream Maker
We may receive a commission on purchases made from links.
Sure, you could go to the store and purchase a pint of ice cream (like some of these top-quality grocery store ice creams that are worth the splurge). You could even hit up the drive-thru and order a fast-food milkshake or cone. However, there's just something special about homemade ice cream.
When prepared right, it's creamier, smoother, and just way more delicious. Plus, it's totally customizable. You can add in whatever you want and make the flavor combos of your dreams. You can even use up some leftovers in the fridge, like that fruit that's one day from going bad, or remnants of the Halloween candy you hid from the kids.
There's just one little problem: you probably don't own an ice cream maker. It makes sense. Unless you're planning on making a lot of ice cream regularly, it's one countertop appliance that will probably gather some dust. The good news is that you don't actually need an ice cream maker to make your own frozen treats at home (even though a maker would be your easiest option). You can make ice cream in many other ways, with a little time, elbow grease, and ingenuity. Here are some of the best options, most of which only require some basic tools you probably already have on hand.
In a bag
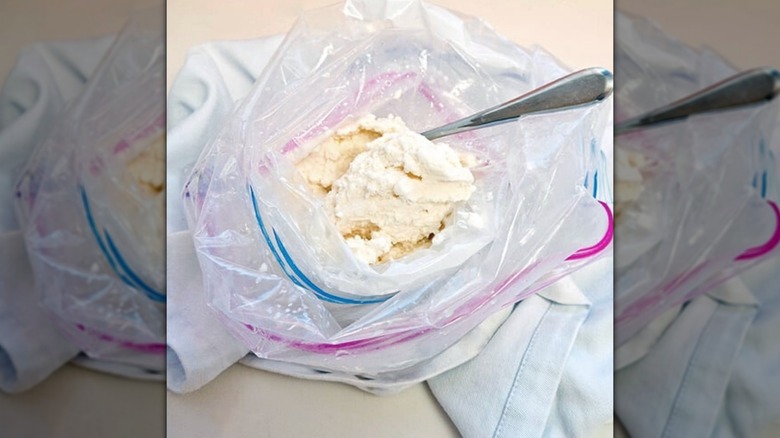
Some home cooks may recall this mode of making ice cream from their childhood days. It's a cheap, easy way to keep kids entertained for about half an hour. It doubles as a science experiment, and everyone gets a cool treat at the end. It's definitely a lesson in hard work paying off. However, if you don't quite recall how to go about making ice cream in a bag, we're here to help.
All you have to do is combine your ice cream ingredients in a zip-top bag. In another, larger zip-top bag, combine ice and rock salt. Put the smaller, carefully sealed bag of ice cream ingredients inside the ice and rock salt bag, close it up, and then shake away.
After a mere 10 to 15 minutes or so, you've got ice cream. It's ideal to use this method when you have an extra set of hands available; while 10 minutes doesn't sound like a long time, your hands will get cold, and your arms will get tired very quickly. Carefully remove the inner bag and dry it off before scooping out your dessert. Be careful not to let any rock salt come into contact with the ice cream. No rock salt on hand? No worries. You can actually sub in any other salt in your pantry, but pound for pound, rock salt will be more affordable.
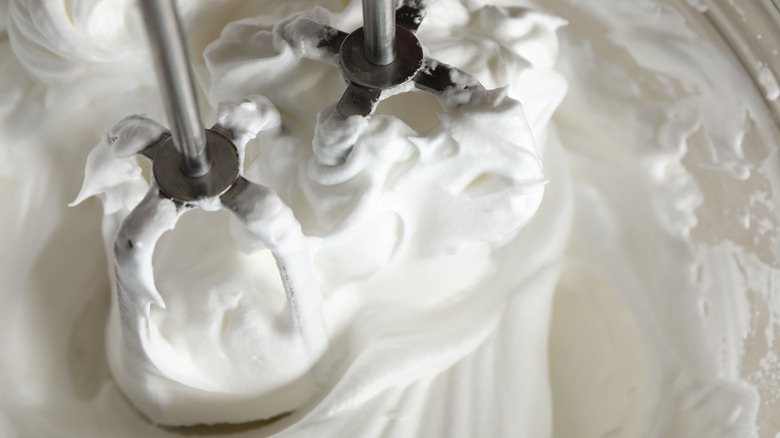
With whipping cream and condensed milk
We've all seen those two-ingredient ice cream recipes on social media and food blogs. "Turn soda into ice cream with just two ingredients," or "Make ice cream in 10 minutes with just two things in your fridge." The result always looks super-tasty, and the original poster makes it seem like it's the best ice cream they've ever eaten. Then, they reveal what two ingredients this so-called ice cream is actually made from — and one of them is almost always a banana. No dairy in sight.
Don't worry, there's no such trickery here. This two-ingredient ice cream hack incorporates all the creamy dairy and sugary goodness you want from ice cream. All you have to do is beat a pint of heavy whipping cream in a chilled bowl until you get soft peaks. Then, add a can of sweetened condensed milk. Let it sit in the freezer until it's solid and you have ice cream; no measuring necessary. If you want to add anything else to the ice cream, like mix-ins or flavorings, do so before it goes in the freezer.
Some think that the resulting ice cream can be a bit too sweet for their liking. If you find that to be the case as well, you can make a slight adjustment. Rather than using sweetened condensed milk, use evaporated milk, and then add as much or as little sugar as you prefer.
In a coffee can
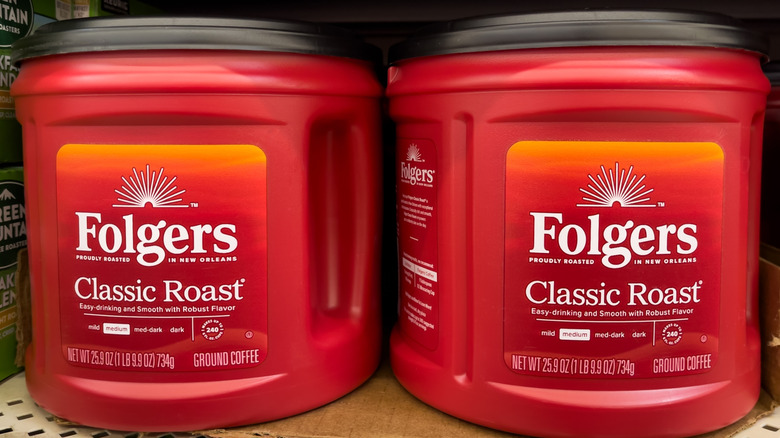
Making ice cream in a coffee can is an alternative to the ice-cream-in-a-bag trick, and one that some say is actually more effective. It does, however, require a few more supplies and more time.
You'll need two clean, empty coffee cans in two sizes. Opting for cans that hold about 1 pound and 3 pounds of coffee works well, as the size difference gives you enough space for your ice cream, ice, and rock salt.
Make your ice cream base and then pour it into the smaller coffee can. Close the lid and wrap the can tightly with duct tape. It needs to be thoroughly secured. Put the smaller can inside the larger can and fill the larger can the rest of the way up with ice and rock salt. Make sure the smaller can is fully surrounded. Then, close up the larger can and wrap it tightly with duct tape as well. Place the can on its side on the ground and start kicking it around for about 20 minutes.
Then, remove the small coffee can from the larger can, rinse it off, and take a glance at the ice cream forming. Give it a mix, seal it back up, get some fresh ice and salt, and then put the small can back into the large can for another 20 minutes of kicking. By that point, the ice cream should be done.
In a mason jar
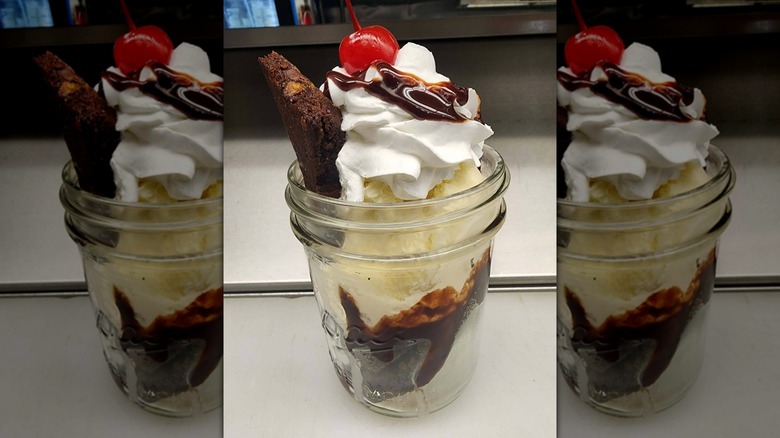
If you don't have two coffee cans and a bunch of duct tape on hand, and you don't mind waiting a bit for your ice cream if it means you don't have to spend 40 minutes kicking around a can, consider making ice cream in a mason jar. Add your ice cream ingredients to the jar, shake it for five minutes, and throw it in the freezer for a few hours. That's it.
You can even combine two homemade ice cream hacks into one by ditching a typical ice cream base recipe and instead using that aforementioned mixture of whipping cream and sweetened condensed milk. Just combine the two in the mason jar and shake, rather than whipping the cream into peaks, and then let the mixture freeze.
Find the process fun, but don't want to overfill your freezer with ice cream? You can use the same process to make butter. Just put heavy cream in a mason jar and shake for about 15 minutes.
With dry ice
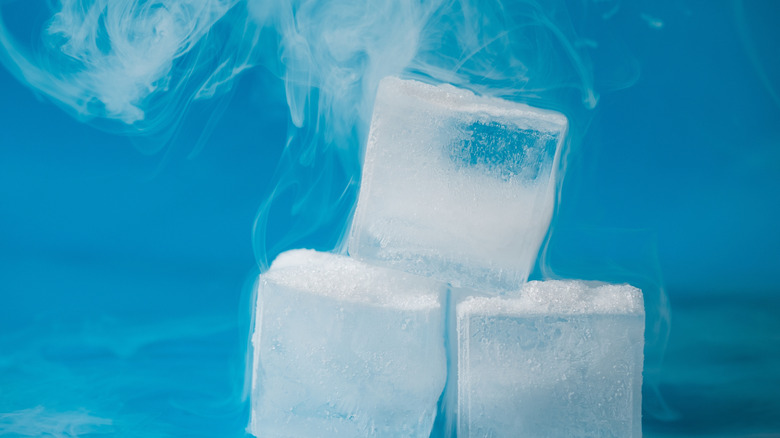
While it's probably not a method you'd want to use to make ice cream all the time (as both the resulting texture and flavor are a bit unusual), making ice cream with dry ice can be a fun experiment. Just remember that you should never touch dry ice directly, and you should never eat dry ice. You also always want to handle dry ice in a space with plenty of ventilation. So why can you eat dry ice-infused ice cream if it's potentially hazardous? Simple: The dry ice used to make ice cream converts to a gas before consumption.
To make this unique treat, combine all your ice cream ingredients in a large bowl. As you mix the ingredients, add in crushed dry ice little by little. The crushed dry ice will immediately cause the ice cream ingredients to begin firming up. Add dry ice until the ice cream is the consistency that you'd like. As the dry ice turns from solid carbon dioxide into carbon dioxide gas, some of that gas will stay within the ice cream, giving it an almost carbonated texture and a tart taste. Don't like the texture or taste? You can make ice cream similarly by using liquid nitrogen.
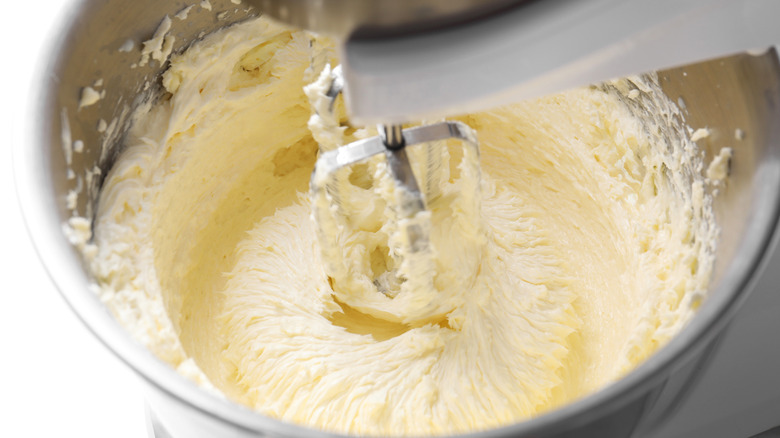
The double bowl method
If you have a hand mixer, then you may prefer the double bowl method of making ice cream over other options. It's straightforward, requires little in the way of elbow grease, and doesn't need any equipment that might be out of place in the average kitchen (like two empty coffee cans of different sizes).
You'll need two bowls, and one needs to be significantly larger than the other, as it has to hold both the smaller bowl and all your ice and salt. After filling the larger bowl partway with ice, place the smaller bowl atop the ice, and add more to surround the smaller bowl. Pour your ice cream base into this smaller bowl, and use your hand mixer to mix it for about 10 minutes. Leave the bowls as they are, cover them, and place them in the freezer for just under an hour. Mix the ice cream again for about five minutes, and then freeze your small bowl by itself for a few more hours, with a sheet of cling film over the top. After those few hours have passed, you'll have ice cream.
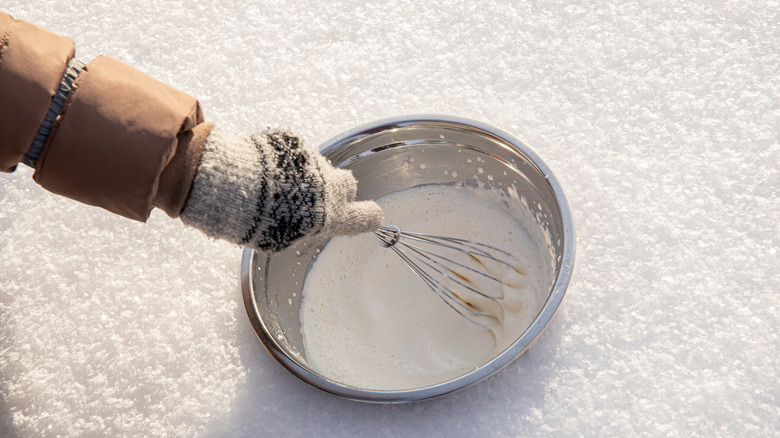
In the snow
No, we're not talking about making ice cream out of snow. That would be snow cream, which is a mix of clean snow, sugar, milk, and vanilla. While it does contain dairy and sugar, snow cream doesn't have the same creamy consistency as real ice cream. Instead, you're going to keep your typical ice cream ingredients, but you'll use the snow as your freezing method.
To make homemade ice cream by taking advantage of your frozen backyard, just grab a big metal bowl and take it out to a clean snow pile. Bury the bowl to its rim in snow and then pour in all of your ice cream ingredients. Cover the bowl and leave it until it's reached ice cream consistency, stirring on occasion. Note that this method will only work if it's below freezing in your neck of the woods, and the colder the temps, the better.
If you don't mind standing outside, you can also stir the mixture consistently over 10 to 20 minutes, which will result in a more "real" ice cream texture. You can also salt your snow pile before burying your bowl, which can help keep the temperatures optimally cold.
In a ball
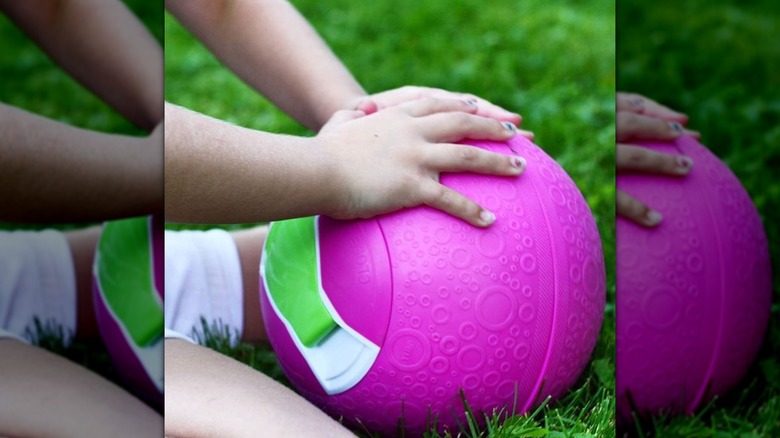
If you don't feel like DIY-ing an ice cream maker, you can buy a kitchen gadget that essentially works the same way. The YayLabs! ice cream ball has one interior pocket for your ice cream ingredients and another for ice and rock salt. Add everything and close it up, then kick the ball around for 25 minutes. After which, you'll supposedly have a pint of ice cream.
Amazon reviewers find that making ice cream in the ball is really easy, and clean-up is a breeze. However, there are some issues. Some report leaking at the ball's seam. Others note that it's annoying to have to stop the rolling process in order to stir the ice cream ingredients as they freeze (which is necessary in order to keep the ice cream from freezing to the interior's sides). Some say that their kids became bored with the ball before the necessary 25 minutes were up.
So, is this a method of making ice cream that's worth investing in? Maybe, maybe not. If you're looking for a fun activity for the family and don't mind a small fee for a one-off experience, or if your kids are constantly wanting to make homemade ice cream, it may be worth it. However, it seems that if you just want to make homemade ice cream once, another option on this list might be better for you.
In a stand mixer
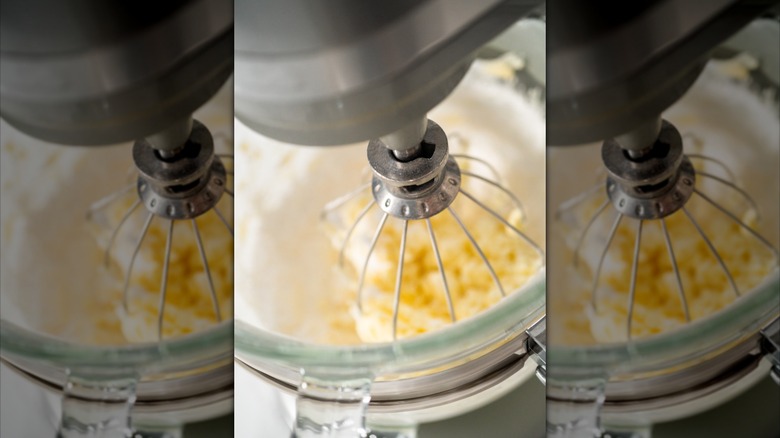
Maybe you like the idea of making ice cream by utilizing the frigid temperatures outdoors. However, you tried the previously described method of simply setting a bowl of ice cream ingredients in a snow bank, and it didn't provide the results you wanted. Or maybe you just want a faster process. If so, consider this option. Take your stand mixer outside, fill it with your ice cream ingredients, and then let it get to work. If the temperatures are below zero degrees Fahrenheit, and if the base has already been chilled, then you should get ice cream within half an hour.
However, just note that this method does come with a few risks. For example, you have to choose an outdoor outlet that's both safe to use in winter weather and that can power your mixer without blowing a fuse. Your stand mixer may also not respond well to the cold, and prolonged outdoor exposure could negatively affect the motor and other mechanisms. Also, don't just abandon your stand mixer once you have it set up and going. You'll still want to keep an eye on it — even if that's just through a door or window as you stay warm and your ice cream stays cold.
In a blender
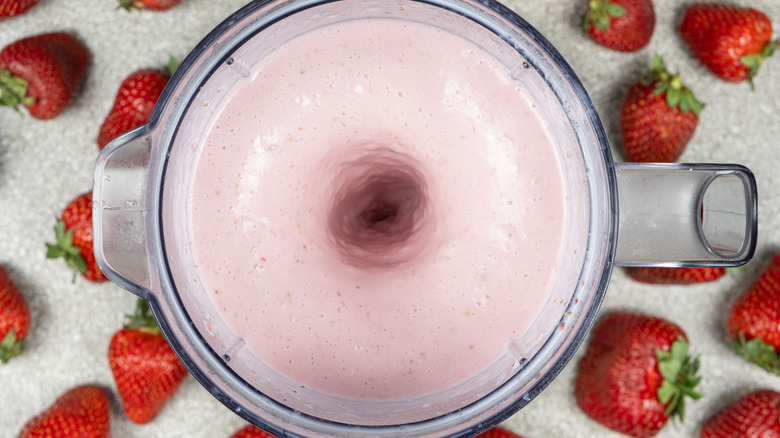
No stand mixer or even a hand mixer? No problem. You can also make ice cream in a blender. Yes, a lot of blender-based ice cream recipes end up not being ice cream at all — like a four-ingredient homemade chocolate ice cream that starts with frozen bananas or TikTok's cottage cheese ice cream that's actually better than you'd expect.
While these so-called "ice creams" have their place, they just won't do when you want the real deal. Make actual ice cream in your blender like so: To start, combine all your ice cream ingredients in your blender, blending until smooth and any sugar is dissolved. Then, pour the ice cream base into a container and place it in your freezer until the mixture is completely frozen. From there, put the ice cream base back into your blender. One way to make this easier is to freeze the base in an ice cube tray, so that you're not trying to hack the frozen base apart to get it to fit into the blender again. Blend the ice cream mix until smooth, let it freeze for five more minutes, and you're done.
In a food processor
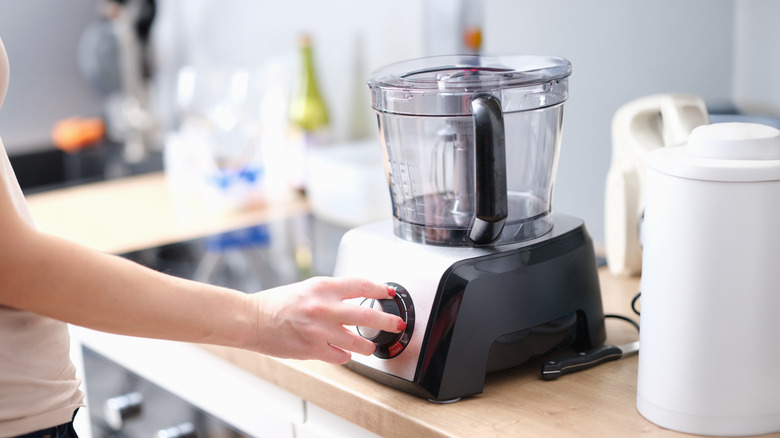
Just like you can make ice cream in your blender, you can also make ice cream in a food processor following a similar method. First, make your ice cream base and freeze it. Once it's completely frozen, add it to your food processor and process until smooth. Stick the mixture back in the freezer and you'll have ice cream at the ready. The food processor (just like a blender) infuses the mixture with air, giving it a creamier, lighter texture.
If you still just aren't getting the results you want after trying these methods, you may just want to break down and buy an actual ice cream maker. Just be sure to find the best ice cream maker for you. You may not even need to buy an entirely new countertop appliance at all — for example, if you already own a KitchenAid Mixer, you can purchase the brand's ice cream maker attachment. Otherwise, look for a maker that will fit your volume, storage space, and ease-of-use needs.