Your Chicken Is Missing Out On Big Flavor If You're Skipping This Easy Prep Step
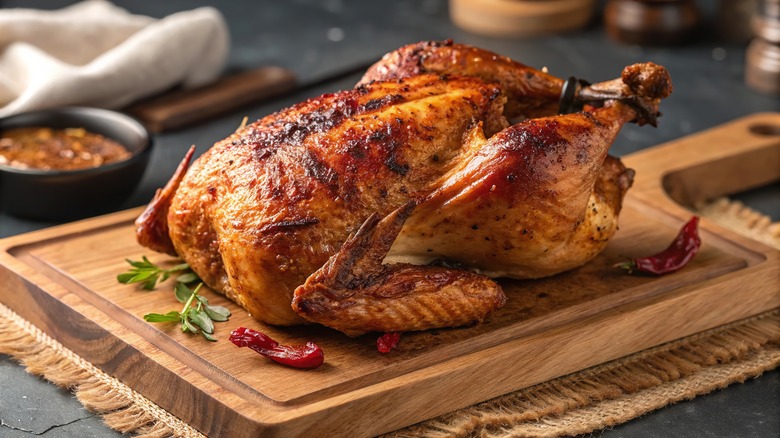
Everyone knows how to cook chicken, but few people know how to cook it well. And hey, chicken is usually pretty good even when it's just a tiny bit dry or when it could do with a little more flavor. That could help explain why many cooks never bother to improve their technique. Turns out cooking perfectly seasoned, crispy-skinned chicken every time is actually really easy.
In fact, according to Ashley Lonsdale, chef-in-residence at the premium meat delivery service ButcherBox, the difference between tasteless, dry chicken and a roast your guests will pick to the bone is as simple as a little salt; but timing is important. Lonsdale swears by dry brining, which basically means salting your bird then letting it rest before cooking so the salt can do its work.
Explaining how the technique works, Lonsdale tells us that this early salt rub "allows salt the opportunity to penetrate the meat and season it fully." She went on to add that the technique doesn't just affect flavor, it produces a juicier chicken as salted meat holds onto more water during the cooking process. Although you shouldn't need more persuading at this point, that's not all. "Another benefit to dry-brined chicken is its crispier skin if you're cooking chicken with the skin intact," says Lonsdale.
Given that chicken always tastes better at restaurants because it's juicy and well salted, it sounds like a dry-brine could get you near-professional results if executed properly. Time to make space on your kitchen wall for that Michelin Bib Gourmand.
Why dry brining is so effective
Dry brining is a simple technique backed up by equally simple science. With a dry brine, the liquid in your bird is initially drawn out by the salt on its skin. At this point, the salt dissolves into that liquid, creating a salt solution. This salt solution is then pulled back into the meat where it adds flavor and breaks down the protein chains that would otherwise tighten up while cooking. This all adds up to a juicy, well seasoned chicken without the hassle of drowning your bird in a bucket of salty water.
In addition to saving on fridge space and cutting down on washing up, many cooks (including Lonsdale) note that the skin of dry-brined chicken browns exceptionally well and that the meat tends to be more uniformly flavored than after a wet brine. This is because the bird goes into the oven with skin that has been drying for hours while the moisture it retains inside is from its own juices rather than from additional water, which can dilute the flavor even as it produces a plump bird.
How to dry brine a chicken at home

To dry brine a chicken, you need ¾ of a tablespoon of salt per 1 pound of meat. This should be applied evenly across the skin, which is easier if you sprinkle from a height. As with other kinds of brine, kosher salt is your friend here because the large crystals won't stick together. Every kitchen professional has their own favorite Kosher salt brand for brines, so follow the advice of someone you trust or use what you have.
Once it's salted, simply let your meat rest in the fridge. Longer is better for dry brining (within reason), so it's a good option for cooks who like to plan ahead and minimize effort. Lonsdale says, "You don't need to go beyond two days for whole or bone-in chicken, and one hour or overnight is more than sufficient for boneless chicken breasts or thighs." Once it's cooked, you can use that chicken to meal prep for the week for low-effort, high-reward eating.
To achieve the crispiest possible skin, leave your salted chicken uncovered or remove its covering it for the last few hours of the brine. Since you added all that salt, it might be tempting to rinse your bird's skin before cooking it, but you must resist. Not only will the salt be deep in the meat by this point, but rinsing chicken skin is never a good idea. Dry brined chicken can be cooked however you prefer. Obviously, salting isn't a magic bullet, so be mindful of cook time and temperature; and for goodness sake, use that meat thermometer you have in the back of the drawer.