The Most Common Mistakes People Make With A Blender
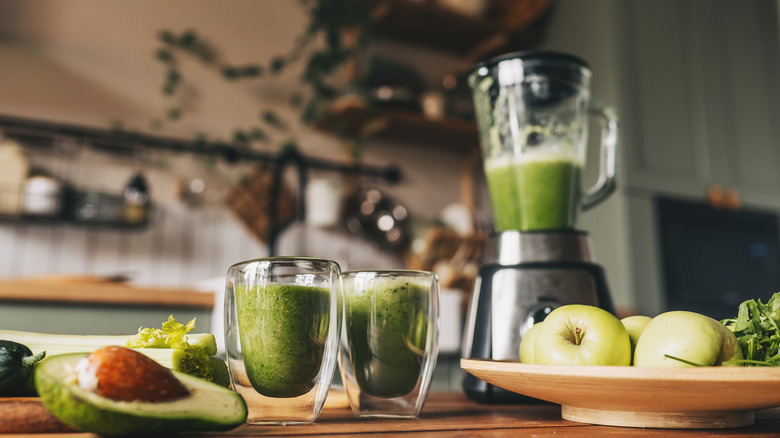
Used to mix, purée, or emulsify food and liquids, blenders can make food prep both faster and easier. While many use them to prepare on-the-go smoothies, blenders are equally useful for making soups, salad dressings, and sauces. As long as there is some liquid in the mix, the blades can easily circulate most ingredients, turning them into a smooth, even mixture. From great-tasting green smoothies to pumpkin and spice soup, these versatile appliances can handle everything from light snacks to full meals.
The first version of a blender was developed by an American-Polish inventor in 1922. While the first prototype of the appliance was specifically designed to make soda fountain drinks, it wasn't long before it became popular for more than just drinks. By 1937, a more advanced commercial blender model was introduced under the (deliberately misspelled) name Waring Blendor. As the demand for the appliance grew, blenders evolved to include multiple speed settings, a pulse function, and stronger motors.
Despite being a staple in many kitchens, however, blenders are often misused in ways that can damage the appliance or ruin a recipe. With this in mind, here are some of the most common mistakes home chefs make with blenders and how to avoid them.
Overfilling the jar
It's easy to see why people may be tempted to overfill a blender pitcher. When making a smoothie for the entire family, it may feel like common sense to blend the entire batch of ingredients in one go rather than wasting time and effort blending them in smaller lots. However, cramming ingredients into a blender jar to get the job done faster may actually slow you down, creating more frustration in the long run.
Overfilling a blender can result in a thick, inconsistent mix that needs to be divided into smaller portions and blended again. It can also result in spills if the lid accidentally comes loose, splashing liquids across your countertops and cabinets. Over time, overloading the blender can place too much pressure on the blades and the appliance's motor, ultimately shortening its overall lifespan. For best results, try not to fill the appliance more than about three-quarters of its maximum capacity. This should leave enough room in the jar for the ingredients to rotate.
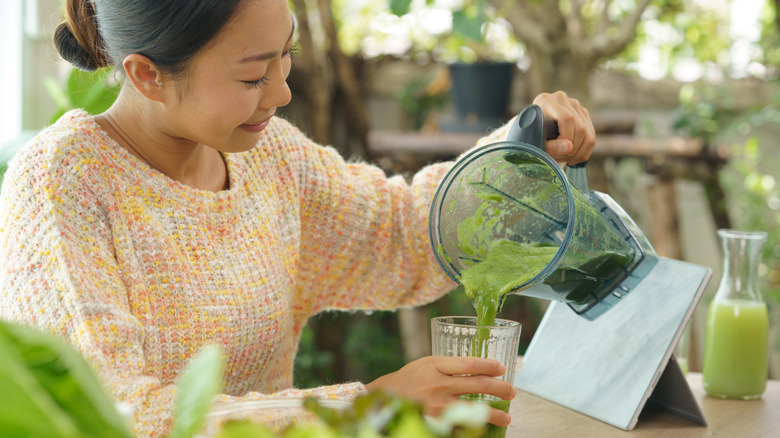
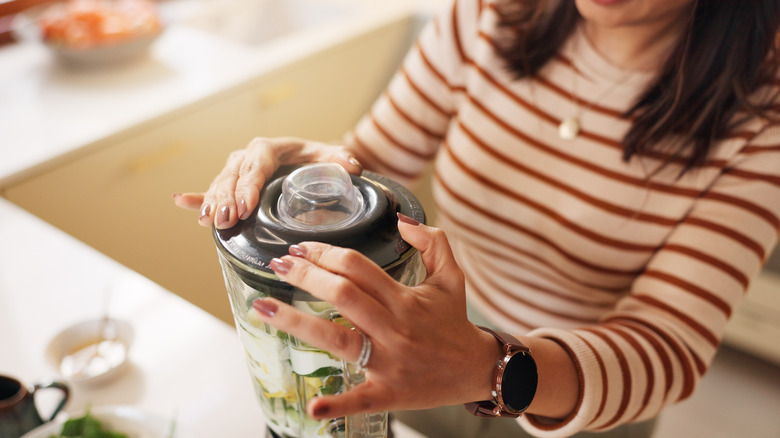
Forgetting to secure the lid
Blenders are supposed to minimize kitchen mess, not create it. The whole point of a blender is that it provides a convenient way of mixing all ingredients in one container, saving you from having to wash multiple bowls and utensils. However, the seeming simplicity of a blender can backfire if you fail to use the appliance correctly.
One of the biggest blender mistakes that can lead to a huge mess is also the easiest to avoid. Before turning the blender on, it's imperative that the lid is securely fitted to the appliance's jar. If the lid is loose when the blender's blades start to rotate, the ingredients inside the pitcher are likely to splatter everywhere, covering you and your kitchen in bits of food and liquid. Some blender brands come with a safety feature that prevents operation unless the lid and other components are locked securely in place. If you don't own such a model, it pays to always double-check that the lid is firmly sealed before blending.
Some cautious home chefs even hold the blender lid down while mixing their ingredients, as described in a tongue-in-cheek Reddit comment. "[It's] post traumatic blending disorder," the poster said. "If you experience the oops didn't secure it mistake and have to wipe strawberry smoothie off your entire kitchen, you'll start holding it down, too."
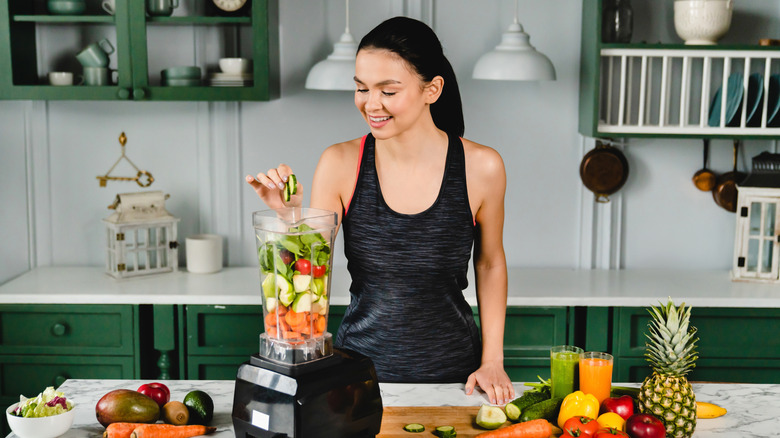
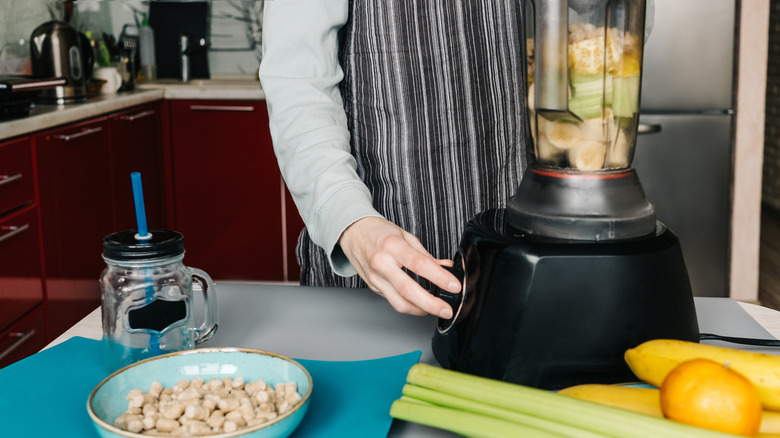
Adding ingredients in the wrong order

While it's easy to think that the order in which the ingredients are added to a blender jar doesn't matter since they are going to be mixed anyway, that's far from true. In reality, the layering of ingredients in a pitcher can drastically affect the final outcome. Proper and balanced layering is likely to result in a smooth consistency, while random placement can lead to a chunky mess. Improperly layered ingredients can even jam the blender's blades or strain its motor.
For best results, start by filling the blender pitcher with liquids. Whether it's broth, milk, or just a little water, this initial layer creates a vortex that draws other ingredients down toward the blades. Alternatively, start filling the blender with the ingredients that have the highest moisture content, such as yogurt or soft fruits. If you are mixing in protein powder, maca, cacao powder, or a sweetener like honey or agave, sprinkle or drizzle them into the jar next. Continue by adding leafy greens and soft fruit and vegetables. Then, add nuts and seeds for extra texture. Finally, finish the job with the hardest ingredients, such as frozen fruit — the perfect ingredient to elevate a frosty lemonade.
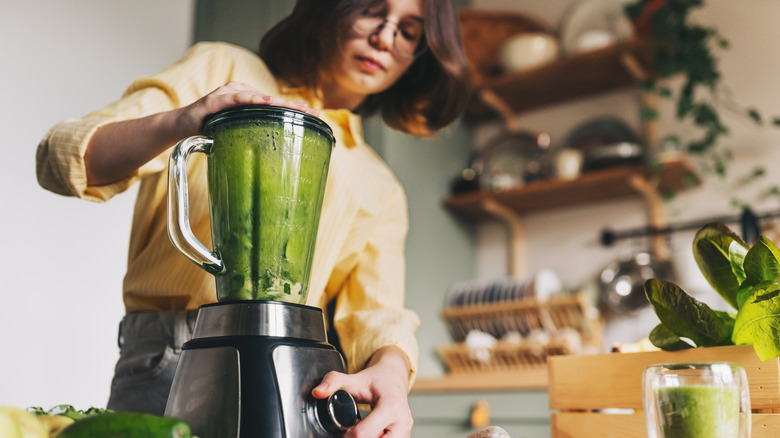
Failing to fill the blender with enough liquid
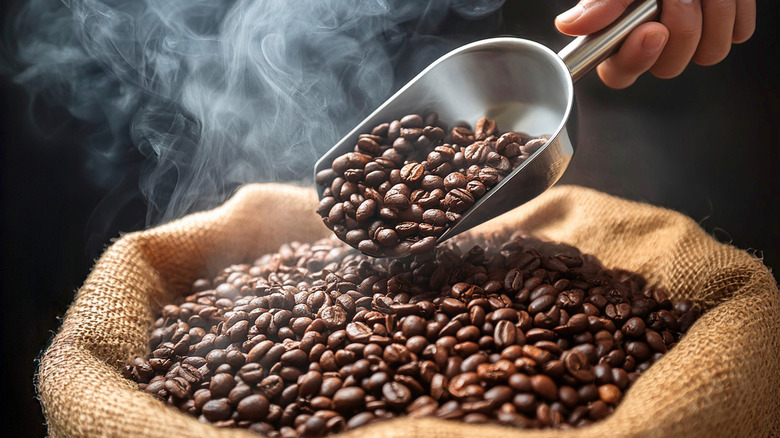
While throwing dry ingredients like nuts, coffee beans, or seeds into a blender may seem convenient, the appliance isn't designed for processing solid foods without liquid. Without some sort of liquid like water, broth, or juice, the blender is likely to create a lumpy and inconsistent mixture or cause it to stop running altogether. In addition, if you are blending frozen ingredients, insufficient liquid can cause cavitation — an air pocket that forms above the blades and stops the blending process.
Blending overly dense ingredients isn't just likely to result in an underwhelming final result, it can also place strain on both the blades and the unit's motor, potentially damaging the machine. On the other hand, adding a little liquid to the jar helps the blender create a more consistent and smoother mix. Be sure not to pour too much liquid into the pitcher, as this can result in an overly watery texture and bland flavor.
One Quora user explained the blender's liquid balance this way: "As long as there is some liquid aside from your fruits and veggies, the blender should run smoothly and chop up your ingredients properly. When I make my smoothies, I add at least 250 ml of water to the first portion of fruits and veggies I want to blend. That way, they don't get stuck while the blades just whizz around uselessly. The water helps the fruits and veggies float, and get more evenly blended."
Not utilizing the feeder cap
Having to stop the blender and open the lid just because you forgot to add a splash of milk or a sprinkle of salt would be nothing short of frustrating. Luckily, most modern blender lids come with a center cap, which can be removed during the blending process. This small feature lets home chefs easily add ingredients without making a mess and disrupting the momentum of the blend. Please note that some manufacturers recommend switching the blender off when adding solid ingredients through the feeder cap to avoid jamming or potential damage to the blades.
Aside from letting you make ingredient adjustments on the fly, center caps also have several other benefits. Firstly, they can be utilized as a convenient handle to help open stubborn lids when heat or suction makes them tricky to pull off. They can also double as handy measuring cups to simplify prep work, eliminating the need for extra measuring tools. Removing the cap can also help with cleanup, as the opening lets soap and water flush out any leftover ingredients, making the cleaning process more thorough.
Using it to blend hot liquids
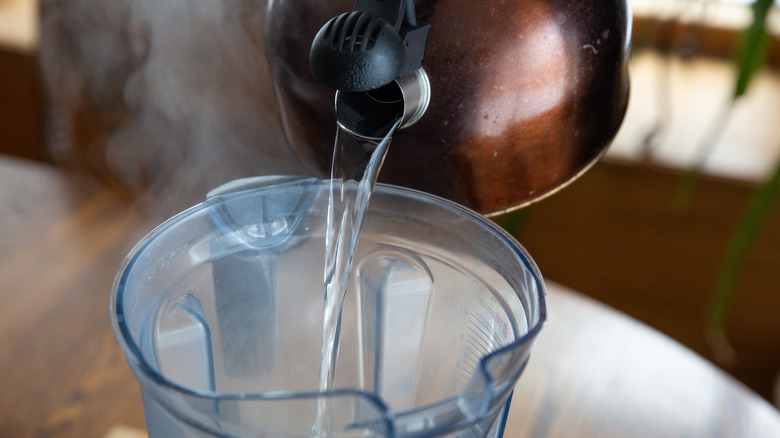
Blenders are great for handling liquids, but there are exceptions. While water, juice, or broth blend effortlessly, pouring anything hot into the pitcher can damage the appliance. As such, unless the specific model is designed to handle hot liquids, it's best to err on the side of caution and let the mixture cool a little before blending. That said, you don't need to wait until the liquid has completely cooled — pouring lukewarm ingredients into the jar shouldn't normally cause any problems.
Placing hot liquids in a blender isn't recommended because it creates steam, which can build pressure inside the pitcher. This pressure can force the lid off during the blending process, sending hot liquid all over the kitchen and potentially causing painful burns. If you absolutely have to blend hot liquids, use an immersion blender or remove the feeder cup and cover the opening with a clean dish towel to gradually release steam. Just be sure not to overfill the jar past the halfway point, and start at a lower speed. If you sense any pressure, switch the blender off and lift the tea towel to let the trapped steam escape before continuing.
Confusing a blender with a food processor
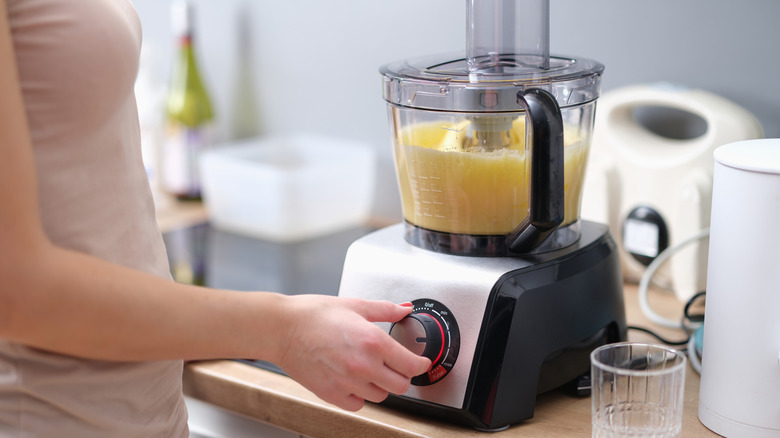
While they may look similar on the kitchen counter, blenders and food processors are designed for very different tasks. Blenders usually have a tall, narrow jar with fixed blades at the bottom, making them ideal for blending liquids and puréeing fruit. Meanwhile, food processors typically come with a wider bowl and a range of interchangeable blades designed for different tasks, like chopping, slicing, and grating. They also usually feature a feeder tube for adding ingredients while the appliance is running.
Given that food processors and blenders have been engineered for different jobs, confusing the two can deliver substandard results or even damage the machine. Blenders are great for making liquid-based recipes, such as smoothies, shakes, simple homemade sauces, dips, and dressings. However, they are not well suited for chopping and slicing harder ingredients. On the other hand, food processors are designed for handling solid ingredients like raw vegetables and dough. Since blenders are not engineered for heavy mixing, placing any of these harder foods in the appliance is likely to result in uneven blending and could even damage the blades or motor.
Blending carbonated drinks
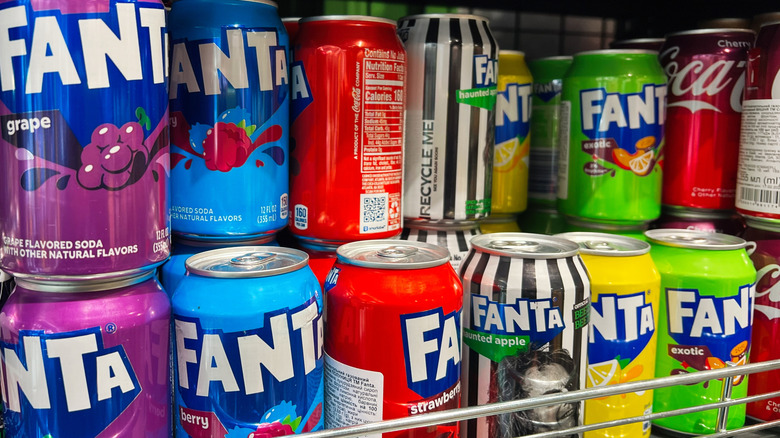
To many people, pouring a carbonated drink into a blender would make zero sense — but there are a few conceivable reasons why somebody might be tempted to try it. Some people may think that blending soda with fruit or ice will make a fizzy slushie, or even try mixing it with ice cream to create a root beer float–inspired shake.
Blending carbonated drinks at a high speed setting is generally considered a no-no because it can lead to excessive foaming and pressure buildup inside the pitcher. This, in turn, can pop the lid off the jar during blending, creating a huge mess of sticky liquid. Agitating soda in a blender is also likely to lead to carbonation loss, making the final drink flat and unappealing.
If you are determined to blend carbonated liquid, it's best to use cold soda, blend it on low speed, and avoid overmixing. And if you want to retain most of the carbonation, mix the other ingredients in the blender first and then stir in the soda at the end of the process.
Adding ingredients that could damage the blades
A blender isn't a coffee grinder, nor is it meant to pulverize hard ingredients like high-fiber raw vegetables, frozen meat, or bones. Given that blenders are designed for processing soft foods and liquids, using the appliance to break down tough items isn't just going to lead to inconsistent, uneven results but could actually dull or chip the appliance's blades and even strain its motor.
Aside from hard ingredients, even large pieces of softer produce like pineapple or watermelon can impede proper blending and unnecessarily overwork the machine. To get the best results, be sure to always cut large ingredients into smaller, more manageable pieces that move smoothly around the blades. When prepping ingredients, cut round fruit such as apples into quarters and shorten long produce like leeks and celery so they don't exceed half the height of the pitcher. In addition, thick, sticky mixtures such as dough are better prepared in food processors since blenders aren't built for kneading.
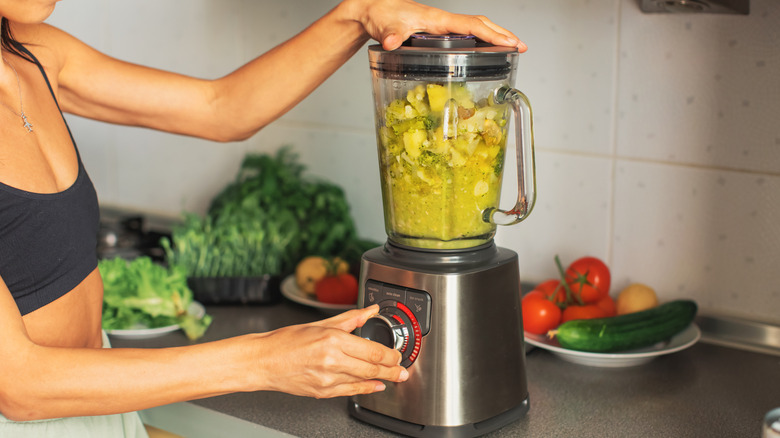
Using the wrong speed setting
Many basic blenders come with three speed settings, which typically correspond to low, medium, and high. More advanced models can have around 10 different speed levels for different ingredient types and desired textures. Ultra-modern blenders even offer a range of preset programs that automatically adjust speed and blending time for tasks like puréeing soups, making smoothies, or crushing ice. Some blenders also have a cleaning mode — just fill the jar halfway with water, add a couple of drops of dish soap, and let it run.
The more speed options a blender provides, the better — after all, this is what gives you more control over how finely or coarsely ingredients are processed. As a rule of thumb, it's better to use slower settings for any thicker or tougher items, and faster settings for pulverizing ingredients into smoothies or creamy dips. The pulse setting is another useful feature found on many blenders. It delivers short bursts of blending power, giving you greater control over breaking down hard ingredients without overprocessing them.
Running the blender too long without breaks
Most kitchen appliances, like blenders and mixers, use small electric motors that aren't designed for prolonged use. This is precisely why pushing your blender beyond its limits isn't a good idea. An overworked motor can overheat, causing burning odors and even shutting down entirely. If you are in doubt about your blender's exact specifications and capabilities, it's best to consult the manufacturer's user manual for clarification.
There are a number of factors that determine how long you can run your blender. Blenders with more powerful motors can run continuously for up to 10 minutes, while lower-powered models may need a break after as little as a minute. The type and amount of ingredients you blend also affect how long your blender can run. Tough foods — like frozen fruit and ice — or large batches of ingredients put more strain on the motor, causing it to heat up faster. High-end blenders often include built-in cooling systems, such as airflow vents and thermal sensors, that help release heat and allow these models to operate for longer periods of time without overheating.
Not cleaning the blender immediately after use
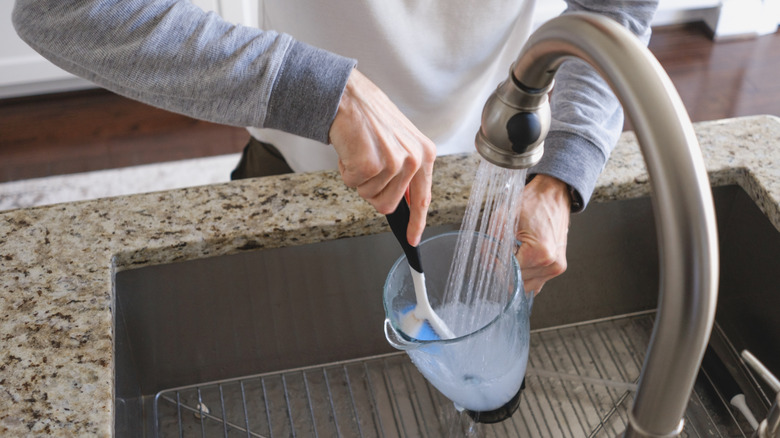
Keeping your blender clean after every use isn't just about appearances — it's also about the flavor and safety of your food, and the longevity of the machine. A dirty blender can harbor leftover food particles, which can affect the taste of fresh ingredients next time you use the appliance. Unwashed blenders can also be a breeding ground for mold and bacteria, which can make you and your loved ones sick. In addition, residue or moisture buildup can rust the blades over time, reducing the blender's efficiency.
To keep your food tasting its best and the blender in tip-top shape, always clean the appliance immediately after use. That way, any leftover food particles won't have the time to harden and become difficult to remove.
To clean the blender jar, rinse it first, then fill it halfway with warm water with a couple drops of dish soap, and blend on low for around a minute. Be sure to rinse the pitcher under running water again and keep the lid off during drying to prevent the buildup of any unpleasant smells. Never submerge the blender's base in water, as this can damage the electrical components of the machine.