12 Mistakes That Are Ruining Your Homemade Hummus
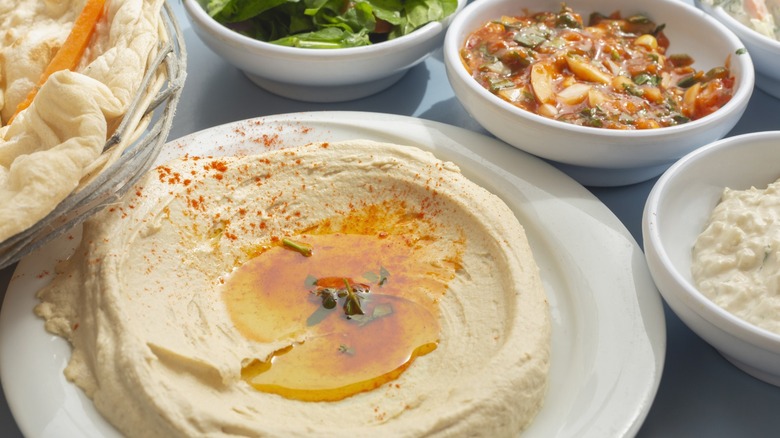
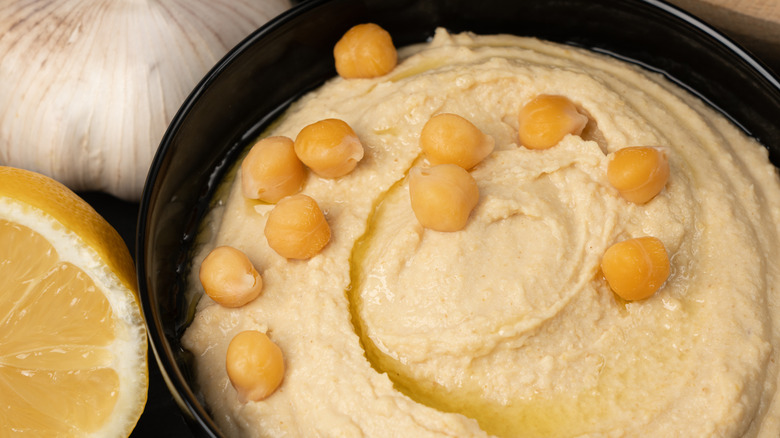
Whether it's with pita, veggies, or spread on a sandwich, hummus has snuck its way into our fridges as one of our favorite dips. The origins of this dish are hotly debated — according to the BBC it could have been whipped up for the first time anywhere from the Middle East to Pakistan or India. While the exact recipe can vary wildly, its one indispensable ingredient is blended chickpeas. In fact, the word "hummus" in Arabic simply means chickpeas. From there, the dip typically includes tahini, lemon, garlic, and salt.
Smooth, creamy, and packed with subtle flavors, the chickpea and tahini-based snack is traditionally a popular Middle Eastern "mezza" (small plate), along with the likes of baba ganoush and muhammara. And whether you call them chickpeas or garbanzo beans, the nutty and grainy legume delivers plenty of nutrients, proteins, and fiber.
Although it's dangerously easy to stock up on at the grocery store, you're missing out on hummus' full potential if you're not making your own at home. It's true that a quality homemade hummus takes quite a bit of time and planning, but once you get the hang of some common mistakes to avoid, it'll become one of your go-to party dips. Check out which slip-ups could be ruining your homemade hummus below.
Using jarred chickpeas
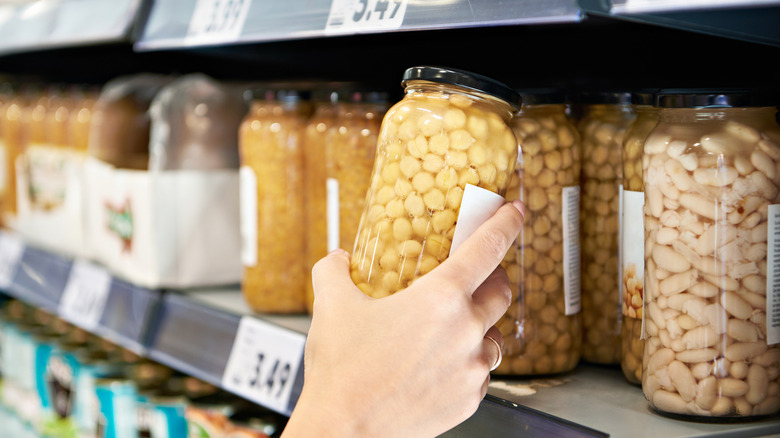
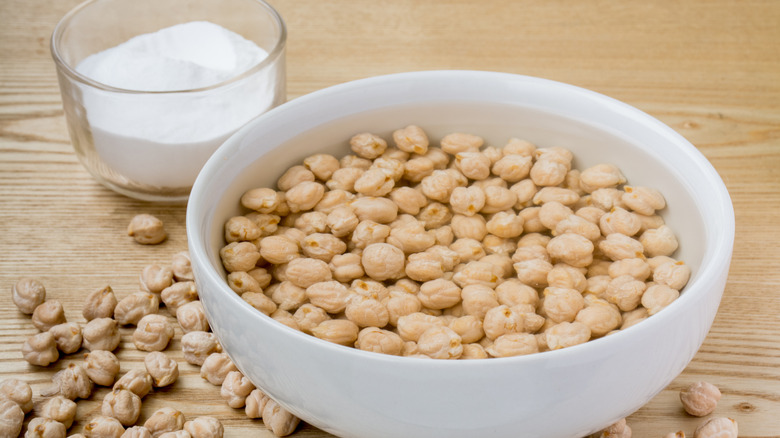
The first decision to make before whipping up homemade hummus is which type of chickpeas you're going to use. Like most of us, you've probably got some canned chickpeas stashed in the back of the pantry, next to a half-empty bag of their dried counterparts. Nutritionally, the dried garbanzo beans are the clear winner. Just like peas, chickpeas are plucked from their pods when green, and although they turn light brown through drying, they maintain all of their pod-fresh nutrients. This typically includes higher concentrations of magnesium, potassium, and iron.
Canned chickpeas still pack plenty of protein and fiber, but they can lose some nutritional properties throughout the heating and jarring process. That's not to mention the slurry of sodium and preservatives they're packed in to extend shelf-life, which can also provoke some of the bean's infamous digestive issues. These store-bought hummus recalls caused enough upset stomachs as is, there's no reason your homemade hummus should do the same.
Dried chickpeas are certainly cheaper and last longer than their canned counterparts, but they do require more forethought than the convenience of twisting open a jar. The taste of dried chickpeas, however, is unmatched. Jarred chickpeas won't absorb the flavors of your hummus as well, while dried chickpeas will always deliver a more characteristic "beany" flavor. Cooking dried beans will also lend you more control over the sodium content and final consistency of your hummus, resulting in an overall more satisfying dip.
Undercooking the garbanzo beans
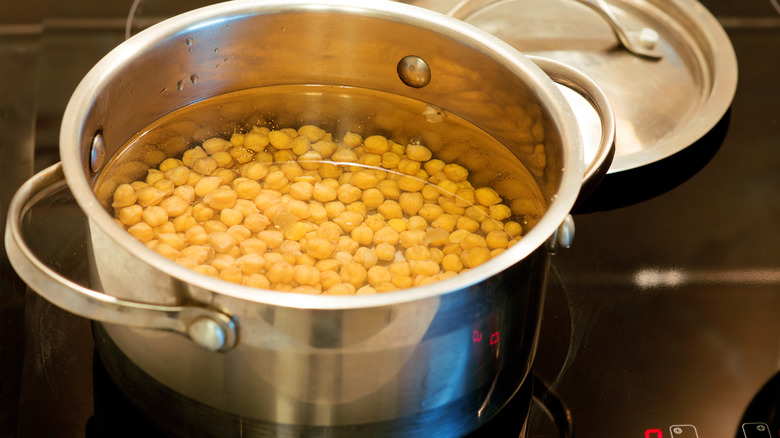
Because chickpeas are hummus' star ingredient, their doneness directly influences the dip's final texture. Even if you prefer a chunky and rustic hummus, you typically want to veer on the side of overcooking the garbanzo beans. Undercooked beans not only result in hummus that isn't as smooth and creamy as possible, but they could also compromise its flavor.
If you're blending dry and crumbly chickpeas, you'll be tempted to add more water during the final stages of the process, diluting the beans' mild and nutty flavors. A long soak and simmer, however, allows the beans to soak up and create more of their own flavorful juices. Dried chickpeas also contain elevated levels of toxins called lectins, which can cause intestinal discomfort. Cooking them down thoroughly makes them safe to eat, and allows them to become softer and easier to digest.
The most popular method for preparing chickpeas starts with an overnight soak, followed by an hour or two of simmering. Keep in mind that older beans will take longer to break down. Even if you opt for canned chickpeas, you should still give them a good rinse and simmer them to achieve the best consistency. You could technically boil the beans in their soaking water or canned juices, but this will probably result in "gassier" beans. Either way, you'll know the chickpeas are ready for making hummus when you can easily mash them with a fork – many recipes even suggest cooking them down until they're an almost unrecognizable goop.
Tossing out the aquafaba
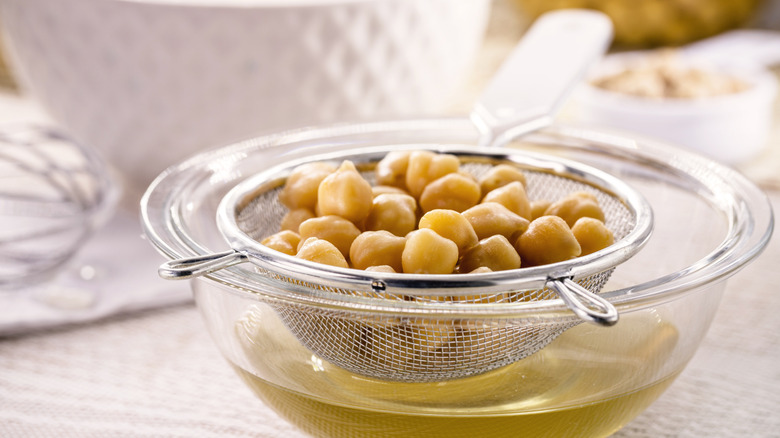
When the water starts to boil as you're cooking down chickpeas, you'll probably notice a white foam bubble to the surface. Just like the scum that forms when you make a meat-based broth, this froth is a water-soluble protein released by the chickpeas, and forms an integral part of the aquafaba. A thick, starchy liquid with trace amounts of nutrients and proteins, aquafaba is the result of cooking down any type of bean. Since garbanzo beans are especially starchy, they typically make the best aquafabas.
Unlike the scum from a beef stew, you don't have to bother skimming the foam from your chickpeas. In fact, you can stir it right back into the cooking liquid for a more complete aquafaba. If you're cooking down the garbanzo beans into a paste, this aquafaba will give them a fuller flavor and thicker consistency.
On the other hand, if you're going to drain and rinse the chickpeas before starting the hummus, make sure to reserve the cooking liquid in a separate bowl. One expert tip for making the creamiest hummus is chilling some of the cooking liquid (aquafaba) in the freezer, and later blitzing it into the hummus. The aquafaba will fluff up and liquefy the dip, without diluting its beany flavor. You can use the rest of the aquafaba in other recipes as an egg white substitute, like whipping it into a vegan meringue.
Going overboard with the baking soda
In any hummus recipe that starts with dried chickpeas, baking soda will typically be listed in the ingredients lineup. The exact moment to add baking soda varies between recipes, ranging from when you soak or start simmering the chickpeas, to adding it just before draining the beans. Although technically optional, baking soda's main function is lending a hand to the legumes.
Sodium bicarbonate increases the pH of the soaking or simmering liquids, creating an alkaline environment that further softens the chickpeas and can speed up cooking time. This neutralizing environment also breaks down pectins — complex carbohydrates that keep chickpeas and their skins attached — which will loosen those translucent bean shells if you later choose to remove them. Since we're unable to digest pectins, baking soda can also make your hummus a little easier on the gut.
Despite all its benefits, the biggest mistake you face with baking soda is accidentally adding too much — especially if you don't plan on draining the cooked chickpeas. Excess baking soda creates a losing battle where you're only trying to cover the flavor of sodium bicarbonate, rather than trying to make your hummus taste its best. Not everyone perceives its flavor the same, but many Redditors across the AskCulinary subreddit express a heightened sensitivity to baking soda, describing it as salty, metallic, and overpowering. To stay on the safe side of flavor, just add around a teaspoon of baking soda per two cups of dried chickpeas before simmering.
Ignoring the chickpea skins
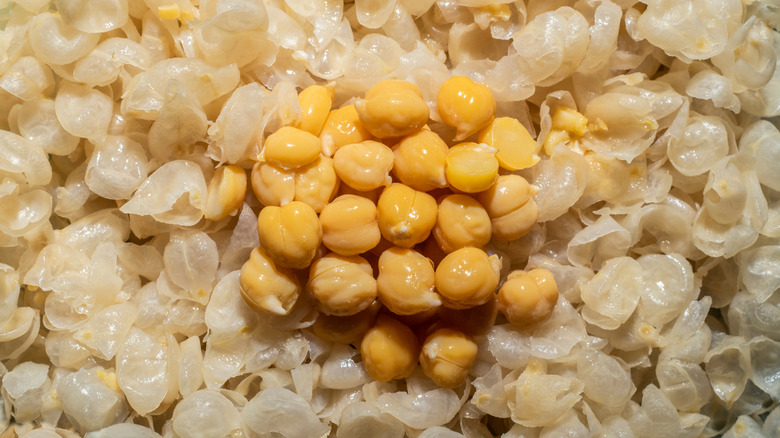
One way or another, you'll have to confront the skins on your chickpeas and consider how they affect your hummus. No two recipes can agree whether you need to remove these papery shells, but it's true that they can leave unappetizing stringy pieces in your otherwise silky smooth hummus. The skins are made mostly of insoluble fiber, meaning they're nutritious but tougher to break down through cooking and capable of causing digestive discomfort to anyone who's more sensitive.
Using baking soda is a solid first step to loosening the skins. Then, one method for completely removing them involves submerging the chickpeas in cool water and rubbing them with your hands, which should send most of the skins floating to the surface. You could also roll the chickpeas in a kitchen towel that sticks to and pulls off the skins. However, neither of these methods will remove every last straggler. For a totally skin-free hummus, you may have to take the L and go through the bowl of chickpeas one by one.
Even if peeling the skins really does result in a creamier hummus, it's undoubtedly a tedious task. If you don't have the patience but would still like to enjoy your hummus without getting pieces stuck in your teeth, just spend more time blending the beans. Choose your best kitchen blender with the sharpest blades and blitz them as long as necessary, stopping frequently to check the texture.
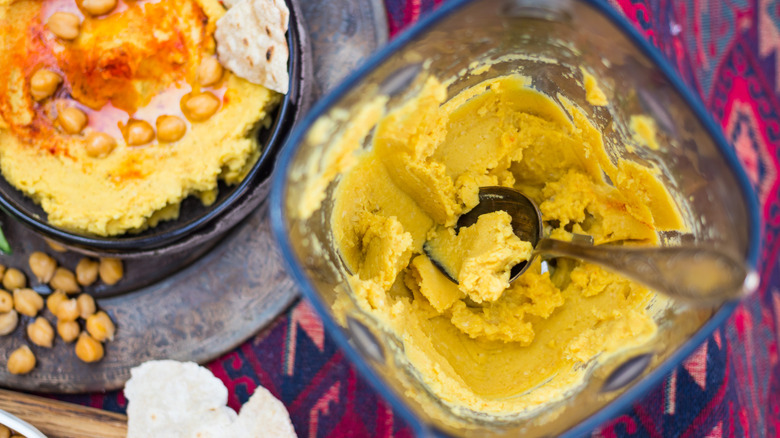
Blending the cooked chickpeas at the wrong temperature
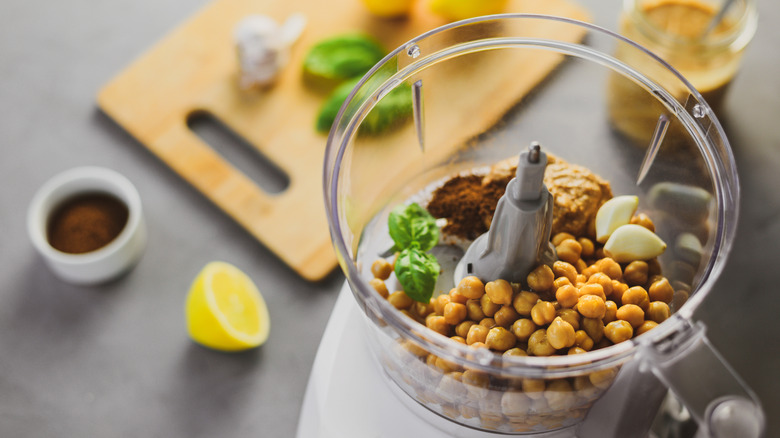
Once you've got the garbanzo beans uber-soft, it's finally time to start blending up your hummus. Before you throw everything in the mixer like a hummus-starved maniac, however, it's best to move forward with some care. For starters, those chickpeas are probably piping hot if you've just spent hours simmering them on the stovetop. To uphold the integrity of the dip and your kitchen appliances, give the beans time to let off some steam and avoid mixing them immediately. Depending on the order you add the ingredients, emulsifying excessively hot chickpeas into the mix could unintentionally start cooking the more delicate components. Garlic and olive oil, for example, work wonders when they can show off their raw spice and pungency in hummus.
On the other hand, you don't want to forget about the chickpeas and let them cool down completely. Viscosity increases as the temperature drops, meaning your beans will get thicker, drier, and more difficult to manage as they cool off. Warm or room temperature chickpeas will blend the easiest, ensuring a creamier hummus. As you wait for the legumes to get to an ideal temp, you could start prepping the other ingredients. Many recipes even recommend whipping the tahini and lemon juice first, for a lighter, airier hummus.
Failing to remove the garlic germ

If your homemade hummus leaves a lingering pungency in the back of your throat, you should probably reexamine the garlic before your next batch. When you crush or blend raw garlic, the clove's cell walls break down and produce a compound called allicin, which is responsible for its pungent, spicy flavor. Frying or roasting garlic is typically more forgiving, since the heat breaks down this enzyme and makes it sweeter. In hummus, however, moderation is key. Most recipes call for just one clove.
Another step you might be skipping is removing the garlic's germ. At the center of each clove, the germ is the thin strip that houses the potential for sprouting a garlic plant. If you've stored some bulbs long enough, you might even notice green shoots poking out of the top. The garlic germ is particularly sharp and bitter, intensifying with age and possibly giving your hummus a simmering aftertaste. Removing it is as easy as using a sharp knife to cut the clove lengthwise, then slicing out the core. A younger clove's germ usually won't taste as harsh, but if it's turning green and falls out easily, it's got to go.
Other tricks for avoiding hummus heartburn include soaking the chopped garlic in lemon juice, then straining it and mixing only the juice into your dip. You could also try pre-blending the garlic with lemon juice, allowing the citrus' acidity to mellow out the garlic.
Choosing low-quality tahini
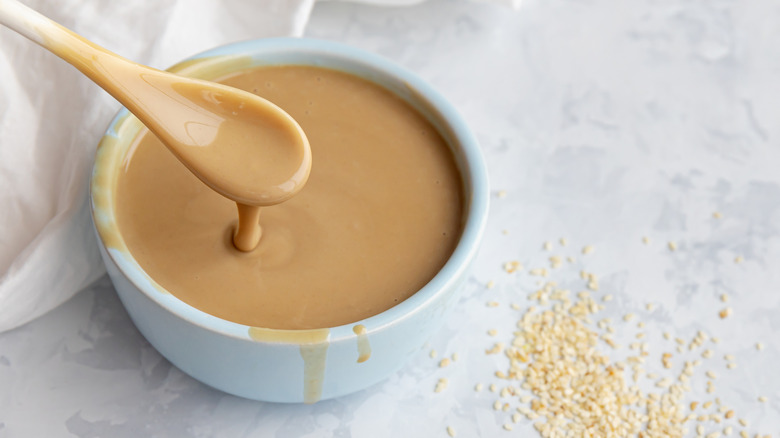
Tahini isn't always the easiest ingredient to come by in the grocery store, but finding a high-quality brand can make all the difference for your hummus. You can spot a low-quality tahini from the moment you open the jar — the surface will be slick and oily while the bottom will be as thick and congealed as Play-doh. If you're faced with something similar, at least give it a vigorous stir until it's more consistent, before using it for hummus.
Chances are, though, a poor tahini could make your hummus too thick or runny, and probably isn't doing the dip any favors flavor-wise. A low-quality sesame seed paste usually tastes bland or bitter, whereas a quality tahini should be toasty, nutty, sweet, and salty. If a solid tahini can even elevate your store-bought hummus, just imagine the flavor complexity it brings to your homemade versions.
Once you're working with a tasty, creamy sesame seed spread, don't be afraid to add more to your hummus. Redditors across a thread exploring "the secret to silky-smooth hummus" were pretty much unanimous that your tahini measurements should be "verging on the obscene."
Incorporating the olive oil too soon

Many cultures claim hummus as their own creation, so it's difficult to say whether the dish "traditionally" calls for olive oil. Either way, there's no denying that the two go together like best friends. Olive oil adds a rich depth to the dip, and its fats are powerful conveyors of flavor and vehicles for easier digestion. It's the same reason our salad dressings are primarily oil based — to highlight the veggies while easing their absorption. Plus, a top-shelf extra virgin olive oil tastes great, and can even add a hint of spiciness to your preparations.
The biggest mistake you could commit with olive oil in your hummus, however, is adding too much, too soon. If you dump it into the blender with other ingredients from the get-go, the heat from the blades, excessive blending, and steamed chickpeas could bring out an unwelcome bitterness in the oil. Also, you should typically avoid adding all of the oil at once when emulsifying it into cold dips and soups. Pour it in slowly to ensure a smooth — not greasy — final product.
Many hummus recipes suggest incorporating olive oil at the end of the process, in one of two ways. Gently blend or stir it into the hummus, for example, after blitzing all the other ingredients into a smooth consistency. Or, make a well in the center of the completed hummus before serving, and pour in the olive oil to your heart's content.
Adding too many ice cubes
If your hummus looks as thick as peanut butter, not all hope is lost. Adding ice is an easy trick to loosen the mixture and ensure an extra-fluffy hummus. Ice cubes introduce much-needed air and moisture into the dip, thanks to the frozen water and tiny bubbles of air trapped inside the cubes. Blending them into the mix liquefies and whips up the hummus, while the shock of cold temperature further emulsifies the other ingredients.
Before going crazy with the ice, make sure you've thoroughly blended the other ingredients to get an accurate feel for your hummus' texture. Underblended hummus can appear thicker than its final, ideal form. It can also help to pause periodically and scrape off the sides of the blender to properly incorporate everything.
If the dip still looks too thick, then you can pop in the ice cubes one by one. Watch out not to add too much ice at once, or you'll overwhelm the blender and could throw your hummus into thin and watery territory. Blend each ice cube until it's completely integrated, then check for consistency. Hummus is the type of dish that you really can't "overblend" — the longer you emulsify each ice cube into the mix, the creamier everything will become. If your blender can't handle ice, now is a great moment to pull out that aquafaba you stashed in the freezer, and pour it into the mix by the tablespoon.
Skipping the spices and extras
Perhaps your biggest mistake when making homemade hummus is failing to get creative. The best thing about cooking at home is that no one is critiquing you for what is or isn't traditional, and hummus' smooth flavors make for endless tasty combinations. Starting with spices, some instant upgrades include toasted cumin seeds, paprika, or Middle Eastern flavor bombs like za'atar –– a blend of herbs, sesame seeds, and sumac. You can also mix in or top hummus with your favorite leafy herb — like basil, mint, dill, or cilantro — for a fresh, earthy zing.
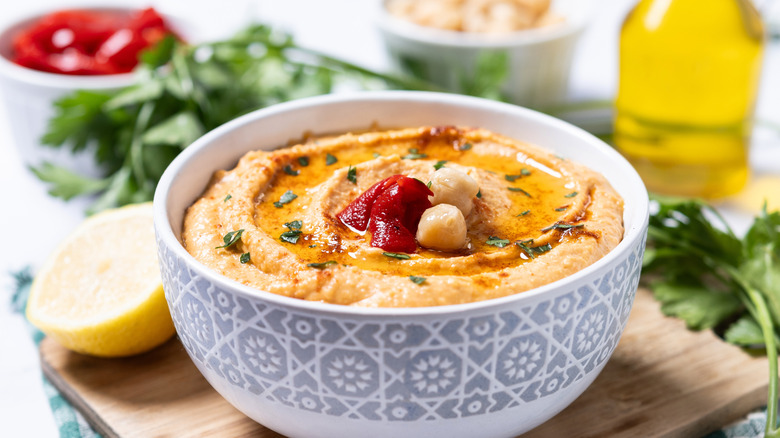
It also doesn't hurt to check your fridge for some of the best single ingredient additions to hummus, like roasted red pepper. This smoky and sweet variation is so popular you've no doubt seen it at the grocery store, made even better with a splash of balsamic vinaigrette. If you're open to veering on the wild side, Redditors came together to share some of their favorite twists on hummus, including blending in olives, sun-dried tomatoes, or drained artichokes. Another favorite on the thread was pickled beets.
Eating your hummus right away
As difficult as it is to wait any longer, avoid serving hummus straight out of the blender when its flavors are recently combined and a little unstable. Pop it in the fridge or let it rest for at least 30 minutes as the ingredients settle and meld. Then, if you've refrigerated it, resist the temptation to go at it immediately.
Just like cheese, hummus only gets better as you let it warm up to room temp. If you're only used to snacking on store-bought hummus, you probably always eat it straight out of the fridge with some carrots or pita chips. While there's something undoubtedly comforting about a thick, cold scoop of hummus, the flavors of this Middle Eastern dish really sing when served at room temperature. In fact, some restaurants even serve the dip warm, topped off with sautéed ground beef or veggies.
Although you should avoid eating it right away for the tastiest experience, hummus does have a time limit. Both homemade and store-bought hummus can stay good for about a week, given you never leave them out for more than two hours and refrigerate them in airtight containers. Luckily, chickpeas are pretty forthright when they've gone bad, and you'll be able to smell it from the moment you open the hummus.