

12 Tips To Carve Any Meat Like You Know What You're Doing
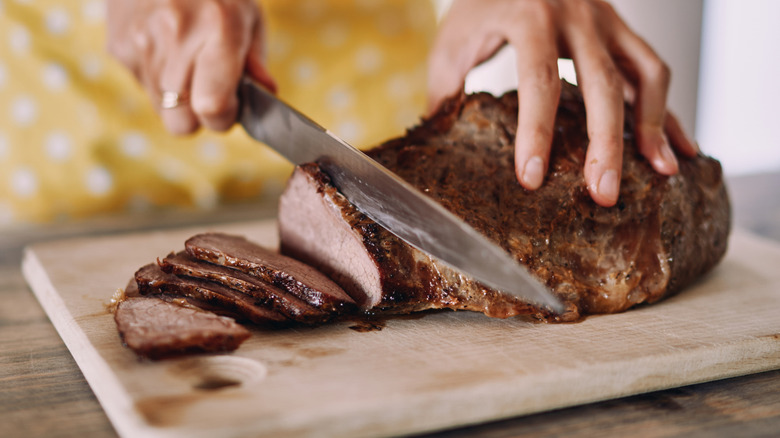
Make no mistake, there's a particular kind of confidence that comes from knowing how to carve a piece of meat properly. However, in reality, many home chefs may master the best way to cook a cut of meat but few can truly claim to know how to properly cut it.
The good news is that carving isn't really about talent or years of practice. In fact, as the experts we consulted will tell you, it's more a set of specific, learnable rules. To help you get your basics in order, we asked four people who carve meat for a living. Golan Haiem is the founder of Destination Wagyu with in-depth experience in sourcing, portioning, and educating people on different cuts. Sam Martin is a professional chef and butcher at Edenmoor, an award-winning butcher and artisan food store in England, working daily across beef, lamb, pork, and chicken. Paul Kelly is the managing director of KellyBronze Turkey and holds the Guinness World Record for fastest turkey carving. And finally, Jorge Thomas founded Swaledale Butchers in Yorkshire, England in 2009, trained as both a chef and a butcher, and has spent years working with whole carcasses for some of the top restaurants in London and other U.K. cities. Their specific tips and techniques will separate you as a confident carver from someone hacking away and hoping for the best.
Let the meat rest — longer than you think
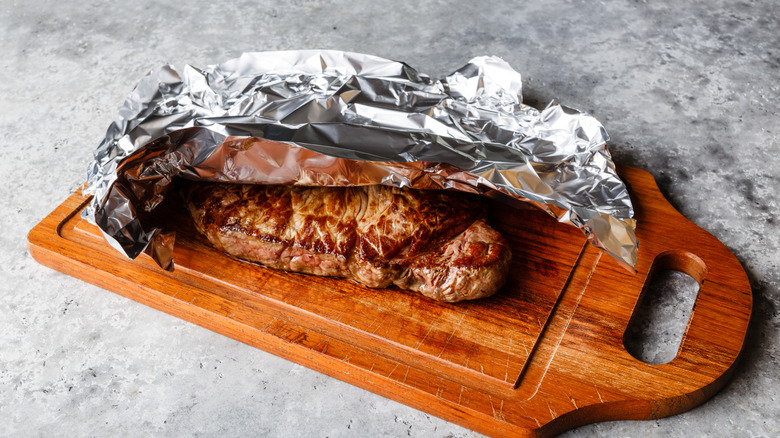
That you need to rest your steak is something most of us know by now. However, what many of us still get wrong is how long does this resting period actually last, and why it matters when it comes to carving. According to Golan Haiem, a steak or smaller cut needs about five minutes. A larger roast needs 15 to 20 minutes. "The goal of this is to let the temperature settle but not let the meat become cold," he explains. He also cautions that meat has a tendency to carryover cook even off the heat, especially where bigger cuts are concerned.
Paul Kelly pushes the timeline even further for bigger joints. He recommends at least 30 minutes for small cuts, and a full hour, uncovered, for something like a 12-pound turkey. That's a long wait for anyone hovering by the oven, but Paul is firm that it's better to serve meat slightly cooler than to carve it while it's still too hot to handle properly.
Jorge Thomas explains the actual mechanics of why this works. "Resting isn't simply about keeping the juices in," he explains. "It also allows the meat to relax, which makes it easier to carve neatly." A rested piece of meat holds together better under the knife. A meat that's carved too early tends to fall apart, and the juices end up on the cutting board instead of in the meat itself.
It's about timing and discipline
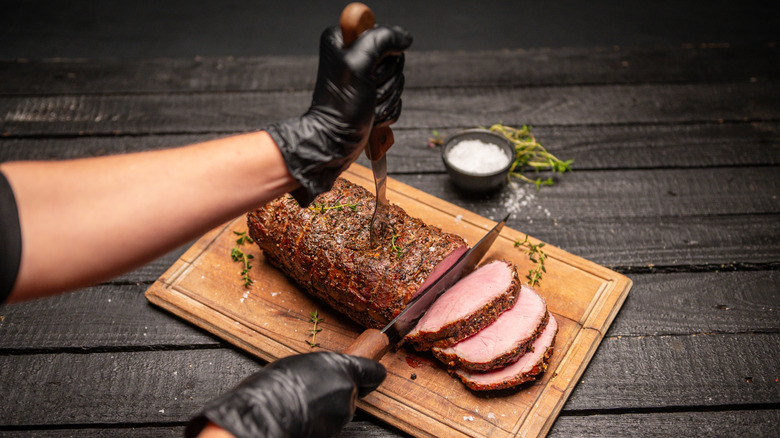
When carving, there's one huge mistake most make, and Jorge Thomas is the first to call it. He blames rushing to carve the worst thing anyone can do. "Most carving mistakes happen because the meat has either come straight from the oven or because people start hacking at it with the wrong knife," he says. His fix isn't complicated. "Give it time to rest, use a sharp carving knife, and slow down." It's less a technique than a mindset, and it's the one that makes every other tip on this list actually work.
Golan Haiem points to a related habit. His problem lies in skipping the inspection process entirely and carving immediately. "A few seconds of inspection will prevent tough or chewy slices," he says. This pause costs nothing but it's the step people skip most often, no doubt because they are usually facing a table full of hungry guests waiting for their food. But carving under pressure is exactly how clean cuts turn into torn, uneven ones.
Learn to spot the grain visually
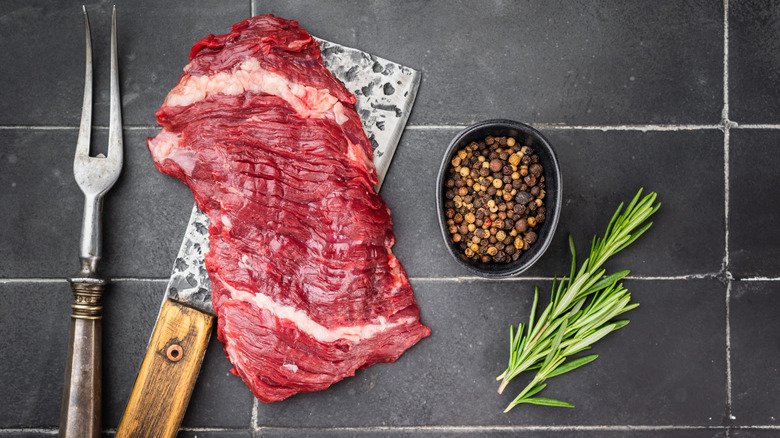
Even if you haven't yet carved a cut of meat, you would have already heard the warning to always cut against the grain. But if we have to get down to basics, it pays to understand what exactly this means. You need to see and identify the grain before you start slicing, and that's the part that trips most home cooks up.
Paul Kelly has one of the clearest tests for this. "Cutting against the grain holds slices together better and looks like tightly knit carpet," he says. Cut with the grain instead, and "it will look more like floor boards." It's a simple, visual comparison you can check on the very first slice, before you've committed to cutting the rest of the piece the wrong way and ending up with a plate of chewy meat.
Jorge Thomas describes the same idea from a slightly different angle: "You'll usually see fine lines running in one direction," he explains. "Those are the muscle fibers. Your slices should cross those lines, not follow them." If you've already cut with the grain by mistake, he says you'll notice it immediately. The slice will have long fibers running straight through it, giving it a stringy texture. Cut against the grain instead, and the meat feels shorter, softer, and noticeably easier to chew. It can be easier to spot the grain in tougher cuts than tender ones, and it's often simpler to identify on a raw steak before you cook it.
Always cut across the grain, never with it
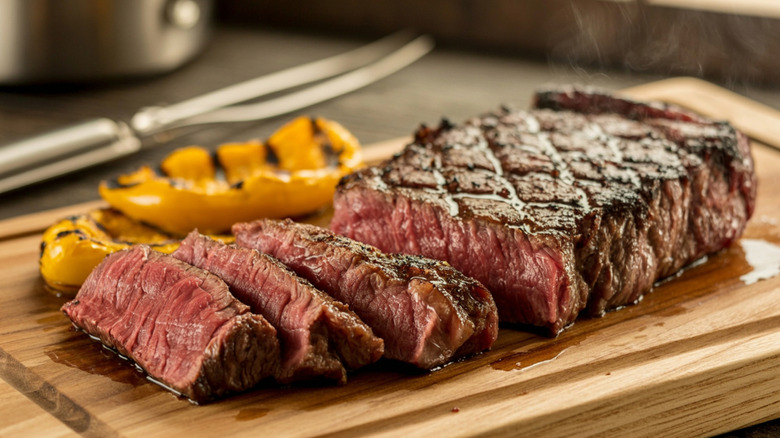
Now we move on to the cutting part, once you have identified the direction of the grain. Our experts emphasize that cutting against the grain isn't just a specialized technique reserved for special cuts of meat. Rather, it applies to almost everything, from a regular Sunday roast to a $200 piece of Wagyu.
"Slicing with the grain instead of across it is a big mistake," warns Sam Martin. "Look at which way the fibers run, then cut at right angles to them. Get that wrong and even a tender piece of beef will eat tough." Even a well marbled, expensive piece of meat can be disappointing if it's sliced the wrong way.
Jorge Thomas goes several steps further and breaks this technique down by cut. "With brisket, grain is everything," he explains. "Slice with the grain and it'll feel chewy however well you've cooked it; cut across it and each slice becomes noticeably more tender." What makes this rule slightly tricky in practice is that grain direction isn't always immediately obvious. Even more tricky — depending on the cut, it isn't always consistent across the whole piece of meat, which is exactly why the visual test from the last slide matters so much.
A sharp knife is the single most important tool
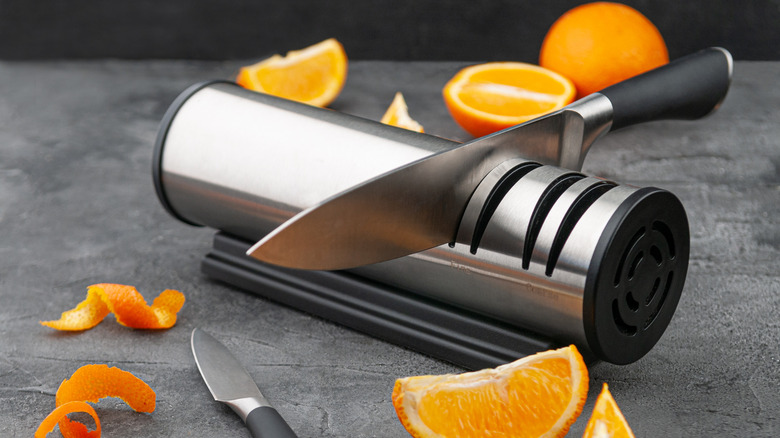
Ask any of the four experts what matters most when you need to carve, and you will get the same answer. Not a carving fork, not a fancy knife set, not a particular cutting board — just sharpness. Golan Haiem recommends a good chef's knife for this. "This is the one tool that I would recommend," he says. "Sharpness is most important." No accessories, no upsell — just one well maintained blade.
Sam Martin gets more specific about why sharpness matters so much. He recommends "a long carving knife that's sharp enough to go through the meat in one clean stroke." Martin warns against reaching for a serrated bread knife or a chunky chef's knife instead, since "both make you saw at the meat, which tears it and pushes the juices out."
Jorge Thomas makes a point of correcting a common assumption here. "People often assume they need an expensive carving set, but sharpness matters far more than price," he says. "A long, sharp knife makes clean slices without tearing the meat." The consistency here is worth noting. Three experts, working independently, all pointed to the same suggestion: Ten minutes with a sharpening stone or honing rod on the knife you already own will go a lot further to a cleaner cut than a fancy knife set would.
With bone-in cuts, follow the bone, don't fight it
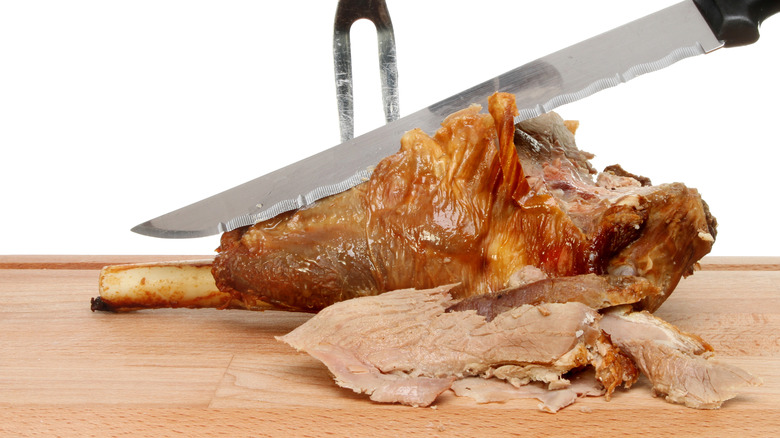
Bone-in cuts tend to intimidate a lot of home cooks, usually because people treat the bone as an obstacle to cut through. Instead, think of the bone as a guide to cut alongside and watch everything else fall into place. Paul Kelly explains why ignoring the bone is a big mistake: "When carving a joint that is on the bone [people] do not follow the line of the bone, instead they try to cut through the bone," he says. His advice for anything on the bone? "If it is a bone-in joint then trim around the bone to release all the meat from the bone before carving," rather than trying to slice straight through the joint as one motion.
Jorge Thomas describes the same principle with a whole leg of lamb, a cut he says worries more people than it should. "The main thing is to work with the bone, not against it," he explains. "Find it, carve alongside it, and don't worry about getting one perfect slice from the whole joint." He adds a detail worth remembering: "Once you've taken the larger pieces away, pick around the bone for the last few morsels, they're often the best bits."
Through it all, carving is a sequence, not just a single cut, and each step depends on the one before it. The common thread is patience over force.
Skip the electric knife for bone-in joints
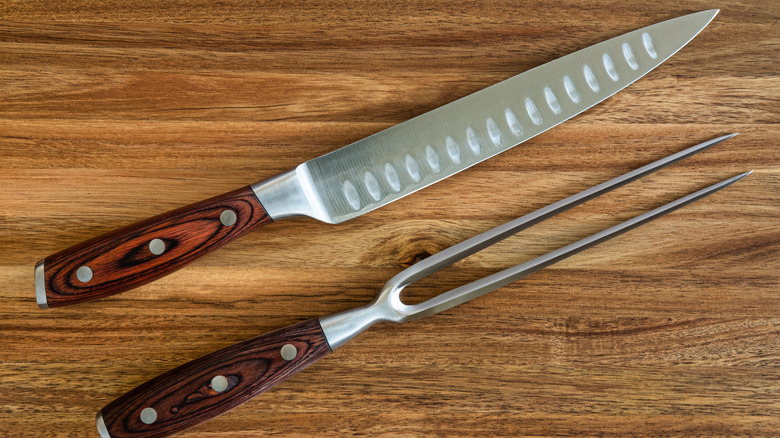
It's tempting to invest in an electric carving knife. You may think that little addition to your carving arsenal would simplify things considerably. After all, all you need to do is point, buzz, and you are done. And while this is true when carving the "easier" cuts of meat, when there's a bone still in the joint, that convenience works against you.
"Avoid electric carving knives for joints with bone in," warns Paul Kelly. Keep in mind that is not a blanket dismissal of electric knives altogether (though many people would disagree), but one that requires you to first consider the joint you are working with. The reasoning makes sense once you think about how these knives actually work. An electric knife relies on a rapid back and forth motion of two serrated blades, which is fine for slicing through soft, boneless meat cleanly. Bone doesn't cooperate the same way. The blade can catch, jump, or bind against it, which turns a controlled cut into something unpredictable, right at the moment you're trying to be most careful. That's a real safety concern as much as a technique one, especially with a knife that's already moving on its own.
A sharp, manual carving knife gives you the control to feel your way along the bone and adjust as you go. An electric knife takes that feedback away entirely, since you're not really guiding the blade so much as steering it.
Break poultry down into primals before slicing anything
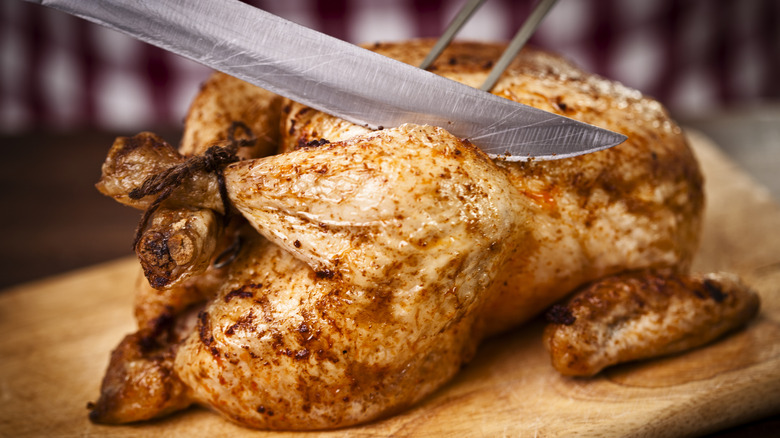
Moving on to carving poultry, and Jorge Thomas elaborates why any bird needs to come apart at the joints before any slicing happens. "The biggest mistake is treating a chicken like a joint of beef," he says. A roast beef or lamb joint is one continuous muscle you slice through. A bird is a collection of separate muscles held together by joints, and carving it well means working with that structure rather than ignoring it.
Paul Kelly lays out the actual sequence for doing this. "You must break the bird down into its primals, take the legs then wings then breast off the carcass before carving onto plates to serve," he says. Doing it in that order matters. Trying to slice a breast while it's still attached to the carcass usually means cutting at an awkward angle, and it leaves meat behind that a clean removal would have captured. Kelly notes that this approach also gets you "maximum yield," meaning less good meat wasted on the bone, and it lets you carve both white and dark meat cleanly for anyone at the table with a preference.
Golan Haiem is specific about why this order matters. If you slice the breast directly on the bird, you will only end up with ragged, uneven pieces – the last thing you want when being given the responsibility of carving for the table. "Removing the breast whole gives you cleaner slices," he explains.
For rack of lamb or cutlets, let the bones set your spacing
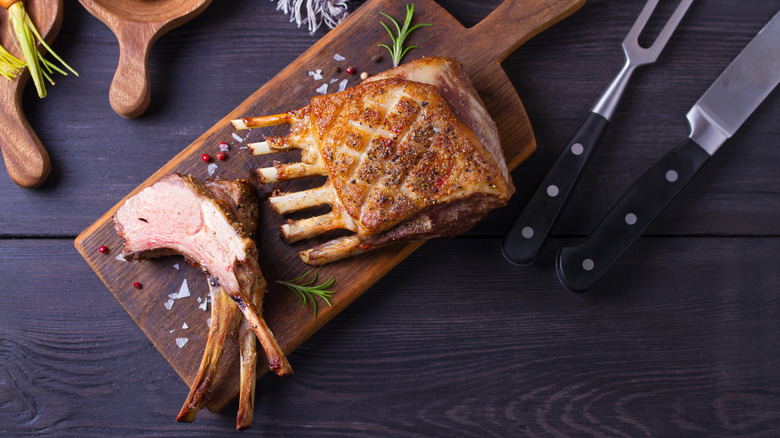
That row of bones sticking up in a neat row in a rack of lamb may look intimidating, but they're actually doing you a big favor. They mark exactly where to cut, so there's very little guesswork involved once you know to look for it.
Golan Haiem loves the simplicity of this move: "With a rack of lamb, the bones actually provide the guide," he says. "You need to slice between the ribs." Unlike a brisket or a larger roast, where you're hunting for grain direction across a wide surface, a rack of lamb hands you the answer visually. The bones are spaced exactly where the cutlets should separate.
For Jorge Thomas, forcing the knife through bone or cartilage rather than sliding it into the natural gap between ribs is a common way to end up with a ragged edge or a cutlet that's thicker on one side than the other. "With a rack of lamb, you're mostly carving between the bones," he says. "If you're serving it as cutlets, let the bones guide the knife rather than forcing it through." This makes a rack of lamb the ideal cut to practice your carving skills on. Once you understand that the bones do the thinking for you (and your knife is sharp enough), you can achieve precise results every time.
Have a fallback method for any unfamiliar cut
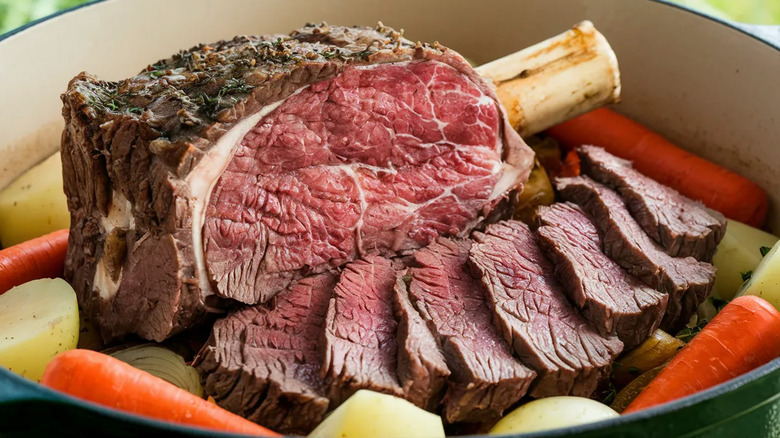
There might come a time when you are faced with a cut you've never cooked before. For moments like this, it helps to have one default method you can lean on, even without knowing the specific rules for that particular cut. Golan Haiem has a fallback plan for when this happens: "Let the meat rest and identify the muscle fibers," he says. "Stabilize it on a secure cutting board and cut across the grain using the sharp chef's knife. [Use a] long but very controlled slice."
Sam Martin offers a similar approach built around bones specifically. "If there's a bone in your joint, take that out first, then you're carving a solid block of meat," he says. Once the bone is gone, you're no longer navigating around an obstacle, just working with a single piece of meat you can slice normally. He adds one detail easy to overlook under pressure. Hold the meat steady with a fork, "but don't stab it."
Jorge Thomas frames the same idea around anatomy rather than tools. "Whether it's beef, lamb, or poultry, there's usually a natural line where muscles meet. If you let the anatomy guide you, carving becomes much simpler." That's a genuinely useful mental shortcut for an unfamiliar cut. Instead of guessing where to cut, look for where the meat already wants to separate.
Rewarm with sauce, not the oven
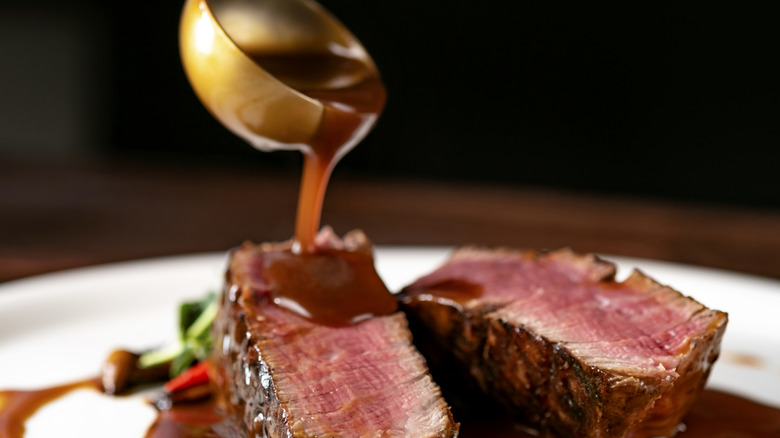
If you have ever popped your steak or ribs back into the oven just to warm things up before serving, stop doing so immediately. According to Paul Kelly, that instinct is exactly the wrong move. His advice is specific and easy to remember. "It is better to bring meat back up to temperature by using hot gravy or jus, than carve it when it is too hot," he says. If you've already given a large roast the full hour of resting time that Kelly recommended, reheating it directly undoes all of that patience that came before. By warming it again under a grill, all you end up with is meat that has tightened back up, leaving you with something drier than you would want to serve.
Our experts suggest you use a warm sauce or gravy to solve the problem from the outside instead. This way, the meat itself never goes back near direct heat, so it doesn't lose the moisture it worked to hold onto during resting. What you are doing instead is ensuring that the warmth comes from what's poured over or served alongside it. This brings the overall temperature of the plate up effectively without touching the internal structure of the meat.
Never let carved meat sit exposed before serving
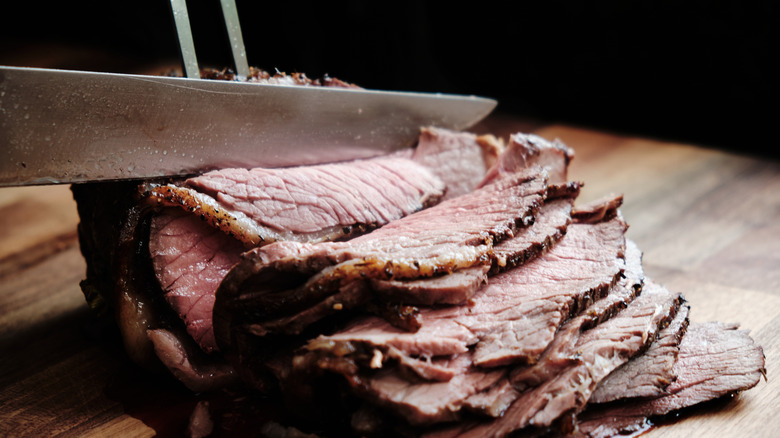
There's a habit a lot of us fall into when hosting. In a bid to get everything served on time, we prep way in advance including carving the meat early. While this may feel efficient, according to Paul Kelly, it's one of the fastest ways to undo all your good efforts so far. He warns: "Do not carve and put under heat lamps or back in the oven to keep warm," he says. "The meat will dry out very quickly. In the home only carve when ready to serve."
The moment a slice is cut, its protective surface is gone, and moisture starts escaping immediately. Every extra minute it sits exposed to air, especially under heat, is a minute working against the texture you carved so carefully to get right. Sam Martin suggests carving a smaller portion rather than slicing the whole thing ahead of time for this very reason: "Just cut enough for a first portion, as carved meat dries out quickly," he says.
Just work backwards when feeding a crowd: Make sure you get everything else ready first — all the sides plated, your table set, the gravy warmed, and finally begin carving as the very last step before everybody is ready to eat. If timing genuinely requires the meat to rest longer than expected, it's better to leave the cut whole and uncarved under foil. This holds moisture far better than carving it ahead of time.