12 Troubleshooting Tips For Malfunctioning Keurigs
If you're a regular coffee drinker who prizes convenience, and certainly if you're no snob about how your coffee is or isn't made, then you probably own a Keurig. Admittedly, the brand has come a long way since the first Keurig for home use debuted in 2004. If you were an early adopter, you had a basic, single-cup coffee maker that did just that and nothing more. However, now you can buy a huge array of different Keurigs. There's a K-Mini, a Keurig that makes iced coffee, Keurigs that make lattes, Keurigs that can make an entire carafe of coffee if you want or need more than just a single serving, and many more.
Keurigs are not without their faults, though. Unlike a simple pour-over coffee maker, like a Chemex, where you can see all the inner workings because there really are none, the Keurig is a more complex piece of machinery. That means, when something goes wrong, you might not know how to fix it. To ensure you never (hopefully) have to go without your morning cup of joe just because your Keurig is on the fritz, here are some handy troubleshooting tips that may just solve all your issues.
1. Check for needle obstructions
When you place a K-cup in your Keurig and close the lid, two needles puncture the K-cup during that motion, one on the top and one on the bottom. The holes the needles create allow hot water to flow through the K-cup and the coffee grounds. Over time, coffee grounds can get stuck inside the needles, preventing the Keurig from working correctly. You can easily clean them though, and all you need is a paperclip and a mug.
Turn the Keurig off and unplug it. Then, remove the pod holder from the machine. It should lift right out. Remove the funnel from the pod holder (it might take a little bit of force) and you'll see what looks like a small tube or nozzle. Unbend your paperclip until you have a length of straight wire and poke it into the opening, cleaning it out.
Then, wash the pod holder, which you can simply do in the sink or by soaking it in water or vinegar (and, actually, if you do the soaking ahead of the poking, you may find greater success with removing any buildup). Clean the top needle by lifting the brewer head until you can see it, giving it the same poking treatment with your trusty paperclip. Finally, place the pod holder back inside your Keurig and run a few cups of hot water through the machine.
2. Descale the machine
You may think that descaling just sounds like an extra step that you really don't have time for, but not descaling your Keurig can result in calcium build-up that really affects the machine's performance. It can cause clogs and negatively impacts your coffee's flavor. While Keurig sells a specialty descaling solution, you don't need to splurge on that. You can use the vinegar you probably already have on hand at home (just keep in mind that while you can clean with vinegar, it won't disinfect).
Fill the reservoir half-way with white vinegar and half-way with water. Run this mixture through the machine and into an empty cup over and over again, until the reservoir is empty (you'll need to babysit the machine, emptying the cup as it fills and restarting the Keurig after every cycle). Then, fill the reservoir with just water, let it sit for half an hour, and discard that water and wash the reservoir. Finally, fill it yet again with only water and run a few more cycles until you can no longer detect any faint aromas of vinegar.
3. Remove air bubbles
This is a rather fun way to potentially fix your Keurig woes. If you find that your Keurig's reservoir is filled with water, but for some reason it's not actually able to use that water, the problem could be that air bubbles are trapped in the water line.
Removing air bubbles from a Keurig couldn't be simpler. All you have to do is give your Keurig a good shake. Set aside all removable items from the machine (the water reservoir, the drip tray, etc.) and then, with the machine unplugged, turn it upside down (preferably over the sink, just in case) and give it a few shakes.
Some users have also had success removing air bubbles form the water line by filling the reservoir a small amount and shaking it upright, while it's still attached to the machine. If air bubbles appear, that could be a sign of an air blockage. If you shake the reservoir until air bubbles no longer pop up, you may have remedied the issue.
4. Prime the Keurig
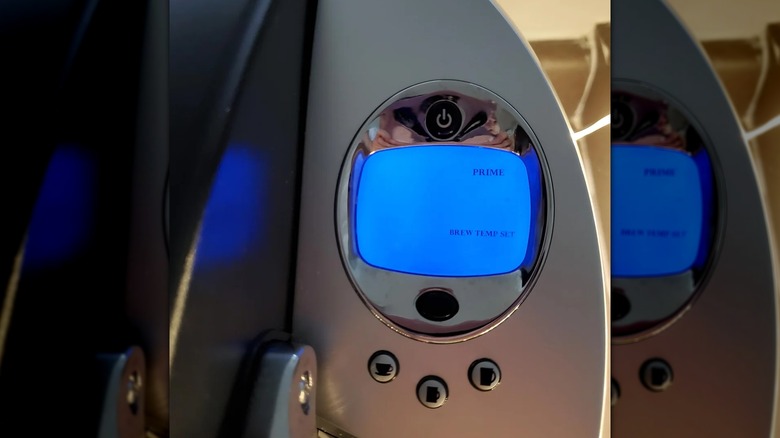
If you have a newer Keurig with a digital display, it may occasionally flash the word "PRIME" and refuse to work — but what does priming your Keurig mean? Basically it could mean a lot of things, but your Keurig is calling out for help, so you need to go through a series of troubleshooting steps to get it back to working order.
You can follow the above steps for cleaning out the needle, for starters. You can also clean your water reservoir, since if it's overly dirty, that'll trigger the "prime" error. This is as simple as just cleaning the water reservoir with water and a dish cloth, and then letting it air dry. You may also need to clean the reservoir base the same way. Meanwhile, the spot where your reservoir attaches to the machine could be filled with debris (again, triggering that error message). If you find that any of these options works, great job — go ahead and run a few water-only cycles through the Keurig to ensure that it's working well, clean, and ready to go for your next cup of coffee.
5. Hard reset the machine
Honestly, sometimes, the best fix for anything is to just turn it off and then turn it on again. If you've already tried that with your Keurig, though, to no avail, it may be time for a hard reset. Yes, just like you can hard reset your phone and similar devices when they've gone wonky, so can you hard reset your Keurig.
To do so, turn off your Keurig, unplug it, and set aside all the removable bits, like the reservoir and the drip tray. Wait 10 minutes. Plug the machine back in and turn it on. The machine should tell you to add water, at which point you can replace the filled reservoir. Then, open and shut the K-cup compartment. This should return the Keurig to its factory settings, giving you a hard reset.
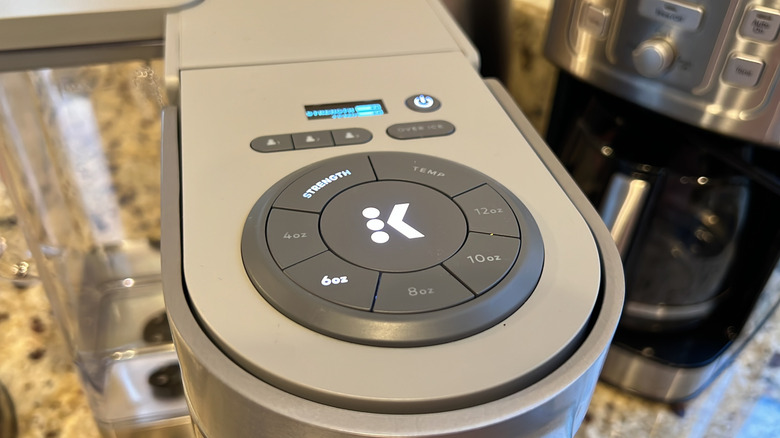
The one caveat? This won't work with K-Supreme Plus Smart machines. These machines actually have a built-in factory reset option. On the top of the machine, just press both arrow buttons at the same time to bring up the machine's menu. Using the right arrow, scroll through the menu options until you find Factory Reset. Choose that option and follow the prompts.
6. Switch up the water you're using
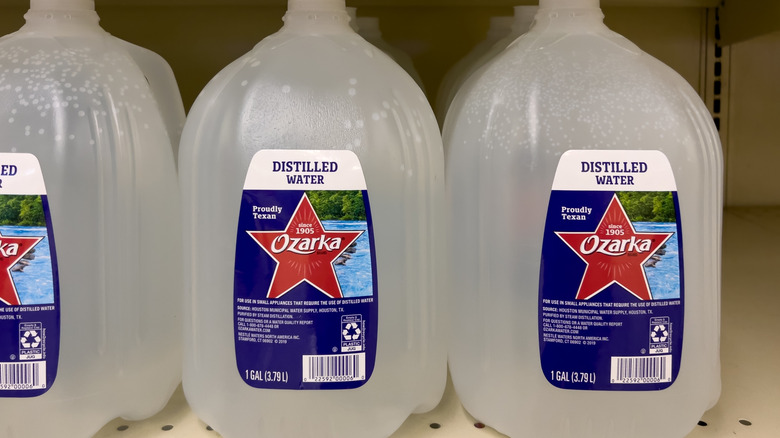
Could the type of water you're using be impacting your Keurig's performance? It very well could be, with some Keurigs failing to perform at their peak if you're using high-alkalinity water or distilled water. Instead, the brand recommends using bottled or filtered spring water. There are a few reasons why you shouldn't use certain types of water in not just your Keurig, but in any coffee maker.
The process of making distilled water (boiling water, turning it into steam, and then cooling so that it turns back into a liquid) removes all minerals, salt, etc., which gives the water a bland flavor. Aside from passing along its bland flavor to your coffee, it also doesn't play well with coffee grounds. It's such an effective solvent that it causes the grounds to swell, making it more difficult for the water to flow through them. Similarly, distilled water can over time cause damage to the metal and tubing within your machine.
Meanwhile, high-alkalinity water contains alkaline minerals and is less acidic than normal water. Due to the mineral content it can negatively impact your coffee's flavor by reducing the aromas.
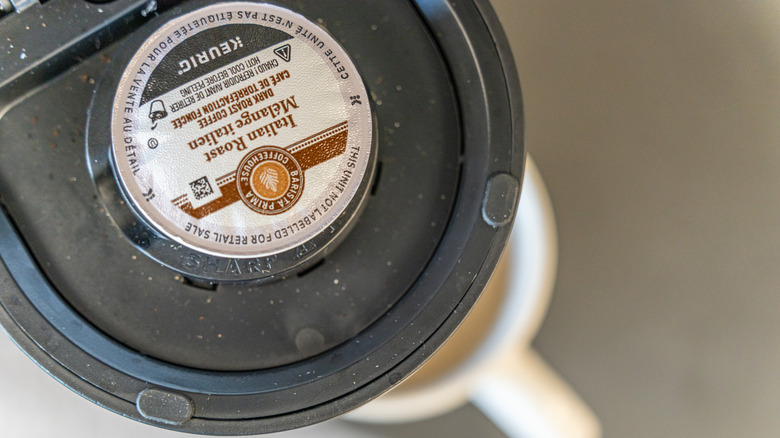
7. Check to see if the K-cup is the issue
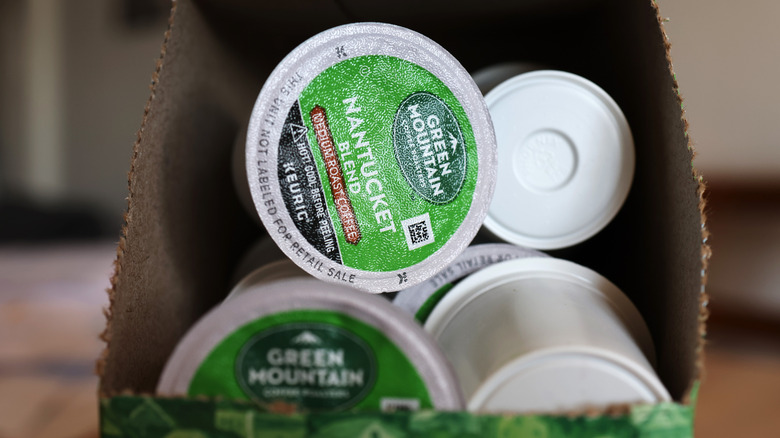
Sometimes, it's not your Keurig that's the problem. The K-cup could be the issue instead. For example, if you're placing your K-cup into the machine, starting it up, and walking away, only to have the K-cup basically explode before you get your cup of coffee ... well, that's probably the K-cup's fault. So why would a K-cup explode? To start, there could be excess air in the K-cup or a faulty seal. Or maybe, you're trying to make coffee at a higher altitude than the K-cup is really meant for.
Luckily, getting around two of these issues is pretty easy. If there's excess air in the K-cup, you'll be able to tell before you even place it in the Keurig. The top of the cup will be almost rounded and firm. To remove the extra air, when you place the K-cup into the machine, push down until the bottom needle punctures the cup, which should provide a release. Use the same fix for K-cups at altitudes of 6,000 feet or more to remove pressure. If you have a weak seal, though, you can't really fix that. Stop using the cups from that particular box, as they're likely all affected.
8. Replace the O ring
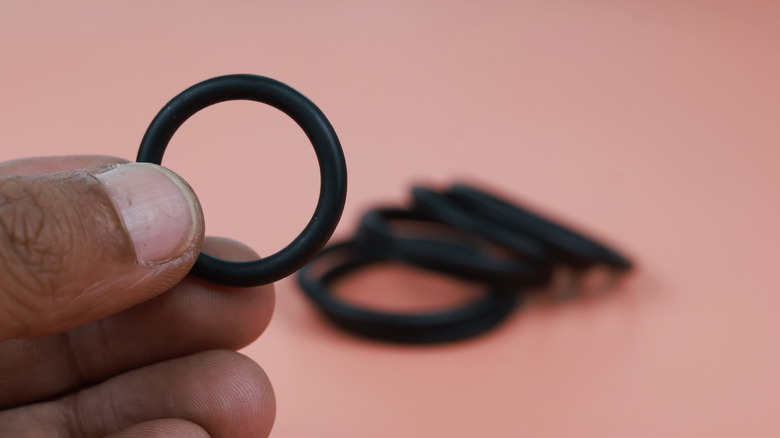
If your Keurig's O ring is faulty, you're going to have a lot of water leakage. If you fill up the reservoir and, next thing you know, your countertop is covered in water and there's no obvious source — like you overfilled the water tank because you weren't paying attention, or your Keurig's needles are clogged — it's time to examine that O ring in the water tank and potentially replace it.
This troubleshooting fix is going to require a little more DIY savvy than some of the previously discussed fixes. You'll need to break out the toolbox, versus just picking up the Keurig and giving it a good shake.
First, remove the water reservoir from the machine. Empty and dry it. At the bottom, you should see three screws securing a screen to the reservoir's bottom. Unscrew them, remove the screen from the reservoir, and then remove the O ring from the screen, replacing it with a new one.
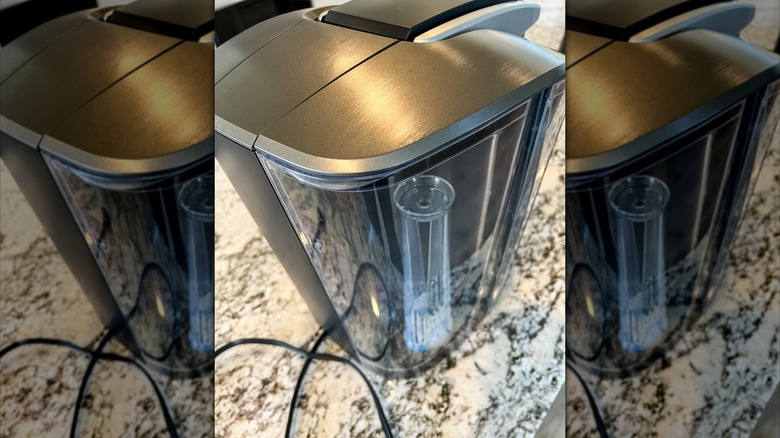
9. Change the filter
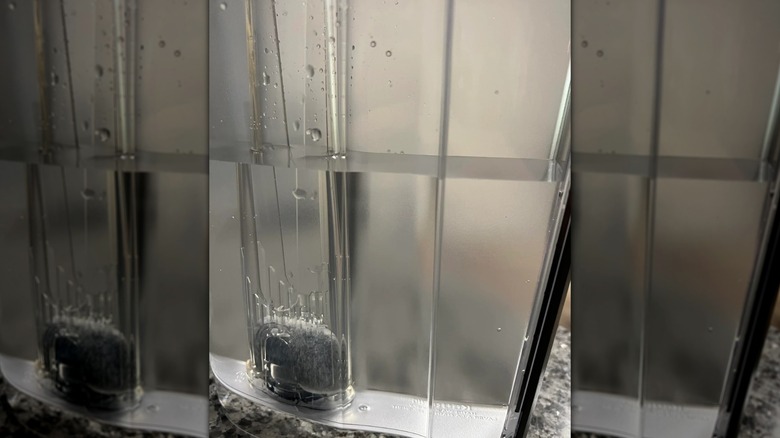
Not all Keurigs are equipped with water filters, while some may have optional water filters. Whatever the case, if your Keurig uses one, it's advised that you change it out every three months. If you don't, you could end up both with a lackluster cup of coffee and build-up within the machine. You may need to change out your filter more often if you use your Keurig extensively, or less often if you use your Keurig sparingly.
The good news is, if you've been neglecting this maintenance and your machine is now acting up, replacing the filter is quick and easy, and the filters are pretty cheap. Just remove the new filter from its packaging and let it soak in water for a few minutes. While you wait, remove the filter holder from the machine's water reservoir, take out the old filter, and toss it. Then, rinse the new filter that's been soaking, insert it into the filter holder, and return the holder to the reservoir.
If you don't want to bother with a filter at all, you can get similar results and avoid the issues that may come with not using a filter by simply using pre-filtered water every time you brew.
10. Consider your altitude

We already mentioned how trying to brew coffee in a Keurig at a high altitude can result in exploding K-cups, but the altitude can impact your coffee-making experience in other ways, too. Beyond pre-puncturing your K-cups and pods so they don't explode, you also may want to look at your Keurig's settings. Some — the Keurig 2.0 and Plus series — have high altitude settings. Meanwhile, the brand recommends using a lower brewing temperature if you're using a Keurig Special Edition, Ultimate, Platinum, Select, or OfficePRO Premier machine at a high altitude.
So why does a higher altitude require using a lower brewing temperature or changing your coffee machine's settings at all? It's because altitude affects the boiling point of water. Atmospheric pressure decreases as altitude increases, and it lowers the boiling point of water as a result. At sea level, water must reach 212 degrees Fahrenheit to boil, but it only needs to reach 194 degrees to boil at 10,000 feet. Whenever you're cooking at a high altitude, you have to account for the lower boiling point and extend your cooking time to achieve sea-level results.
This can result in a lot of frustrations for those who just want to make a good cup of coffee, but find that their normal methods result in a subpar flavor. However, using the high altitude setting on your Keurig can get you closer to the desired outcome.
11. Check your auto-off settings
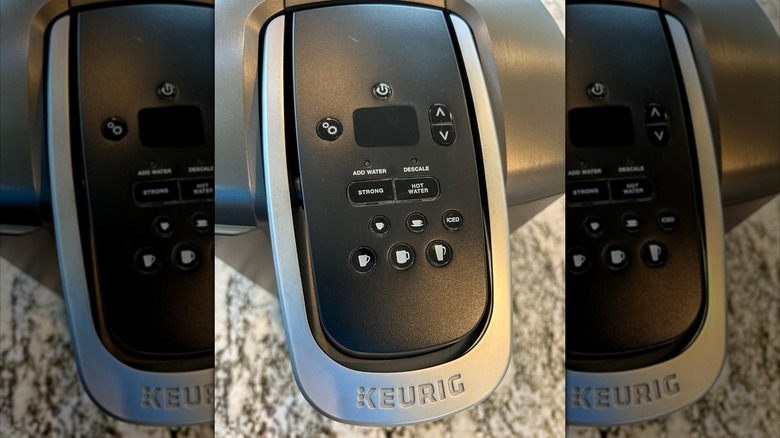
You get up. You turn your Keurig on. You make a cup of coffee. You finish it. You come back and want another — but your Keurig's suddenly turned itself off in the short amount of time it took you to sip down your first cuppa joe. This might not actually be any big deal. There's probably no need to worry about some sort of internal electrical issue that's causing your Keurig to turn off prematurely. Instead, the machine's settings could merely be incorrect.
Some Keurigs have an auto-off function. In these situations, the Keurig turns itself off automatically at 15-minute intervals from 15 to 120 minutes after its last use. While the factory setting is for the Keurig to turn off after 120 minutes, if the settings are adjusted otherwise, it'll turn off after any of the other set amounts of time have passed.
So, check your auto-off settings. To do so, click the machine's settings button until you see the moon icon. From there, you can either adjust the length of time before the machine turns off automatically, or you can override the auto-off function altogether.
12. Clean your machine's exterior with alcohol
If your Keurig has a few sticky buttons or buttons that aren't working at all, you may need to give your machine's exterior (and, in some cases, interior) a deeper clean. As your Keurig sits on your kitchen counter day after day making cup after cup of coffee, it can get pretty dirty, especially if you're not wiping it down consistently. Whether its the oils on your hands, the coffee grounds, mineral deposits from water, or dust, all that can make buttons more apt to fail.
You can give those buttons a deeper clean and return them to proper working order by using compressed air and rubbing alcohol. Unplug the machine and give the buttons a few bursts from a can of compressed air. Tap the machine around the buttons to shake any debris loose. Then, use a Q-Tip dipped in rubbing alcohol to clean around the buttons' edges. Let the rubbing alcohol air dry. You can also use a toothpick wrapped in gauze and dipped in rubbing alcohol if you want to really get into the crevices around a button.
For some Keurig models, like the K-Elite or K-Select, you can additionally unscrew the machine's top panel to clean the rubber keypad under the buttons, also using rubbing alcohol and a Q-Tip. Again, let the alcohol air dry before reassembling.