13 Ways You're Probably Ruining Your Baking Sheets

We may receive a commission on purchases made from links.
Your baking sheets are some of the hardest-working items in your kitchen, especially during the holiday season, but you may not be giving them the TLC that they deserve. The poor sheet pans might be suffering in silence –– warped, stained, sticky, and blackened from habits that seem harmless. In fact, there are several things that you may be doing or overlooking that can significantly shorten their lifespan. Using high heat too often can cause unsightly warping, for instance, especially with thinner sheets not designed for broiling. Cooking sprays, while convenient, leave behind a stubborn residue that builds up over time.
Improper cleaning and scrubbing habits are other culprits, as are poorly fitted liners. Who knew that baking sheets were so delicate? Even using the wrong utensils on sheet pans can damage them. Don't let all of this have you trading in your metal sheets for flimsy disposable ones, though. They're still a kitchen essential for your first home or apartment. The good news is that with a little bit of effort and by avoiding these mistakes that are ruining your baking sheets, your cookware will return the favor with even, golden bakes.
Not protecting baking sheets with foil or parchment paper

Although every kitchen needs one gross baking sheet, the beloved tray that you rely on to make delicious chocolate chip cookies shouldn't fall into that category. Lining baking sheets with parchment paper or foil is a simple act of kitchen foresight that protects both your cookware and your food. Not only does the lining keep the sheet pans cleaner and avoid crusty, sticky messes, but it also makes it easier to move your baked goods, such as brownies or bars, onto a cutting board for slicing. You can then transfer them back onto the paper or foil-lined sheet. Parchment paper is especially beneficial to use when making delicate cookies, roasted vegetables, or items with gooey glazes, as it prevents them from sticking, while also promoting even browning.
If you need a sturdier barrier between your food and the tray, aluminum foil is the best option. Foil provides the best protection when you're roasting at high temperatures or using messy marinades. You can even choose heavy-duty foil for extra support if need be. Simply throw the foil away after the baking process for effortless cleanup. Both foil and parchment paper will protect your baking sheets from stains and baked-on residues.
Using metal utensils on nonstick sheet pans
If you have nonstick baking sheets, using metal utensils on them is one of the fastest ways to ruin them. Many nonstick sheets have been treated with a synthetic coating, such as PTFE (polytetrafluoroethylene), so you should take care not to damage them with forks, knives, or spatulas. Instead, reach for wood, plastic, or silicone utensils, which won't scratch the coating. If you have uncoated aluminum or stainless steel sheet pans, feel free to use metal utensils.
Using forks and knives on nonstick baking sheets is a saboteur of their longevity and performance. The sharp edges of these baking tools can scratch and gouge the nonstick coating, compromising its smooth surface and leading to uneven cooking and sticking. Eventually, the damaged coating may begin to flake and release chemical particles into your baked goods. Also, as the sheet pan loses its protective coating, cleanup will become more of a chore. Even if you take good care of your bakeware, the time may come when you need to throw out your scratched-up nonstick pans.
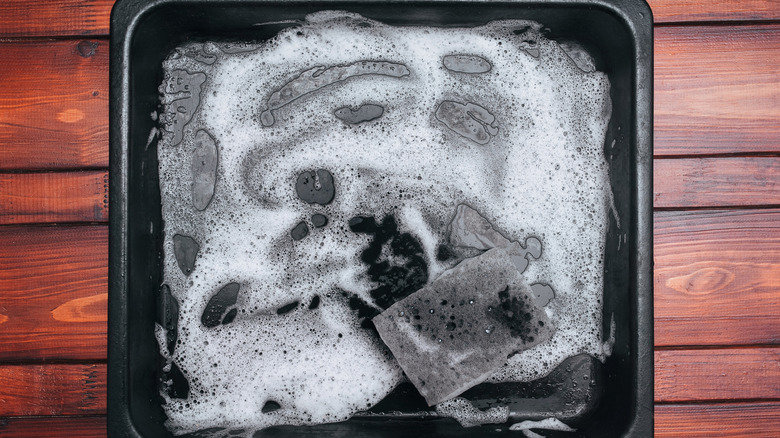
Scrubbing nonstick baking sheets with abrasive tools
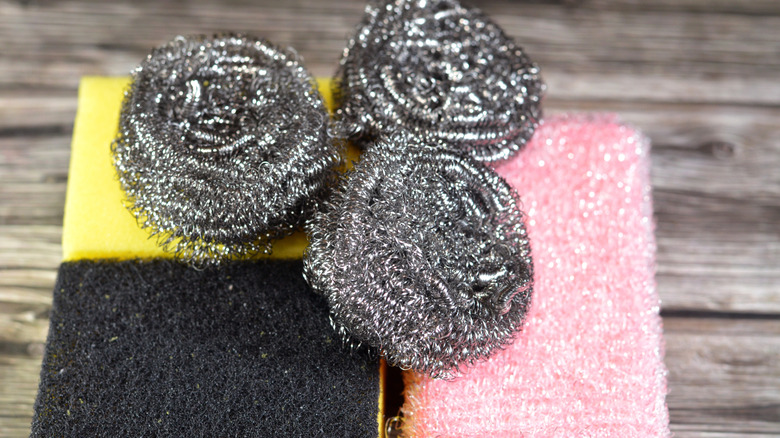
Although using abrasive cleaning tools and a forceful touch may feel satisfying when trying to remove build-up from a baking sheet, it will quickly erode its surface and shorten its lifespan. Metal trays are sturdier, but harmful cleaning objects such as steel wool, harsh scouring pads, and gritty cleansers can scratch away protective coatings on nonstick sheet pans, leaving them vulnerable to rust, unsightly discoloration, and uneven cooking. The resulting micro-scratches can cause the coating to flake off into your dishes or become crevices where food residue clings. Not only will this make cleanups harder, but it can also be less hygienic.
Swap out the abrasive cleaning supplies for gentler options, including soft foam sponges, microfiber cloths, silicone scrubbers, and baking soda pastes. These preserve the integrity of your nonstick baking sheets while still fighting stuck-on debris and stains. Using a lighter touch will keep your bakeware reliable and in good condition longer. As an unexpected cleaning hack, you can also clean your baking sheets with dryer sheets, which will help loosen stubborn messes when soaked in hot water.
Cleaning with harsh chemicals
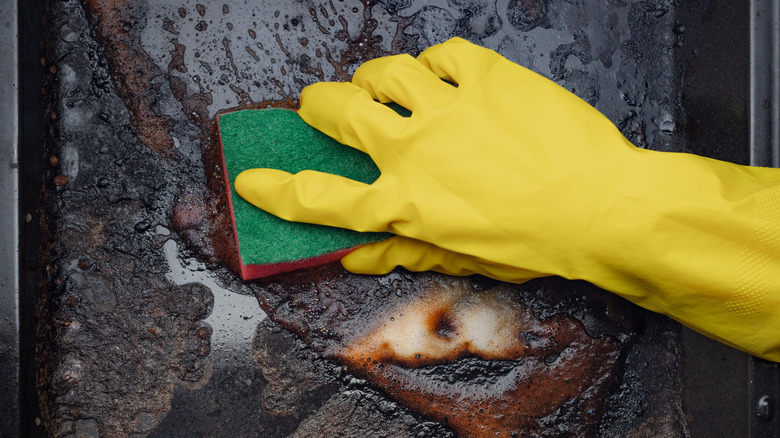
Baking sheets are among the most versatile cookware in your kitchen, serving up everything from sheet pan dinners to tasty cookies. Although baking sheets look tough, cleaning them with harsh agents often does more harm than good. Using abrasive chemicals may seem like a shortcut to spotless trays, but these liquids can strip nonstick coatings or seasonings, corrode metal surfaces, and leave behind residues that compromise both flavor and safety. Aluminum and nonstick baking sheets are especially vulnerable to strong cleaners, as their finishes can degrade after aggressive treatment, leading to warping, discoloration, and uneven cooking.
Instead of using harsh chemical cleaners such as bleach to wash your baking sheets, choose gentler alternatives. Household supplies such as cleaning vinegar (which is different from cooking vinegar), baking soda, mild dish soap, hot water, cream of tartar, and hydrogen peroxide preserve the integrity of your bakeware while still lifting stubborn messes and stains. In most cases, you'll just need to apply the natural cleaner with hot water and a soft sponge or cloth, allow it to soak, and then rinse clean.
Subjecting them to extreme temperature changes
All types of baking sheets have maximum temperature specifications, and exceeding these limits can damage them. However, it's important to realize that super-low temperatures can impact their integrity as well. Avoiding extreme temperature changes with sheet pans is essential to preserving their coating, shape, and performance. When a heated tray comes in contact with a cold surface, such as a sink full of chilly tap water, the metal can instantly warp and bend out of shape.
This thermal shock is especially damaging to thinner sheets and those with nonstick coatings, which may crack under the stress. Instead of subjecting your hot, hardworking sheet to this situation, allow it to gradually cool to room temperature before washing it in cold water or placing it into a refrigerator or freezer. Gently transitioning the tray to a lower temperature can potentially add years to its life.
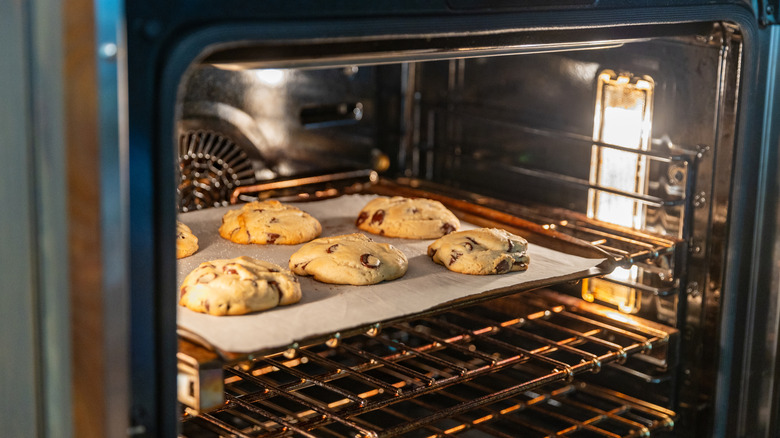
Not rinsing them shortly after use

Rinsing your baking sheet off in warm water right after using it may seem like a small act of care, but it can make a big difference in preserving its condition and saving you cleaning time in the future. No matter what type of food you're making on the sheet pan, when food residues or sugars are left to cool and harden, they can bond to the surface. When this happens, the mess can become stubborn and very difficult to remove from the metal. This unsightly buildup can also lead to discoloration, grimy and sticky patches, and may even damage nonstick coatings over time.
After allowing your hot baking sheet to come to room temperature, rinse it in your sink using warm water and a gentle dishwashing liquid if necessary. Just a quick rinse while the sheet is still warm will loosen most debris effortlessly, cutting down the need for harsh scrubbing or cleaners later. Taking the time to do this step after cooking will keep your bakeware reliable and ready for your next culinary creation.
Putting sheet pans in your dishwasher
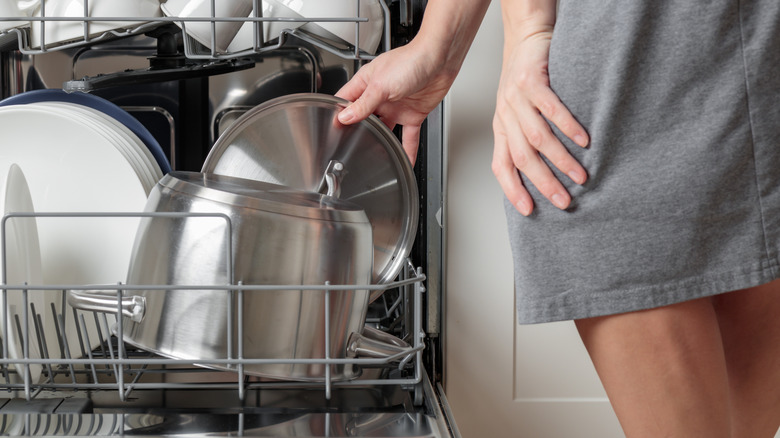
Putting your soiled baking sheets in the dishwasher might seem like an attractive, time-saving option, but it can slowly compromise their longevity and performance. Although the machine itself won't damage the sheets, the combination of high heat and harsh dishwashing detergents can. The damaging duo may warp and discolor metal sheets, strip nonstick coatings, and even leave behind unattractive cloudy residues and rust spots. If your sheets are aluminum, detergent can also cause oxidation of the metal. If you think you can get away with putting your sheets in the dishwasher once or twice, think again, because the damage may be noticeable in just a few wash cycles.
Over time, the damage may result in uneven baking, stubborn stains, and a shortened lifespan. Even though it may require a bit more effort, handwashing your baking sheets in gentle soap and warm water preserves the integrity of the bakeware and ensures it stays smooth and reliable for your next batch of cookies, baked chicken breasts, or roasted vegetables.
Not soaking super dirty baking sheets overnight
If you forgot to line your baking sheet with foil or parchment paper before roasting vegetables, making a sheet pan dinner, or baking up a batch of your favorite cookies, you might be left with a big mess. Soaking the bakeware overnight, however, may be the solution. When baked-on grease, caramelized sugars, or stubborn bits of food cling to the surface of the tray, immediately scrubbing it off may feel like a battle you can't win. Also, using harsh tools or cleaners, such as aluminum wool or bleach, can damage the nonstick coating. A long soak in warm, soapy water will soften the messy residue naturally, loosening the debris and reducing the need for a scrubbing battle.
Allowing your bakeware to bathe in a gentle mixture of warm water and dishwashing liquid overnight will save the coating, prevent the metal from warping, and make cleanup a breeze. As an alternative to the dishwashing soap and water solution, you can soak the sheet in a mixture of baking soda and hydrogen peroxide overnight, and rinse it clean with soap and water the next day.
Using too-small liners
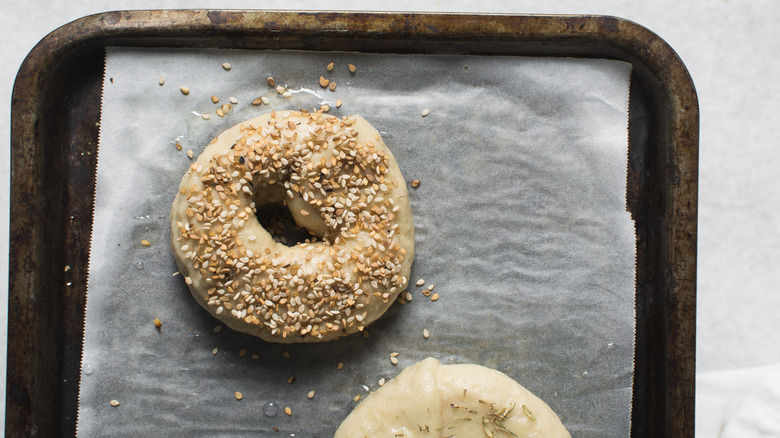
Using liners on your baking sheets can go a long way in protecting them, ensuring even heat distribution, and making cleanup a breeze. Depending on your preference and what you're baking, you can use either parchment paper or aluminum foil. Silicone liners (like these from Amazon Basics) are another reusable option, but require more cleaning considerations since you won't just toss them in the garbage. As helpful as these liners can be, using ones that are too small for your sheet pans creates more mess than protection.
When parchment paper or foil doesn't fully cover the tray, drips, oils, and sticky bits escape onto exposed metal, leading to baked-on residue, uneven browning, and trickier cleanup. These gaps also invite direct contact between food and the sheet, which can cause sticking, scorching, or flavor transfer from previous bakes. A properly sized liner acts as a barrier, catching spills and preserving the surface beneath. Choosing the right fit isn't just about neatness –– it's about taking care of your baking tools and ensuring consistent, clean results every time. For convenience, you can purchase pre-cut foil and parchment paper sheets to ensure a perfect fit every time.
Not seasoning aluminum and stainless steel sheets prior to use
Seasoning your baking sheet before use doesn't mean sprinkling it with salt and pepper; rather, it means preparing it for contact between food and metal. When you season your sheet pan, it provides a protective barrier, especially if you have an uncoated aluminum or stainless steel tray (like this Nordic Ware aluminum cookie sheet). To create a natural nonstick surface, cover the sheet with a coating of everyday oil, such as corn or vegetable oil, then bake it for about an hour at 375 degrees Fahrenheit.
When you're experimenting with how to season your pans and trays, one trick is to use a thin layer of oil and avoid any pooling. You can use a paper towel to rub the oil onto the surface, making sure to work it into the corners and from edge to edge. If it still feels tacky after you pull it out of the oven, you can bake it for another 30 minutes to complete the seasoning process. One of the benefits of seasoning your baking sheet is that your roasted meats and vegetables will turn out crispier and browner.
Greasing them with butter
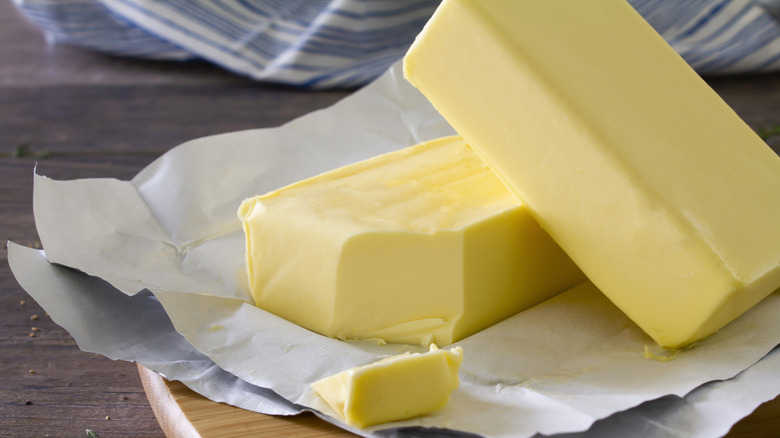
Using butter directly on a baking sheet might seem like a smart, flavorful choice, but it often backfires in both performance and cleanup. Butter has a low smoke point, which means its water content evaporates quickly in a hot oven, leaving behind milk solids that form sticky residues that are tough to scrub off. This buildup not only affects the taste and texture of future bakes but can also damage nonstick coatings or discolor metal surfaces. For a cleaner release and more consistent results, opt for foil, parchment paper, or silicone mats instead. One small shift can protect your pans and your pastries alike.
Although there are good reasons to use butter versus cooking spray for baking, when it comes to your sheet pans, it's better to use a small amount of either vegetable oil or shortening instead. After seasoning your sheet before use, adding extra butter or oil to it can cause cookies and other delicate baked goods to burn.
Using cooking spray
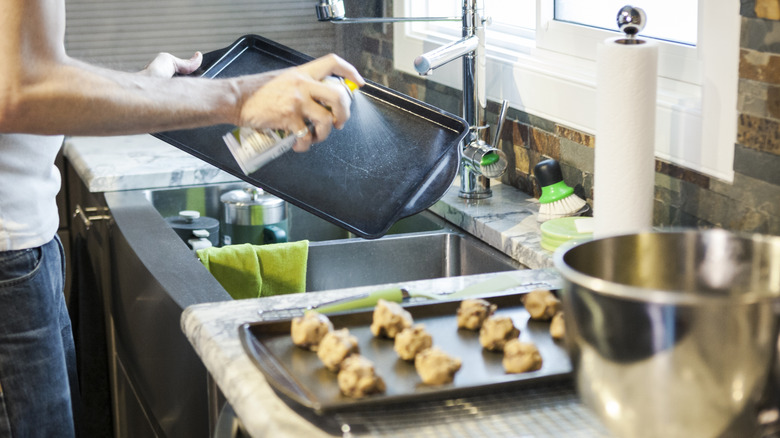
Nonstick cooking spray has its time and place, but it shouldn't be used when you're cooking with baking sheets. Many people prefer the spray over full-fat oils in a sheet pan meal or batch of cookies, but it's not safe to use on nonstick bakeware. If you use the spray too often, it can result in an unappetizing, greasy build-up. While convenient, aerosol sprays can leave behind a sticky, gummy residue that's hard to clean and can even interfere with the baking and browning process. The sprays can even make nonstick baking sheets less effective over time.
Instead of cooking spray, you can apply a small amount of vegetable, canola, or olive oil with a mister. You can also add the oil by using a paper towel to work it into all of the sheet's corners and crevices. Parchment paper, foil, and silicone mats are other effective methods to ensure that your food doesn't stick to the sheet pan.
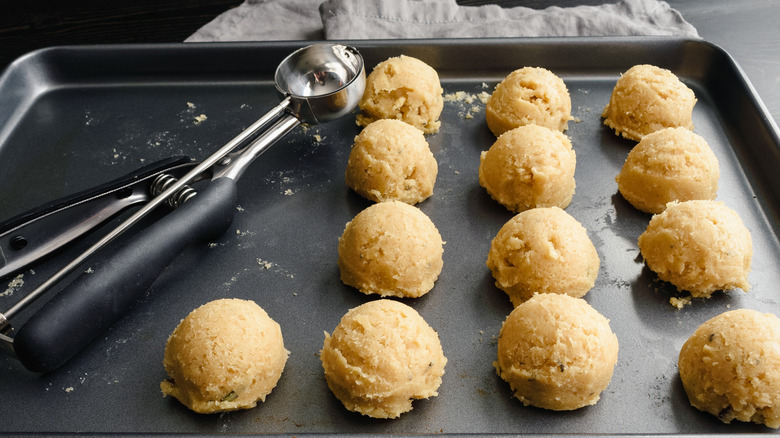
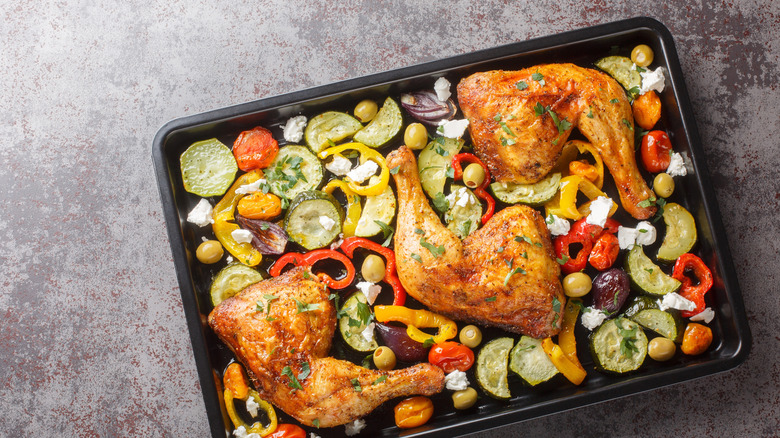
Not evenly distributing the weight on the sheet to prevent warping
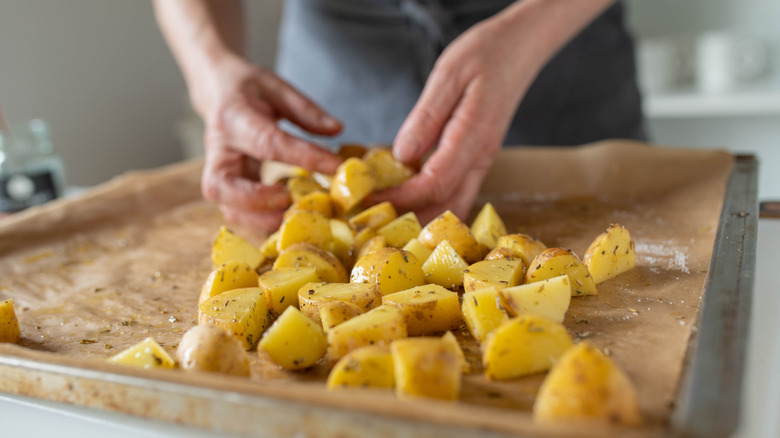
Preventing baking sheet warping starts with how you place your food on it. When ingredients are piled unevenly or clustered on one side, heat concentrates in isolated areas, causing the metal to expand unevenly and potentially buckle under pressure. Areas of the tray with less mass will heat up faster than areas with more mass, creating uneven temperature gradients and potential areas of stress. To keep it in good condition for years to come, carefully place your ingredients in a uniform pattern, dispersing the weight equally in the middle and around the edges. Doing this will minimize physical and thermal stress on the sheet.
This warping not only distorts the shape of your pan but could also affect how evenly your food cooks. By spreading items in a balanced layer across the entire surface –– whether it's cookies, vegetables, or meats –– you allow heat to circulate uniformly, protecting the integrity of the sheet and ensuring consistent results.