Cool Down This Summer With Sweet Shaved Ice (No Machine Needed)
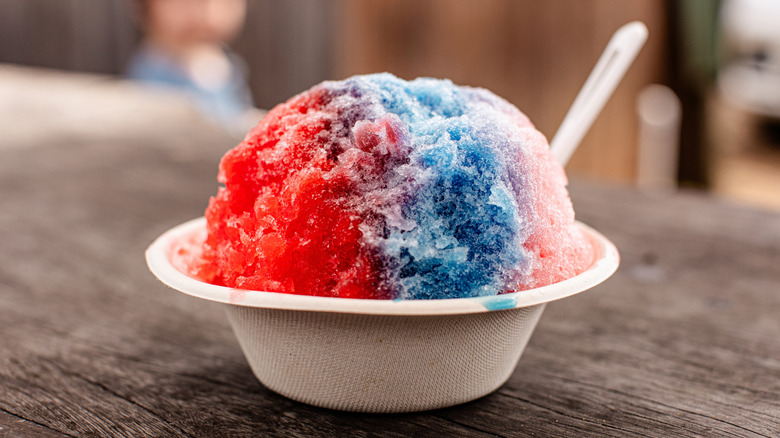
Growing up (and still now at 34 years old), shaved ice was one of my favorite summertime treats. As soon as it was hot enough outside that I had permission to run to my neighborhood's gas station and grab one, I was out! What I recently discovered is that you don't need to invest in high-tech gear to gorge ... I mean, enjoy, shaved ice at home. If you're a shaved ice connoisseur and grown now, there's absolutely no reason to wait until the summer to get what you crave, especially when you don't even need a fancy ice shaver or countertop appliance.
All you really need is some ice, a sturdy freezer bag, and a mallet or rolling pin. With a little elbow grease and your favorite syrup, you can turn plain old ice cubes into a satisfying pile of fluffy ice that's perfect for layering with flavor. With this method, all you have to do is crush the ice until it's your desired consistency. It's simple, quick, and totally doable with what you probably already have in your kitchen.
Crushing ice at home is easier than you think
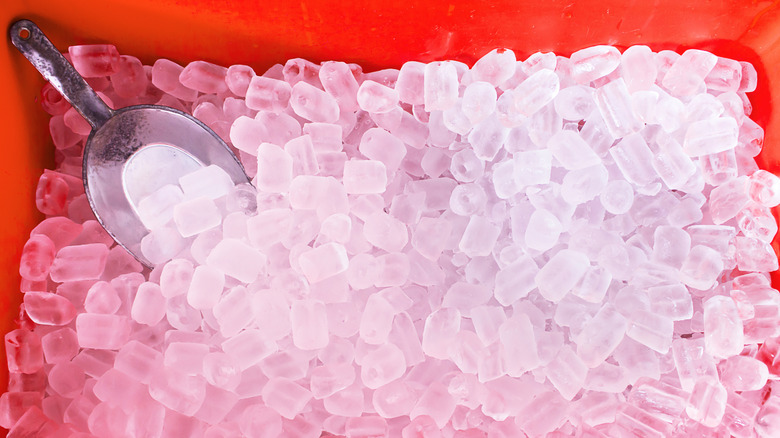
Start with regular ice cubes — the ordinary ones from your freezer tray work just fine, unless you're bougie like me and prefer the kind from hospitals that are like pellets. Grab as many as can fit comfortably and place them in a durable zip-top freezer bag, seal it tightly, then wrap the bag in a clean dish towel to help prevent tears and control any stray ice. And here's where the fun begins because you get to smash stuff! Use a mallet, meat tenderizer, or even a rolling pin to carefully crush the ice into fine, snowy pieces.
The goal isn't to pulverize the ice into slushie status, but to break it down until you get a fluffy, small-flake texture. You'll know you've hit the sweet spot when the ice holds together slightly when pressed but doesn't form a solid block. If you're making this treat for a group, consider crushing the ice in batches and keeping it in the freezer until serving time.
This method works well because it gives you control over the final texture. Some people prefer a chunkier bite, while others want something closer to snow. The good news is that you can crush it to your liking without the need for any extra tools beyond what's already in your kitchen drawer. However, remember that in all of your pulverizing, just be sure not to do the same to your fingertips ... I may or may not have personal experience with this incident.
Flavor it your way -- from fruit syrups to condensed milk

Once you've got your fluffy ice ready, the world is your oyster. Traditional shaved ice is often topped with colorful fruit syrups, and you can pick these up at many grocery stores or online. But don't feel limited to what's on the shelf — if you've got fruit juice or leftover jam, those can work too. Just mix with a little water and sugar to create your own quick syrup.
Remember that creamy is an option too, which is really underrated. A drizzle of sweetened condensed milk over your shaved ice gives it a richer, dessert-like quality, almost like a Thai or Vietnamese-style treat. You can also experiment with flavored milks, coconut cream, or even cold brew coffee if you're looking for a grown-up twist. The best part is how flexible this dessert can be, since you can go as sweet or as simple as you want. You could even make it into a family-time event, as kids might love rainbow-colored syrups and toppings like gummy worms. There's no wrong way to do it — and that's what makes it such a perfect summer go-to. Just grab some ice, give it a few good whacks, and pour on the flavor.