You Are Only 12 Cheese Sticks Away From Making Super Duper Stuffed Crust Pizza
Your eyes are not deceiving you: I have made an entire pizza out of nothing but stuffed crust. This has been a top secret project I've been mired in for weeks, its existence known only to my coworkers, my family, and an exclusive group of individuals I felt could be trusted with this knowledge. Incredibly, after sharing this exciting news, nearly all these people responded with suspiciously similar questions. I have not found any evidence that these people from disparate areas of my life are secretly in cahoots (yet), so I will assume these were hivemind-generated "frequently asked questions," and have nothing to do with a possible group intervention or Noid-funded conspiracy. I will also assume you may be asking some of these questions yourself, so here are the answers!
Is a pizza made entirely of stuffed crust necessary? For reasons of principle, yes.

WHY?? Because when I came back from holiday vacation, the first thing I saw in my inbox was a press release from Pizza Hut announcing the 25th anniversary of the invention of stuffed crust. To celebrate, The Hut decided to release a limited-edition "Nothing But Stuffed Crust," which, as you can see from the photo, is a cheese-stuffed bread snake eating its own tail. While I appreciate Pizza Hut's efforts, this photo poses a whole slew of existential questions. What is "pizza crust," really? If it's not attached to a bottom crust, it is just a bread wheel? And if there is a bottom crust, but only the edges contain cheese—can it be considered a true stuffed crust? If there is no pizza built atop the crust, is it crust at all, or is it just bread? My research took me deep.
Is it hard to make? Surprisingly, this is easier than many of the pizzas I've made at home! Here's a bunch of bullet points to get you through it:
- The crust is a no-knead New Haven-style dough, so you don't need a mixer, but you do need 24 hours so that the flour's enzymes can do their thing. Prepare accordingly.
- Most pizza dough recipes call for water, but I use milk, which helps strengthen the gluten (great for a no-knead dough!). However, there is an enzyme in milk that can actually produce the opposite effect (milk's so crazy!). To destroy it, heat the milk until it begins to steam, then let it cool to room temperature.
- You don't need a Baking Steel or pizza stone or any special sort of equipment, as long as you have a cast iron skillet. Just follow the directions in the recipe, and you'll have the perfect conditions for pizza making.
So, it's just a coil of "stuffed crust" with pizza stuff on top of it? Pretty much. If you do enough pinching and pressing, the relatively soft New Haven-style dough will meld together into one single, sliceable crust. If you don't apply enough pressure, the worst case scenario is you have pull-apart stuffed crust pizza. There is no losing here.
Is this completely excessive? Oh, absolutely. This is probably not something you should make regularly. Please use this recipe responsibly.
Are you physically okay? I've made, and eaten, enough of these pies over the past few weeks that there's a good chance I'm already dead. It was for a higher purpose, though, so I regret nothing.
Super Duper Stuffed Crust
For the dough:
- 1 cup whole milk, scalded (see bullet points in headnote, above)
- 1 tsp. kosher salt
- 300 grams bread flour
- 1 Tbsp. olive oil, plus a little more for greasing
- 1/3 tsp. instant or active dry yeast
- 3 Tbsp. olive oil
- 1 large clove garlic, minced
- 12 sticks mozzarella string cheese
- Tomato sauce
- Shredded mozzarella, Parmesan, or whatever cheese you're into
- Pizza toppings of choice
For the rest of it:
The night before, make the dough:
Lightly grease the inside of a large bowl, then add the scalded milk, kosher salt, bread flour, and the tablespoon of olive oil. Stir with a fork until mixed, then add the yeast and stir for about 30 seconds. Use a silicone spatula to scrape down the sides of the bowl and gently knead by hand for about one minute, then rub the surface with a drop or two of olive oil. Loosely cover with a large piece of plastic wrap, pat down so it comes into full contact with the dough, and set it in a warm place for 24 hours. (I like doing this in a cold oven with the light on.)
The day of, get to the rest of it:
In a small bowl or mug, microwave the garlic and olive oil together in 15-second increments until fragrant (about 45 seconds) and set aside. From here on out, it's best to use visual aids to describe the process. I'm including photos for each step, and they're all bundled at the bottom of this recipe, too. (These aren't the prettiest photos, as they were taken with very floury hands—but they'll show you what you can expect at each stage of the process.)
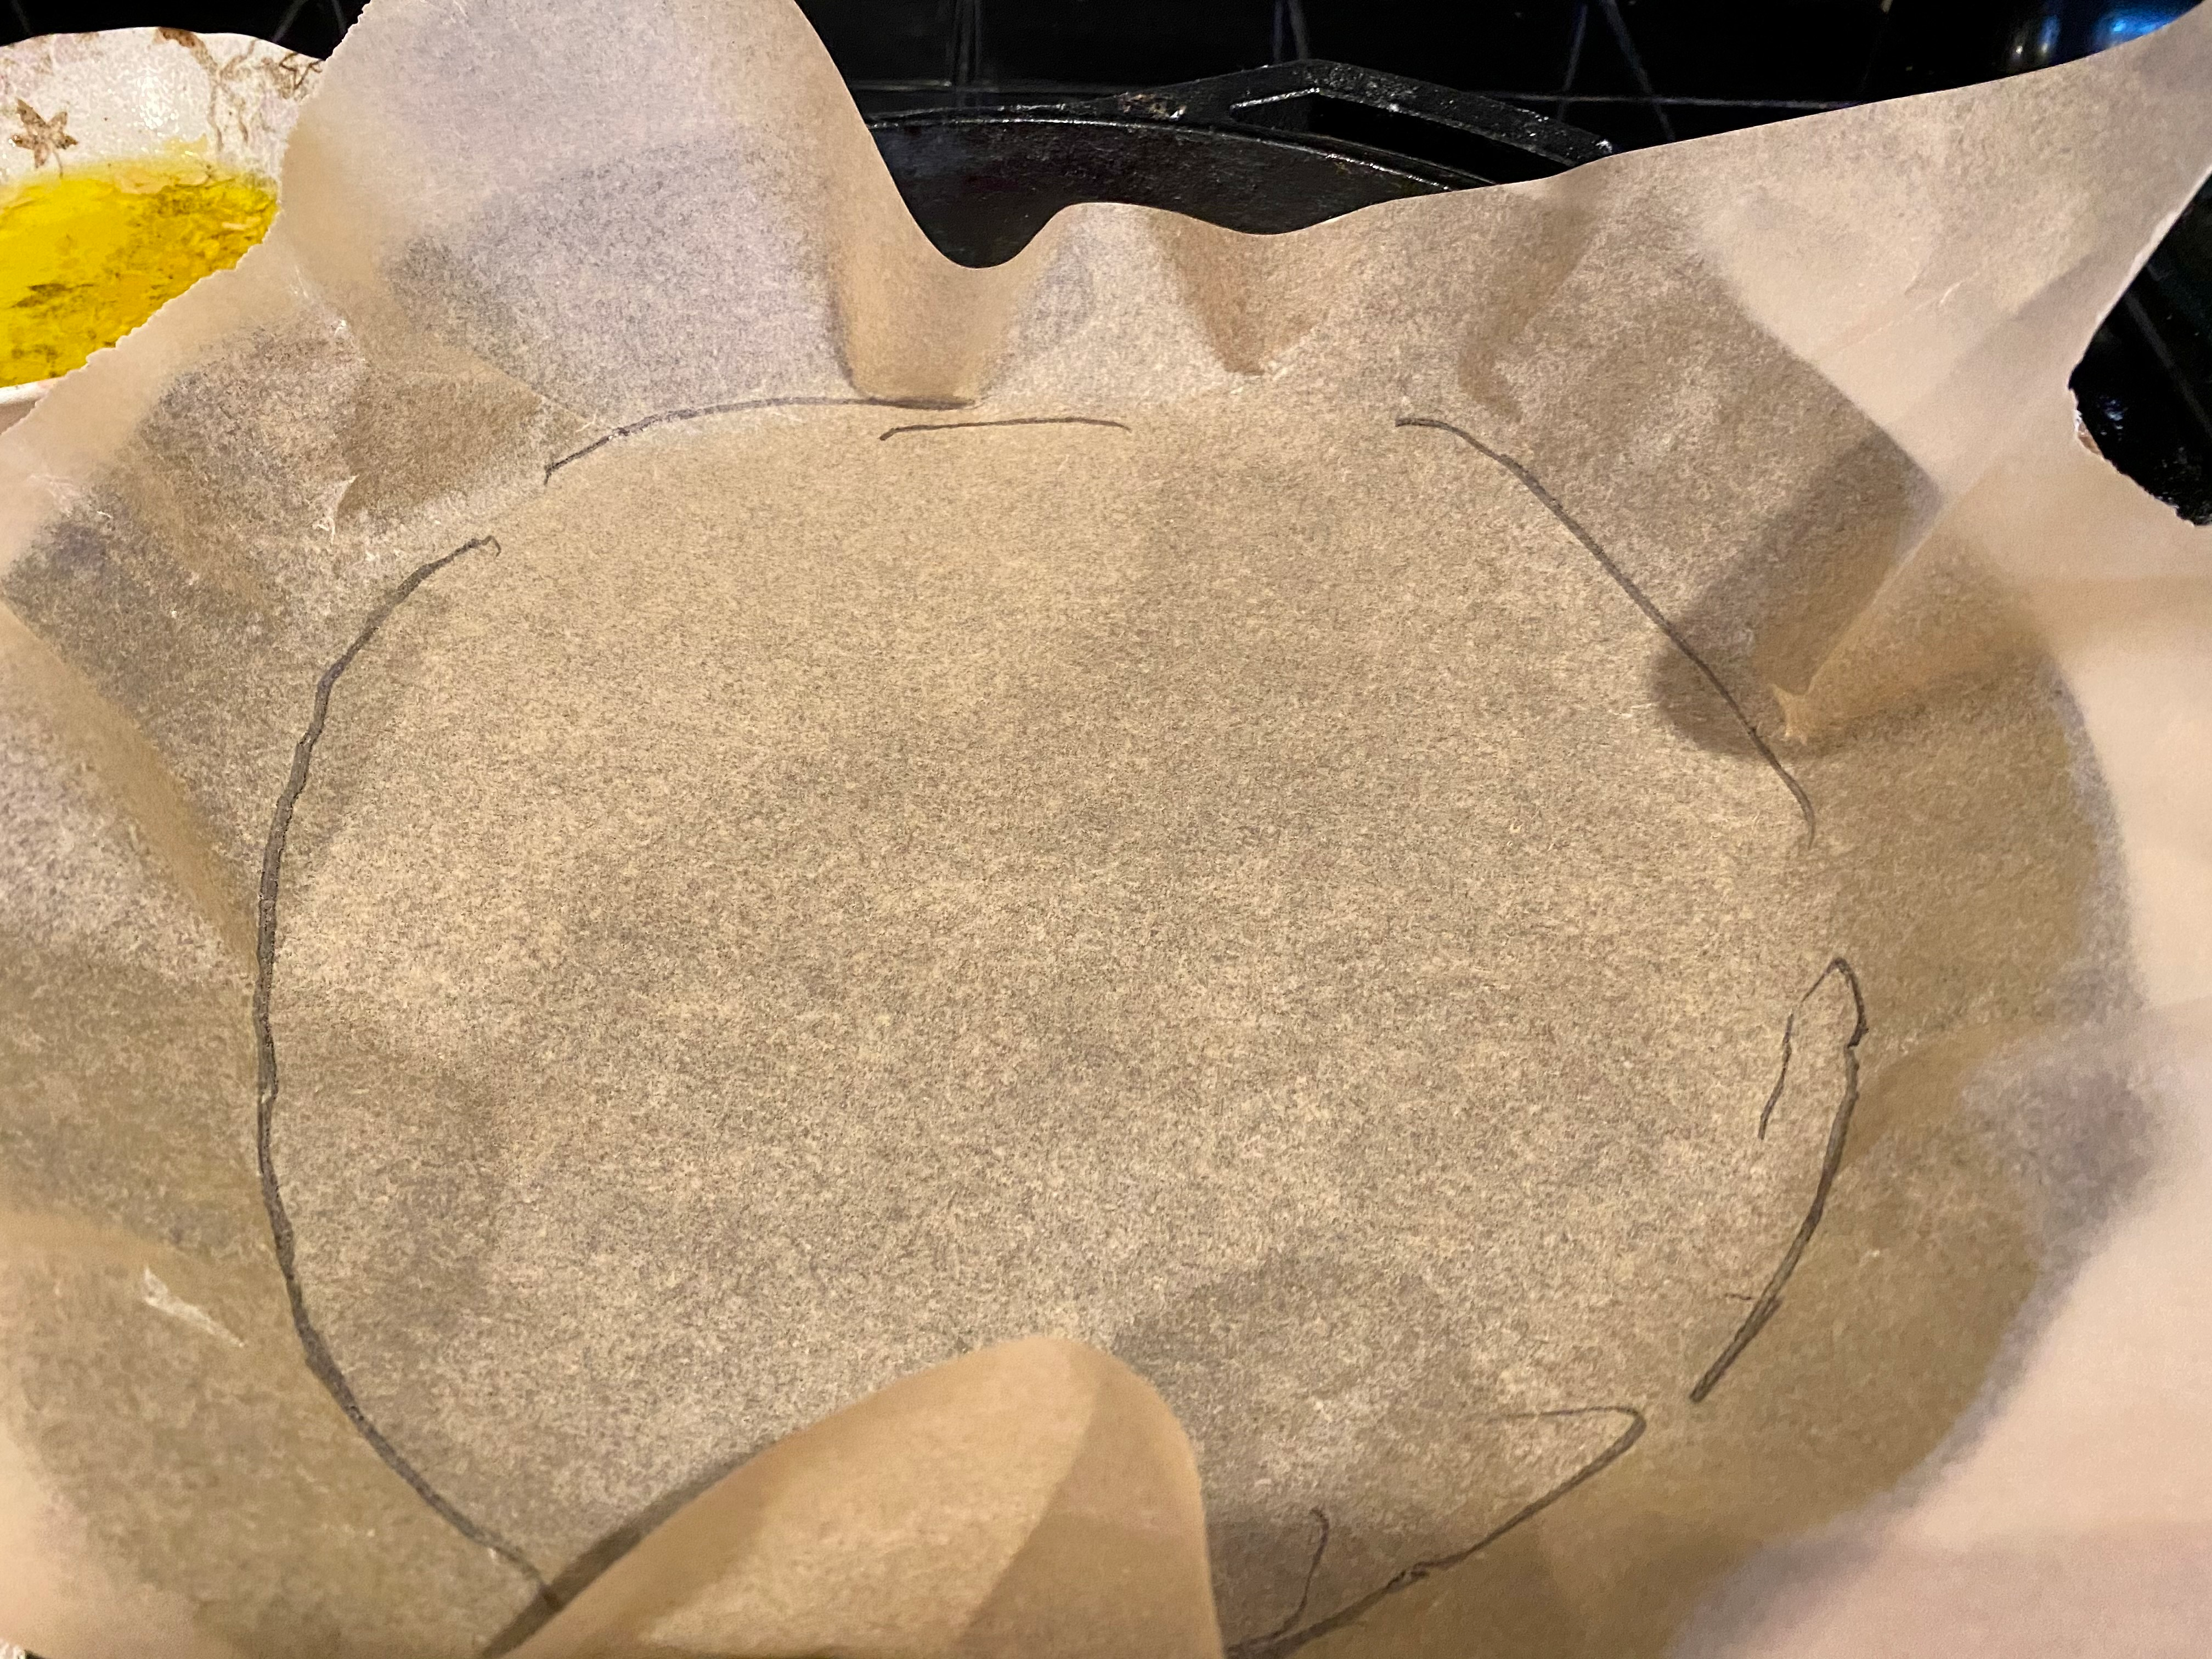
Lay a piece of parchment paper inside a cast iron pan and use a marker to roughly mark its circumference (see photo above), then set the paper aside. Put the pan on the lowest rack of your oven, and begin preheating it to 500 degrees Fahrenheit. (If you were proofing your dough in the oven, remember to take it out first!)
Unwrap the string cheeses, cut them into 1/2-inch "coins" (don't worry about being exact), and put them on a plate next to a wooden board. Put the bowl of garlic oil next to it with a pastry brush, as well as a small bowl of tap water.

Sprinkle a generous palmful of flour on the wooden board. Use your palm to spread it around evenly, then push all the excess into a small heap in the corner. Dust your hands well, then plop the dough out of the bowl and start kneading it until it comes together in a smooth, cohesive ball. (The time will vary based on your personal kneading skills, but it shouldn't take more than three minutes.)
Use your palms to stretch the dough out into a log, then alternate rolling with your palms and stretching until you have a "snake," coiling it around the board to make it fit, dusting the sticky parts with a little bit of flour as you go. Do not worry about making it perfectly even or aesthetically pleasing at this point—all you need to focus on is turning the dough into one long, unbroken piece.

Starting at one end and working gradually in sections, begin pulling and shaping the dough into a two-inch-thick cylinder, then gently flattening with your palm. On top of the flattened dough, begin adding pieces of string cheese in an unbroken line. Once the cheese is added, pull the dough around the string cheese and crimp firmly at the top. If the dough doesn't want to stick to itself, dip your pastry brush in the bowl of tap water, shake it well to remove the excess, then dab the stubborn sections of dough until they comply with your pinchy wishes. Keep on going, smoothing and shaping few inches at a time, coiling around the board as you go.

Once all the string cheese is used up, pinch off any extra dough and form it into a ball. Run your hands down the seam once more to make sure everything is securely wrapped, pinching any holes or gaps that you find. Dampen your pastry brush with water, brush the dough down the length of the seam, then gently roll the log 90 degrees. Squish the ball of extra dough into a small disc, place it at one end of your "cheese snake," then begin to coil it up along the seam, applying pressure as you go to make the dough stick to itself.
Once the dough is all coiled, begin rotating the dough while applying pressure to the sides to help the dough to stick to itself, and not to the board. If it does, gently lift with well-floured hands, give the bottom a good pat, and toss a bit of flour beneath it before continuing. Flatten the top a bit, dust off any extra flour, then brush it generously with some garlic oil. You'll be left with this beauty:

Now, remember the parchment you marked with the circle to indicate the circumference of your pan? Put the parchment circle over the dough, ink-side up. Slide one hand beneath the dough, put one hand firmly atop the paper, and flip. Ta-da!

Now that it's flipped, pinch and press as needed to get rid of any gaps you missed, then start rapidly slapping the dough with your palms to flatten it out as much as you'd like without breaking it apart and exposing any cheese. I like mine about 1.5" thick, which is what you see in the photos. But you do you! Just remember that a flatter pie cooks quicker and a thicker one cooks longer, so you'll need to keep an eye on it and adjust your timing accordingly.
Finally, brush the top and sides with as much garlic oil as you see fit. Open the oven, grab the pizza by the parchment, and drop it straight into the pan. After 20 minutes or so, you'll have something that looks like a puffy, beautiful spiral! (In the photo below, note that I removed the parchment paper only for photo clarity; you can leave yours alone.)

Brush with a bit more garlic oil if desired, then cover with sauce, cheese, and whatever toppings you like. Return the pizza to the bottom rack of the oven, then switch the setting to broil and allow to preheat for 3 minutes. Adjust your oven rack so the pizza is about 8" below the heating element, then broil until the cheese on top is brown and bubbly to your liking. (The pizza pictured below took about two minutes of broiling, but don't go my time. The only way to do this without courting disaster is to keep a close watch over the pizza as it broils!)

Let the pizza rest for about 5 minutes to let the cheese set up a bit. Lift the pizza using the parchment paper, sliding a plate or oven-mitt-protected hand underneath it for support if needed, and transfer to whatever you'd like to serve it on. (I use an upside-down baking sheet.) To cut, put the tip of a sharp chef's knife in the center of the pizza, rest a hand on the back of the blade, and press down firmly in one quick motion so it goes straight through to the bottom. Rock the knife back and forth as needed to make sure the crust is fully cut, then slide it out of the side like you were unsheathing a sword. Repeat seven more times, then go live your best life with your eight slices of stuffed crust stuffed crust pizza.
Step-by-step slideshow: