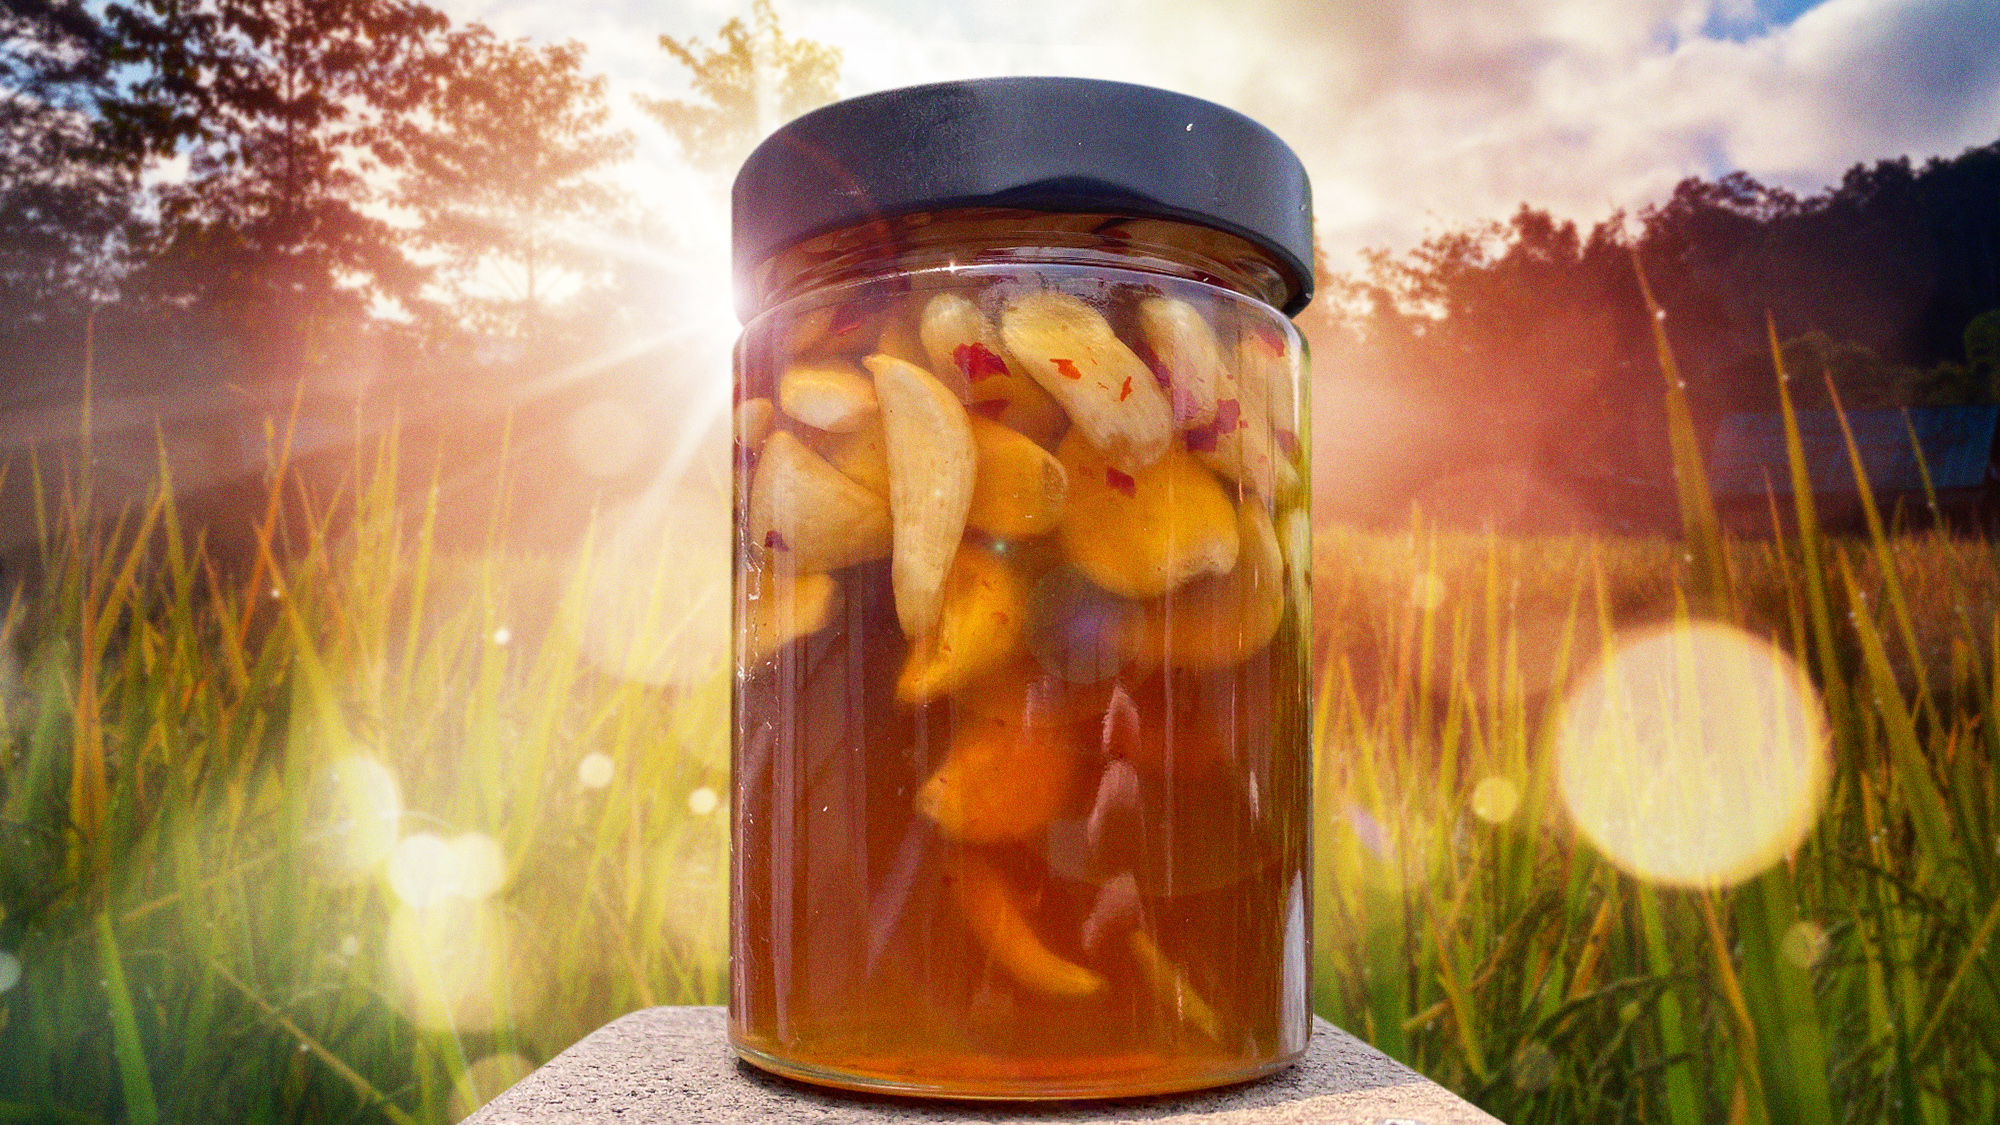
Honey-Fermented Garlic Is A Jar Full Of Possibilities
Try it on grilled meats, toss it in salads, spread it on bread, stir into barbecue sauce, drizzle it on pizza...
I love recipes that make it look like I've done something masterful, when in reality I've done practically nothing at all. And honey-fermented garlic really does sound impressive, doesn't it? But all it requires is pouring a bunch of stuff in a jar, stirring occasionally, and waiting. That's it. The honey will do all the work and you'll take all the credit.
Now, you may have heard that both honey and garlic can pose botulism risks, and the idea of leaving them alone together in an unrefrigerated jar might leave you feeling squeamish. Fear not! While it is true that honey often contains botulism spores, this recipe uses raw honey, which is acidic enough to prevent any of those microscopic bad boys from reproducing. Plus, the botulism spores in honey aren't much of a threat to people over the age of one, so if you're not an infant, you should be safe making this recipe.
Since I like to troubleshoot your pressing questions before you ask them, here's another reassurance: if your garlic turns green or blue during the fermenting process, that is totally normal. As I explained in my recipe for lemon-pickled garlic, that discoloration is a natural enzymatic reaction, nothing to be worried about. Give it time, and the garlic will go back to the right color.
What to do with honey-fermented garlic, you ask? Just about anything. Serve it on toast, grilled meats, or vegetables. Drizzle it over cheese and charcuterie. Add the honey to vinaigrette or barbecue sauces. Spoon the garlic cloves onto pizza or smash them up onto big fat slices of warm toasted bread. Once you taste this condiment, your imagination will provide plenty of ideas for using it all up.
Honey-Fermented Garlic
- 1 (6-oz.) bag pre-peeled garlic, or two large bulbs, peeled
- 1 to 1½ cups raw, unpasteurized honey
- ½ tsp. to 1 tsp. red chili flakes, optional
- Tiny bit of cooking oil (doesn't matter what kind)
Thoroughly wash a 16-ounce jar with hot, soapy water and shake off as much excess water as possible. Microwave the jar for 30 seconds to sterilize.
Use the side of a knife or a bench scraper to lightly press the garlic cloves, just to break them open a little bit, and toss into the jar with the chili flakes. (Use as much or as little of the chili flakes as you like, depending on your heat tolerance.)
Warm the honey slightly to make it easier to pour: either put the bottle in a container of extra-hot tap water for about a minute, or remove the top and pop the bottle in the microwave for 10 seconds. Fill the jar with as much honey as will fit inside, leaving about 1 inch of room at the top. Use a small spoon or butter knife to stir gently, just to ensure all the garlic has been coated in honey.
Put a tiny bit of vegetable oil on your finger and rub it over the rim of the jar, which will help the lid from getting stuck. Seal the jar tightly and let it sit in a dark cabinet for two days, then open the lid to vent any gases, and use the back of a spoon to tamp the garlic at the top below the surface. You probably won't notice any changes at this point, and that's normal. It takes a few days for the fermentation process to get going, so be patient.
Run a little vegetable oil around the lip of the jar once again, seal tightly, and return to the cabinet. Come back in 3-4 days at repeat the venting, stirring, and re-sealing—at this point you may see a few tiny bubbles gathering at the surface, which is a sign that fermentation has begun.
Continue repeating this process every 3-4 days; gradually, the garlic cloves will sink to the bottom. You can begin dipping into your honey in as little as one week, but I like waiting at least three weeks to let the flavors develop more.
Honey-fermented garlic can be stored in a cabinet or on the counter at room temperature, and it won't need any special attention aside from a brief open/close every few weeks. It should, theoretically, last for at least a year, but you'll probably knock off the jar way before then. (It really is that good.)